Every time a user signs into Windows, a set of applications, folders, drivers, etc are set to function immediately. There is a Startup Folder on the PC that especially stores these programs and it ensures to run them as you don’t have to keep in mind to start it yourself. Basically, the operating system has two Startup folders, one is assigned for current/personal account and another is designated for all users. As both of them are deeply dug into system, Windows offers a pair of shortcuts to easily access those folders. But to manually manage the startup programs is very necessary for every user as no one prefers to struggle with a sluggish performance at the end of the day. So, here comes the concept of Add or Remove Programs in Startup Folder.
By adding applications at startup, you don’t have to memorize them to run every day. Whereas, deleting the programs that are not required on every boot will increase the loading speed of the device. So this article will show the locations of both Startup folders and the way to add or delete apps from it.
Add or Remove Programs in Startup Folder
How to Add or Remove Programs in Startup Folder Windows 11 or 10 –
Add Programs in Startup Folder
- First of all, Open Run dialog box by hitting “Winlogo+R” hotkey.
- For Current User
- Insert
shell:Startupand click OK to access Startup folder for the current user. In Windows 10 and 11, the Startup folder path for the current user is located at –
C:\Users\(YourUserName)\AppData\Roaming\Microsoft\Windows\Start Menu\Programs\Startup
- For All Windows Users
- Type in
shell:Common Startupand hit Enter to fire up Startup folder for all users on the PC screen. Below-mentioned is the entire Startup folder path for all users –
C:\ProgramData\Microsoft\Windows\Start Menu\Programs\StartUp
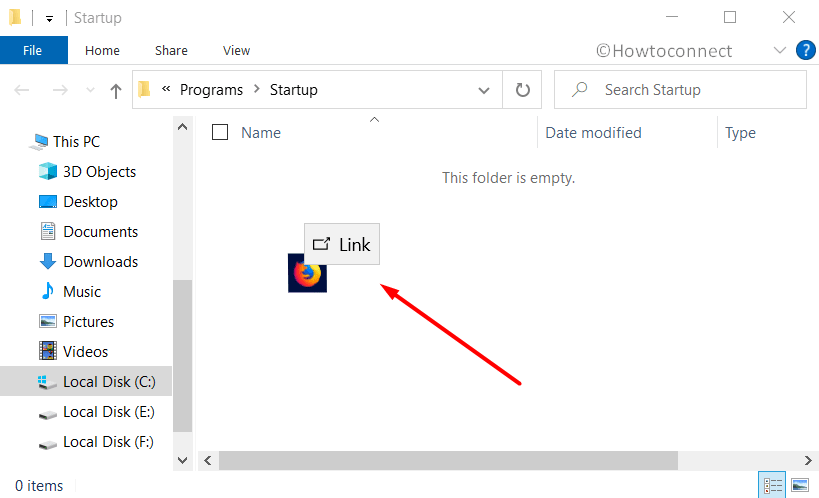
- Once you access the required folder, open Start Menu. Navigate through the list of apps to find the one you prefer to add in Startup folder.
- Hold the application, drag it and drop it into Startup folder. Also, as an alternative, if you are aware of the shortcut path of the program, copy the shortcut and paste it here.
- After the addition of programs is over, Windows will instantly load them upon startup on the next sign in.
Remove Programs in Startup Folder
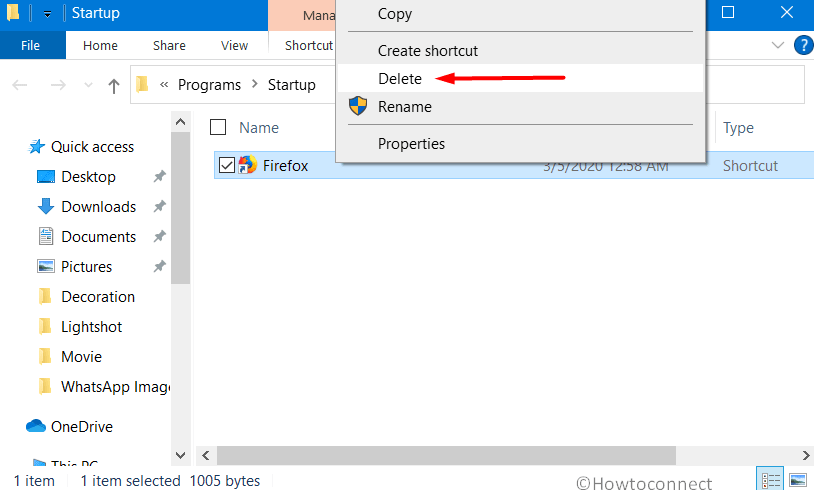
- Navigate to the required Startup folder from where you prefer to wipe out applications.
- Simply execute a right-click on the item and choose Delete.
Bonus Tip – Workaround for Error Windows can’t create a shortcut here
While dropping a shortcut of the app to the Startup folder for all users, the below-given error message may show up –
Windows can't create a shortcut here. Do you want the shortcut to be placed on the desktop instead?
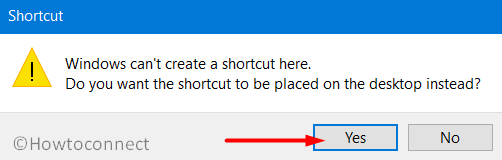
This error code appears when users make an attempt to add items into the Startup folder for all users. It occurs when you don’t possess administrative authority to carry out the task. However, a small tweak will let the user add a preferable program to the Startup folder without any complications.
- When the aforementioned error occurs, click Yes on the popup to save the shortcut of the app to desktop.
- Once it gets saved at the desktop, drag it from there and drop it into the Startup folder for all users.
- Click Continue and the app will get added to the folder.
That’s all!!!