When your PC’s battery power drops to the lowest, a Reserve Battery Level warning prompts on the screen. The notification implies that your PC is out of battery and should immediately get an alternate power source. In addition, it also prepares you for a force shutdown. Well, the moment you see the warning, you must save all your ongoing work before the force shutdown happens. You may also like to Change Percentage Level of Low Battery Warning on Windows 10.
The default set percentage for the notification to trigger is 7%. When the battery power extremely drops down, the battery icon on the taskbar will display a red cross. Then when you hover the mouse over it, the Reverse Battery Level alert will come into view. For reference, follow Windows 10 – How to Boost Laptop Battery Life. Hence, in this guide, we will walk through two methods that will show you how to modify this specific setting of the battery.
Change Reserve Battery Level in Windows 10
Using Group Policy Editor
Step 1 – To Change Reserve Battery Level, you have to open Group Policy Editor. To do so, type gpedit.msc on Cortana and select the same on top.
Step 2 – On the Group Policy window, browse to the below location.
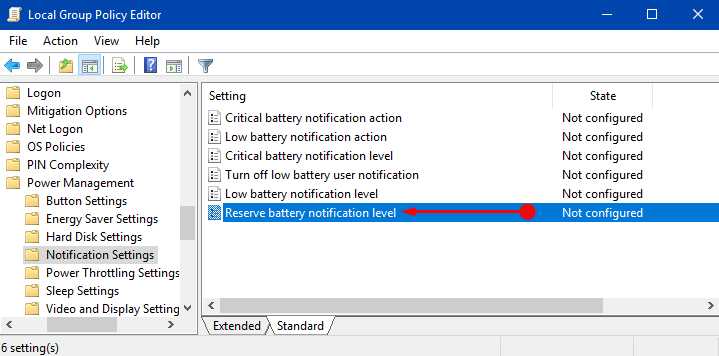
Computer Configuration => Administrative Templates => System => Power management => Notification Settings
Step 3 – Locate and double-click a policy Reserve battery notification level on the right hand-side. This will allow you to edit the policy.
Step 4 – Select Enabled and enter preferred number (%) underneath Reserve Battery Notification Level.
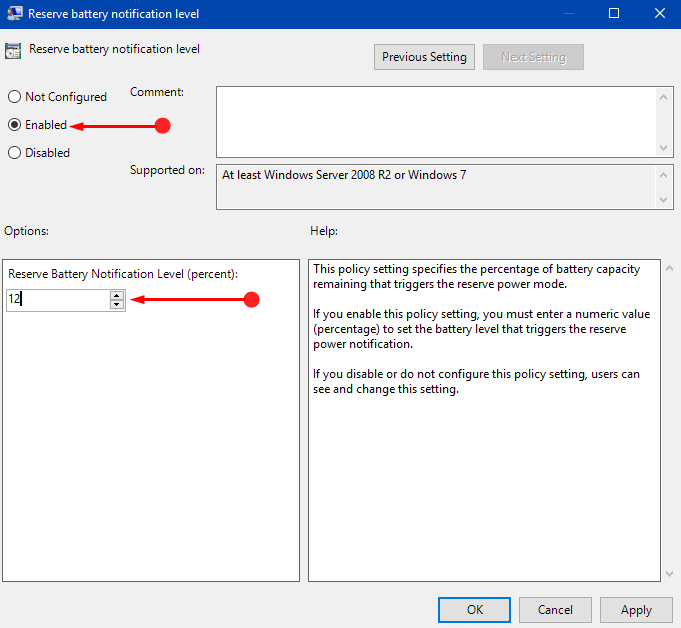
Step 5 – Click Apply and OK buttons in the end to implement the modification.
Advanced Power Options
Step 1 – Open WinX menu. You can open it either by jointly pressing Win & X keys or by making a right-click on Windows icon.
You can also Use Win+X Menu Editor v3.0 in Windows 10 to customize the menu as per preference.
Step 2 – Select Power Options from the WinX menu that appears on your PC screen.
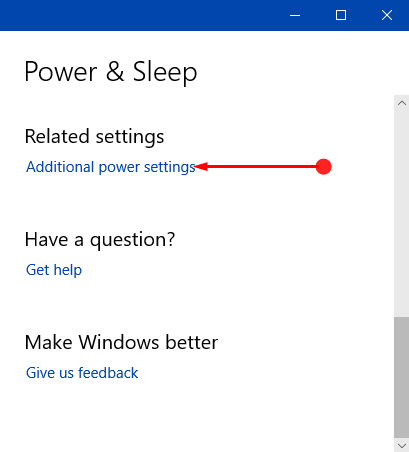
Step 3 – Moving ahead, click Additional power settings option on the Settings window that comes into view. This action will immediately launch Power Options window.
Step 4 – Locate the active power plan and click “Change plan settings” option.
You can also Create a Custom Power Plan in Windows 10.
Step 5 – The following screen will display various options for editing your current plan. However, move on by clicking an option namely Change advanced power settings.
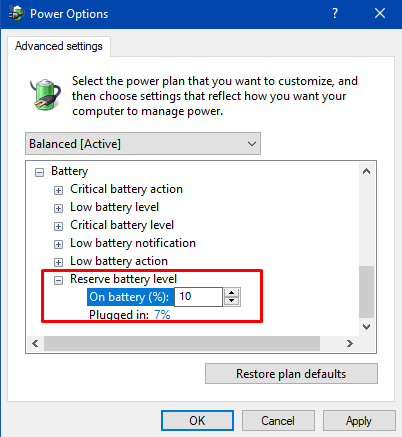
Step 6 – Advanced Settings dialog will come into display on your PC screen.
Step 7 – Locate and double-click the setting Battery. You will notice numerous settings related to battery, including Reserve Battery Level.
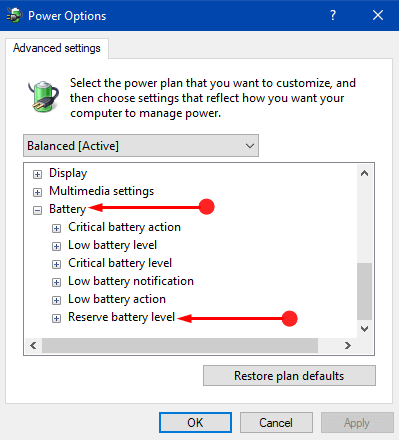
Step 8 – Expand Reserve Battery Level and change the percentage of battery for both On battery and Plugged in situations. To change the percentage, double-click on each situation and type in the desired percentage as shown in the below image. Lastly, select Apply and OK buttons to make the changes effective of this specific battery setting.
You can anytime Restore Power Plan Advanced Settings to Default in Windows 10.
Conclusion
After changing the percentage of Reserve Battery Level, you will get a notification trigger when the battery runs out the reserve level. Hence, following the above series of steps, you will be able to set the percentage of this specific battery setting to avoid losing your ongoing work. If you are aware of more ways that can modify this piece of battery settings, drop them in the comments section.