How to Convert This PC Icon to Your Own Photo in Windows 10 – What a sweet stuff when you would showcase the dearest portrait for the icons on your desktop! Personalization of This PC icon in above-written manner is not so tough task and takes only 4-5 steps. If you are desirous to Convert This PC Icon to Your Own Photo in Windows 10 you can perform it by pursuing the below-illustrated method noticeably easily.
How to Convert This PC Icon to Your Own Photo in Windows 10
First of all, make sure that the photo that you wish to set as “This PC” icon has been set into “.ico” file. If it is in .jpg or .png, you need to set it to “.ico” file format. Let us see how –
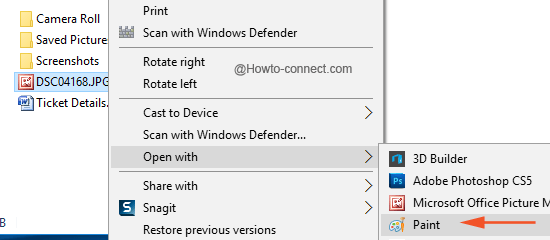
- Go to the place where your photo is stored, and once you find it, do a right-click on it and thereupon click “Open with” and then “Paint”.
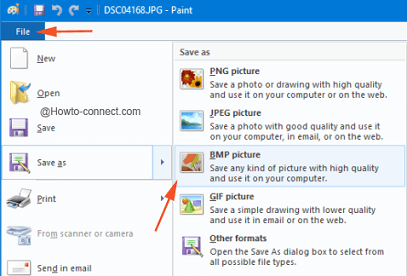
- The photo will be observable in the Paint tool, now click or tap “File” on the menu ribbon and from downward options, select “Save As BMP Picture”.
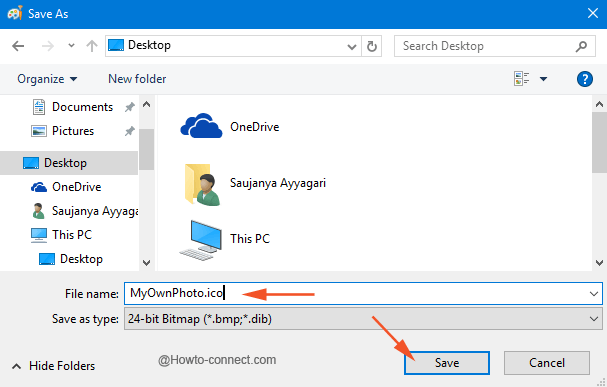
- On Save as window choose a location to store the picture, in the “File name field give a name to your photo and add .ico as its extension, for instance – “MyOwnPhoto.ico” (without quotes) and click “Save” button.
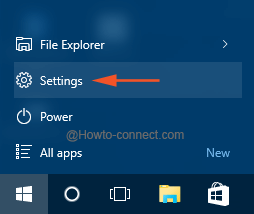
- Now, it is time to change the symbol or icon of “This PC” and to do so launch “Start Menu” and thereafter hit “Settings”.
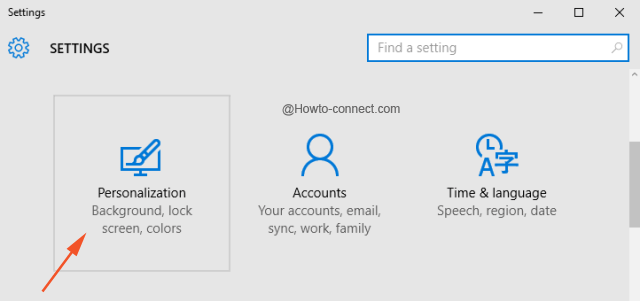
- Click or hit “Personalization” block.
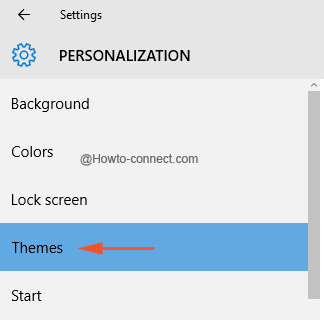
- In the left flank of segments, click or hit “Themes”, the second last one.
- Look at the opposite part and underneath the title of “Related Settings”, you witness three links, click the middle link, “Desktop icon settings”.
![]()
- A Desktop Icon Settings box will soon be observable on the screen, select This PC symbol and thereupon click “Change Icon” button.
![]()
- A separate wizard “Change Icon” will be visible just over the opened “Desktop icon setting”, hit the “Browse” button.
![]()
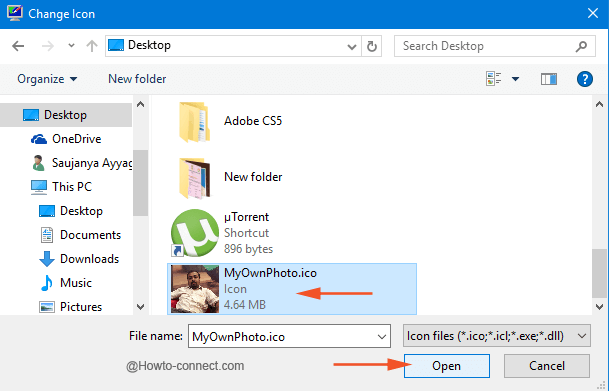
- Navigate to the place where you have stored the photo in “.ico” format and once you are there, pick it up and thereafter hit “Open” button.
- On “Change Icon” wizard you will see the customized photo of yours, click “Ok”.
![]()
- Now, take a look at your Desktop and you will notice that your “This PC” shows off your customized picture instead of its default icon.
![]()
This little change is mostly cherished by the users who always love to make their PC look as per their taste. Altering icons for the folders is known to all and sundry and is, at the same time simply to accomplish but to Convert This PC Icon to Your Own Photo in Windows 10 needs a little tweak. Hope you will now be able to put your customized picture as your “This PC” icon!