My last post was focused on creating a 404 page in Thesis theme. And this article takes it a step further by teaching you how to create a customized 404 page in WordPress. It actually makes more sense than the normal 404 page. Here is an example of how a customized 404 page would appear like.
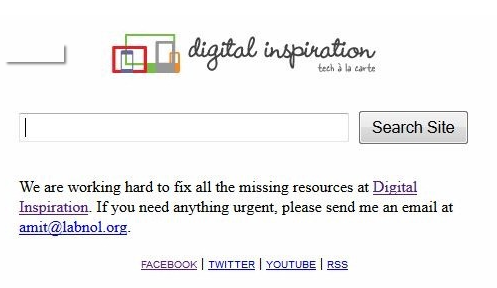
There is very less sense in the normal 404 page. In the Thesis theme the error page is editable, but it is of very little use. In the normal 404 page, recent posts, tags or categories could be added to make it more meaningful as the page appears blank. But a much better thing can be done to it.
However, this article will teach you how to make a personalized 404 page for your own website. The steps are quite simple.
Step 1: The foremost step involves the creation of the HTML page by using any HTML editor of your choice as WYSIWYG and save it with the extension .php instead of .html like 404.php and not 404.html. During this page creation various things can be done. Add a good logo of the website of your choice and link it to the main site. The Google search box, a good message which might show apologies and any good advertisements are some of the other things need to be added.
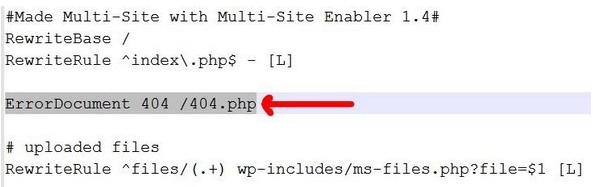
Step 2: Using the FTP client, make a login to your web hosting account and make an access to that folder where the WordPress is installed. The WordPress installation is usually made in the Root directory or any other folder of the root. Some files such as the wp-admin, wp-content and wp-includes files are found in the folder where the WordPress is installed where you should search for the .htaccess file to download it. After its downloading is complete, open the file in the notepad to add the following line.
Error Document 404 /404.php
A careful scrutiny needs to be maintained while adding this line. Look for the example below:
After the above adding is over, it should be uploaded to the same folder from where the previous folder was downloaded. It is much better to rename the folder rather than overwriting it as if something happens to the website, the new file can be deleted ald file can be renamed.
Step 3: The last step involves the uploading of this created 404.php file to the current theme folder. There are more than one themes in the theme folder, but only the current theme should be opened. Follow this way: Go to WordPress installation folder> wp-content>themes> your current theme
Now the customized page creation is over. Share this article on the social networking websites and join the discussion forum by logging in.
u r welcome
thank u for the help