The clock you see on your PCs gets updated after the duration of every 7 days and register the time whenever you create or make a change in a file. At any point of time, you might desire your PC to display the precise and exact time, and to make it real, the best idea is to enable Internet Time in Windows 10.
After this setting is permitted to enable, the Windows 10 PC clock is accompanied by the Internet time server, thus developing a synchronization between the two. A connection to the strong internet is essential and crucial in order to develop suitable sync. Also, you need to ensure to acquire all the administrator controls ahead of applying the steps at the same time. In this article, we will pen down the required tweaks to Disable and Enable Internet Time in Windows 10 to display Precise and Bonafide time without any effort always having a Sync between Clock and NIST.
How to Disable and Enable Internet Time in Windows 10
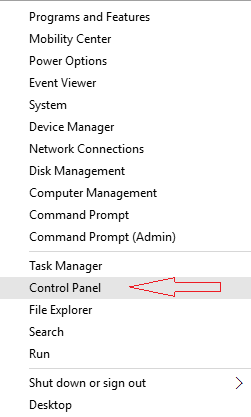
- Compositely hit Win and X keys and let the list of options to be displayed and then proceed with a tap on Control Panel, seen in the second lower section.
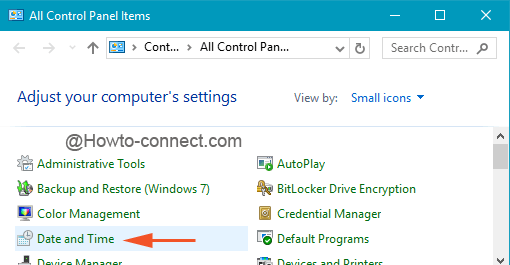
- The above activity will show up a variety of symbols for different areas, so pick up Date and Time.
- This will project another wizard of Date and Time where three distinct tabs will be observable.
- Take yourself to the farthest tab of Internet Time.
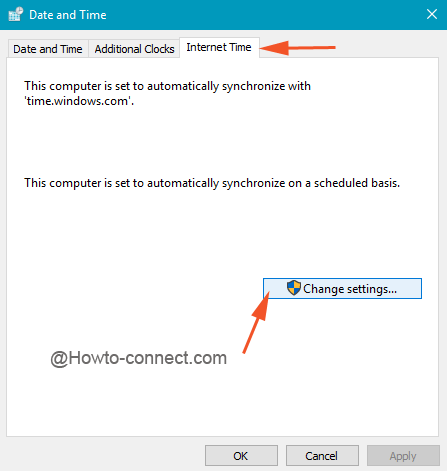
- Only a single button is observable in the box, so do a tap on Change settings.
- With a blink of an eye, the Internet Time Settings box will be visible.
To Enable Internet Time
- In that visible box, only one tiny square cell is present and it is apprehended as “Synchronize with an Internet time server”. Click on it.
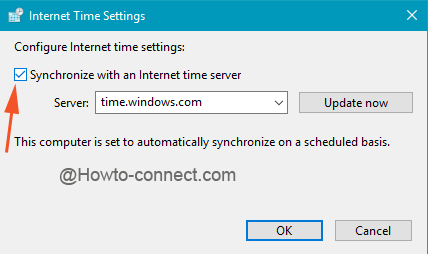
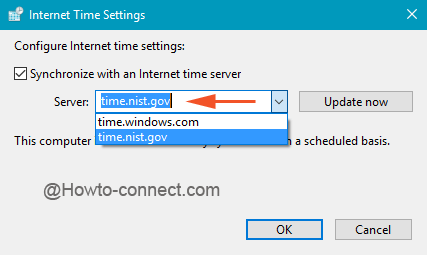
- Use the list of Servers to pick up the one from which your clock will be synchronized.
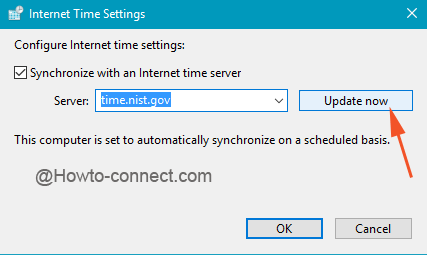
- Once it is done, it is suggested to do a tap on Update now so that the sync can take place at that very moment itself.
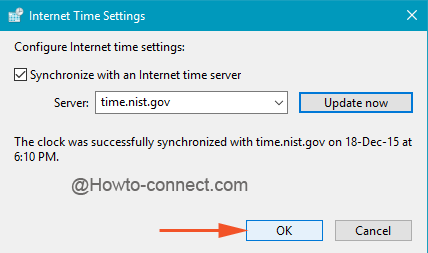
- Hit the Ok button to go through the modification.
To Disable Internet Time
- Wipe off the tick mark from the small square that says “Synchronize with an Internet time server”.
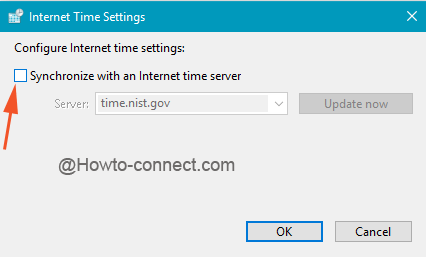
- The server and the Update now will be immediately grayed out.
- Tap the Ok button.
Note: If your machine is running on a domain, the sync will refuse to occur.
If you like your PC’s clock to be more precise and also desire it to be synchronized with the internet, it is best suggested to enable Internet Time. Grab a shot of it and see how perfect and the accurate time your PC will show.
Read our Overall List of Windows 10 Articles
My admin tried to get rid of the internet sync and the “contact admin” still popped up and would not allow him to turn it off. I need it off to do work dated different days because the program I use references the computer date. This internet time sync is a nightmare