XLICONS.exe in Windows 10 is the topic today for which we will provide details and fix if an issue occurs because of this file. Though the filename sounds malicious, Microsoft developed this important executable for MS Excel. But we can’t deny the fact that .exe is threat prone as the developers can decode this type of files to inject viruses. So will have a look at this problem. Addition to the threat, Windows 10 finds high CPU usage error due to XLICONS.exe.
Commonly, XLICONS.exe error occurs due to Windows system file damage. And you may experience several situations during that time such as high CPU usage, incomplete installation, unfinished file erasure, bad deletion of applications or tool. It can also conduct virus infection and freezing or Laptop Shutting Down Automatically Problem. Any of these issues can end up with the risk of data missing or corruption in your system files.
Read – How to Disable and Fix XblGameSaveTask.exe in Windows 10
XLICONS.exe in Windows 10
Here is How to Disable and Fix XLICONS.exe in Windows 10 –
End task to Disable XLICONS.exe and Prevent High CPU usage
As we said, XLICONS.exe causes high CPU usage that finishes with freezing screen and slowing down your PC. In order to fix, end the process through Task Manager. Here’s how –
Step-1: Press Ctrl+Shift+Esc hotkeys together and let the Task Manager appear.
Step-2: If it’s not expanded already, do a click on More details.
Step-3: Go to the Details tab and locate XLICONS.exe. Perform a right click on this one and Select End task.
Run Windows System File Checker
If the installation files get damaged because of either malware or something else the inbuilt system file checker effectively fixes the issue. Follow to run
- Open Start menu and type cmd.exe.
- When the result turns up, perform a right click on Command Prompt and Select Run as administrator.

- If a UAC prompts up, click on Yes to give permission.
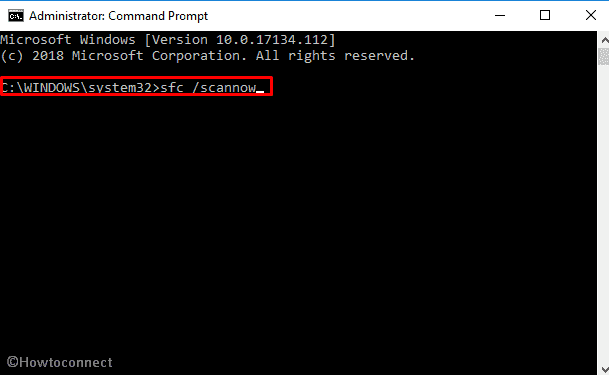
- Now type down the following command after C:\WINDOWS\system32> and hit Enter –
sfc /scannow
The tool will begin system scan and repair if corrupt files exist in a short time. Reboot your PC and check whether the problem due to XLICONS.exe no longer occurs.
Check the location of XLICONS.EXE
Normally XLICONS.exe is located in C:\Windows\System32 by default. But virus infection sometimes changes the location of it and the error occurs. To check it follow the below steps –
- Do a right click on Taskbar and Select Task Manager.
- Now locate XLICONS.exe in the Details tab. Make a right click on it and Select Open file location.
In case, the location is not C:\Windows\System32 then you need to scan your full system. If you want to do it later, Schedule Windows Defender Full or Quick Scan on Windows 10.
Restoring the System to its Previous Configuration
The XLICONS.exe file is used by multiple programs concurrently. The scenario may cause file corruption by the various applications running on your computer. When a process ends, it leaves behind some changes in the system. By restoring the configuration to its former state can fix XLICONS.exe in Windows 10. Here’s the procedure to do so –
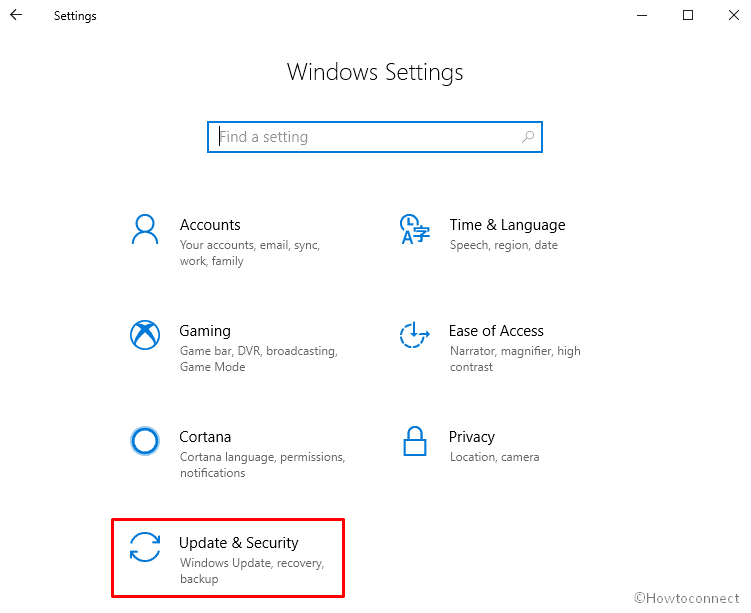
Step-1: Press Win+I in order to launch the Windows Settings app and do a click on Update & Security.
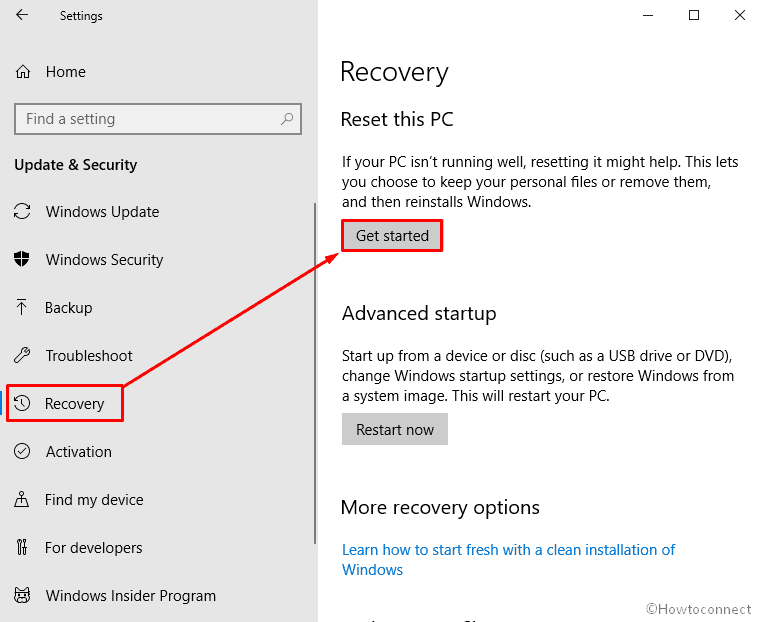
Step-2: Select Recovery from the left column and move to the right side.
Step-3: Now do a click on Get started located under Reset this PC.
Once done, Restart your application to check whether the changes have taken effect.
You can follow the instructions in How to Reformat Windows 10
Errors Occurring because of XLICONS.exe in Windows 10
The error may also occur when you accidentally delete XLICONS.exe file belonging to MS Excel. Multiple apps or processes within the machine use shared files and therefore one program can inadvertently erase the data present in a file of another. Apart from this, the cause of the error is the registry keys in Windows that may be deleted by either a malware or a running software. If one program interferes with the another, it may remove some of the files causing the system to halt.
Finally, a secondary reason for the malfunctioning of your computer can be the Microsoft Excel software itself. If the system didn’t install all the files of this software then the software itself becomes a cause for this problem.
That’s it!