How to Disable Password Change by Local Users in Windows 10 – When your computers are being used by Several People whether they are Office Staff or Relatives you need to restrain the users from changing the credential. If you turn off Password change you prohibit them from holding an operation undisclosed to you. Thus, you become aware of all the activities ongoing on your PC. To execute the steps to Disable Password Change by Local Users in Windows 10 peruse the underneath written paragraphs.
How to Disable Password Change by Local Users in Windows 10
Way 1 – Through Computer Management
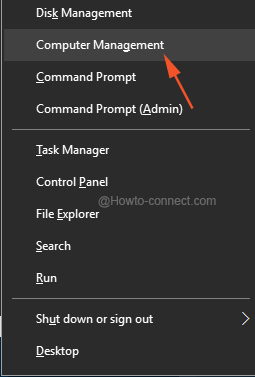
- Jointly strike “Win and X” and from the emerged menu, click or tap Computer Management.
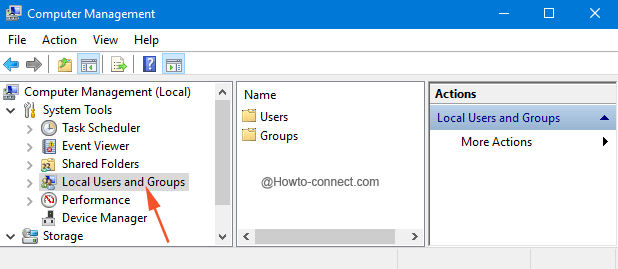
- In the opened console, observe the left flank of categories and when you locate the one entitled as “Local Users and Group”, click or tap on it.
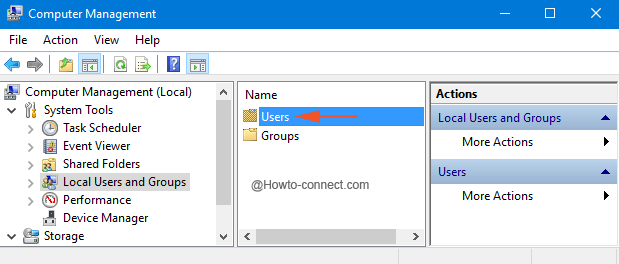
- On its opposite side, you can view two folders, click the first one, “Users”.
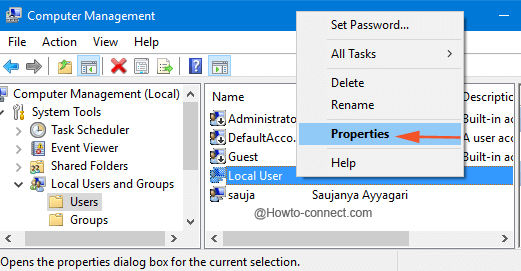
- Now, beneath the “Name” column, look for the “Local Account”, right-click on it and from the list of choices, click or hit “Properties”.
- “Local User Properties” box will be observable, and underneath the “General” tab, a square cell with a title called “User cannot change password” is present.
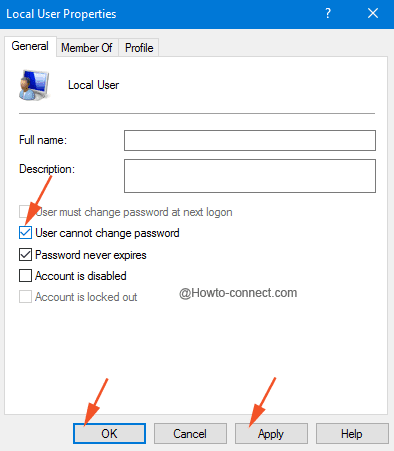
- Tick mark that cell and thereafter click or tap “Apply” and “Ok”.
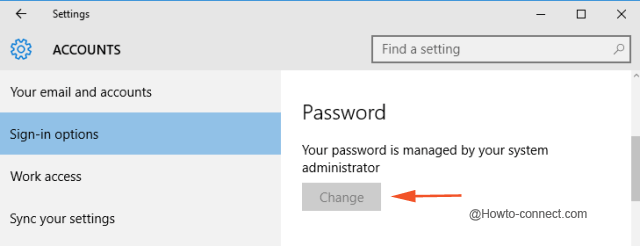
- After this, the “Change Password” button in the “Settings” program of the “Local Users” will be grayed out and henceforth the users cannot alter or modify the password.
Way 2 – Via Group Policy Editor
When the “Local Users” jointly strike “Ctrl + Alt + Del”, they get to see one option as “Change Password” and from there also, users can alter their passphrase. So, with a little tweak in the Group Policy Editor, the “Change Password” option will not be observable when the users will jointly press “Ctrl +Alt + Del”.
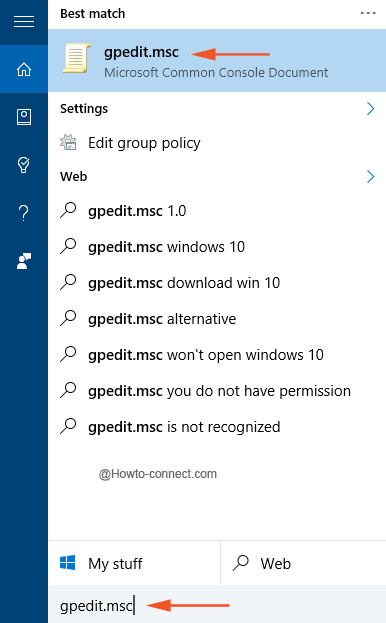
- On the “Cortana” search box, write the code “gpedit.msc” and soon you will witness the same beneath the Best match section at the top, click on it.
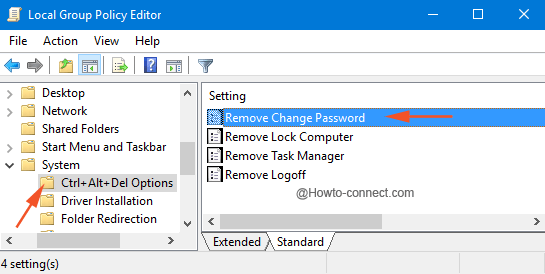
- On the left flank, travel to this route – “User Configuration -> Administrative Templates -> System -> Ctrl + Alt + Del“.
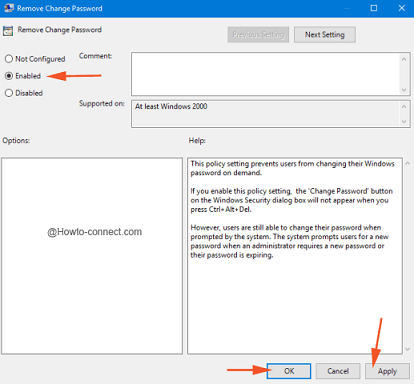
- Now, look at the opposite part and find out the setting entitled “Remove Change Password” and double-click on it.
- A “Remove Change Password” box will be clear on the screen with few round cells on its top left, click the second round cell of “Enable” and thereafter click or tap “Apply” and “Ok”.
- Now, the “Local Users” cannot see the “Change Password” option when they jointly strike the three keys of “Ctrl + Alt + Del”.
With both the above two methods, you can disable Password Change button for the local users and hereby can restrict them from modifying the password.