Microsoft adorned Windows 10 based on the users’ need with the inclusion of a few top-notch features. One of them is the access to Install PowerShell Core on Windows 11 or 10 and that is probably taken the operating system beyond the age. If you have already updated your OS to the latest version, it has fully functional PowerShell version is 5.1 working in collaboration with .NET framework.
Microsoft developed the utility as an automation and configuration framework which functions in harmony with the existing tools in your system. This is a multi-platform tool for Windows operating system, Linux moreover MAC. It can deal with structured data like XML, JSON, CSV and a few similar ones. At the same time, can monitor object models, and REST APIs. The framework included in it processes command-line shell, cmdlets, and other scripting supportive languages.
Download and Install PowerShell Core on Windows 11 and 10
Here is How to Download and Install PowerShell Core on Windows 11 or 10 –
Step-1: Open any web browser and go to this page.
Here, you will find the latest version of PowerShell core suitable for your PC. If you are running a 64-bit Windows 11 or 10, you should download PowerShell-6.1.1-win-x64.msi and if 32-bit Windows 10 is your configuration, download PowerShell-6.1.1-win-x86.msi.
Important – Version 6.1.1 is the latest release of Microsoft PowerShell Core. However, edition 6.2.0-preview is also available on the same webpage but it is a pre-release version and not suggested until you are an insider or developer.
Install PowerShell Core on Windows 11 or 10
To install PowerShell Core on Windows 11 or 10 is even simpler. You just need to follow these steps –
- Go to the location where PowerShell-6.1.1-win-x64.msi or PowerShell-6.1.1-win-x86.msi is saved after downloading.
- Double-click the relevant MSI file for launching the installer.
- To complete the installation, you should follow the instructions appearing on your screen.
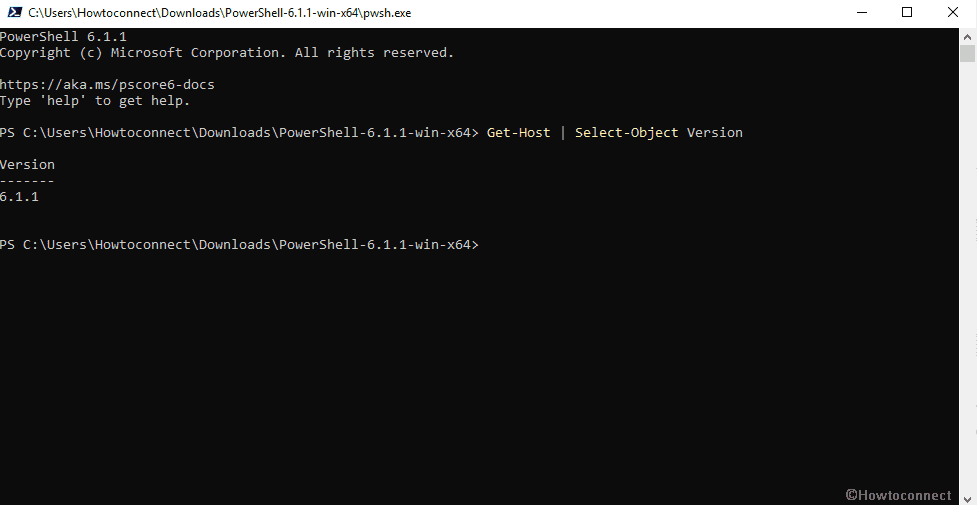
When the installation completes, you can run PowerShell from the Start Menu. If you want to confirm its version, enter this command – Get-Host | Select-Object Version

Important Notes
- Remember the folder you select for installing PowerShell Core should not conflict with that of the same already present on your PC.
- PowerShell Core will not replace the present PowerShell.
- Both of the tools can work simultaneously on the same PC.
- The executable file of Windows PowerShell is powershell.exe whereas the executable of Windows PowerShell Core is pwsh.exe.
- If you run Windows 11 or 10 on a device based on the ARM processor (a 2-in-1 or tablet), the same webpage contains downloadable PowerShell Core MSI file.
That’s all!!!
