The second bigger update of 2021 for Windows 10 with abundant tweaks and improvements will arrive in the second half of this year. You will come across several new stuff such as enhancements in virtual desktop, touch keyboard, Windows File Explorer, Start menu, and in-box apps in this rollout. Furthermore, Microsoft will include a new icon on the taskbar that lets you check news headlines including the weather forecast and other information. Numerous new options will be added such as settings such as DNS configuration and disk management. You may see some changes in designs and themes too. You can see the complete details here – Windows 10 21H2 Version – Full list of Features of Sun valley update
Any major update of Windows 10 usually gets installed on your system automatically. But if you have a poor internet connection or the network you are connected with has limited access to data, the system may fail to carry over the updating procedure. In such a case, you will have to Download and Install Windows 10 21H2 November 2021 Update manually. There are 4 different ways to do so and we listed all of them in the below segment. Go with the one you prefer.
Install Windows 10 21H2 November 2021 Update
Here is how to Download and Install Windows 10 21H2 November 2021 Update –
1] Check for updates through Windows Settings
Default update-related settings enable Windows 10 to receive all the releases automatically unless and until you haven’t modified them. But the system oftentimes delays updating Windows. However, your computer will certainly carry forward the upgrade process sooner or later you have the option to check and install it manually. It’s just a matter of a few clicks. Let’s check out the way –
- Press – Windows + I.
- From Windows settings page, click – Update & Security.
- Move to the right pane of the consequent page.
- Click the button – Check for updates.
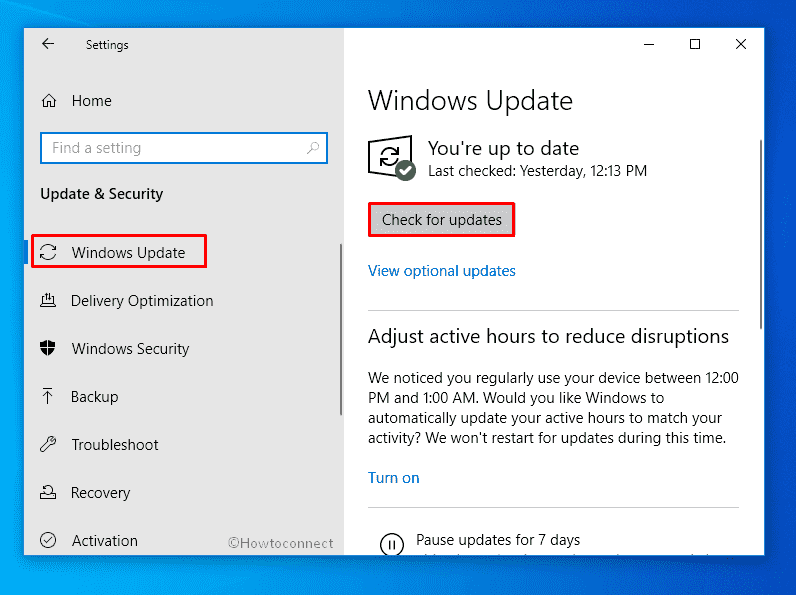
- If the system gets any version available, hit – Download
- When the downloading process ends, click – Install now if the system asks.
- In the end, hit – Restart now or opt for Schedule the restart.
- You will experience the improvements and features after performing a reboot.
2] Install Windows 10 21H2 with upgrade assistant
The dedicated assistant lets your system download all the files required to install Windows 10 21H2 November 2021 Update. Because this is one major update and large in size rather, ensure that the hard disk has a minimum of 8 GB of free space. Or else, the process may get stuck due to a lack of enough memory. Keep in mind to keep the power cord of your device plugged in. After making sure the things, go through the below steps –
- Navigate to Software download page of Microsoft using any convenient browser.
- Click – Update now.
- Hit Save file if pop-up prompts.
- Visit the location where the system stores downloaded items.
- Double-click Windows10Upgrade setup file.
- If the utility gets a newer version for your system, click – Update now.
- After making sure everything is okay, hit – Next.
- When the process reaches 100%, click – Restart now.
- Comply with further instructions to finish the process.
3] Upgrade to latest build using USB
If you don’t have an internet connection or wish to upgrade multiple devices with one media, create installation media to a USB flash. This way, you don’t need to download the setup files to install Windows 10 November 2021 Update 21H2 time and again for each particular device. Let’s move to the procedure direct way –
- Plug in a USB drive with at least 16GB of available space.
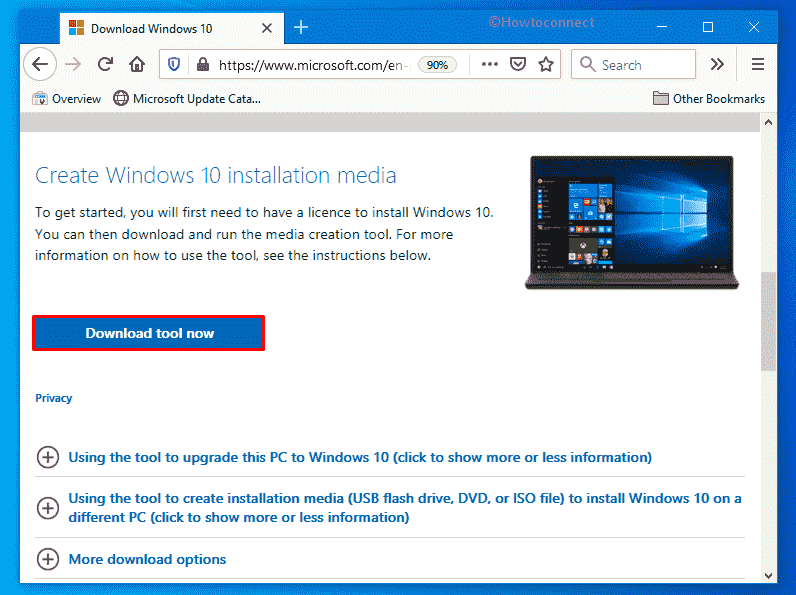
- Navigate the official webpage of Microsoft that includes all installation files.
- Click – Download tool now.
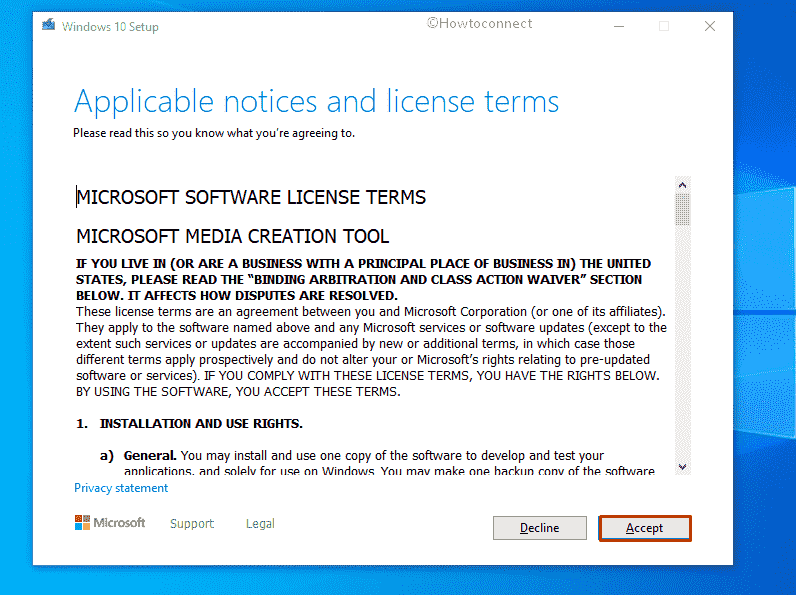
- Doble-click downloaded MediaCreationTool21H2.exe file.
- To allow User Account Control, click – Yes.
- When the setup wizard becomes ready, hit – Accept.
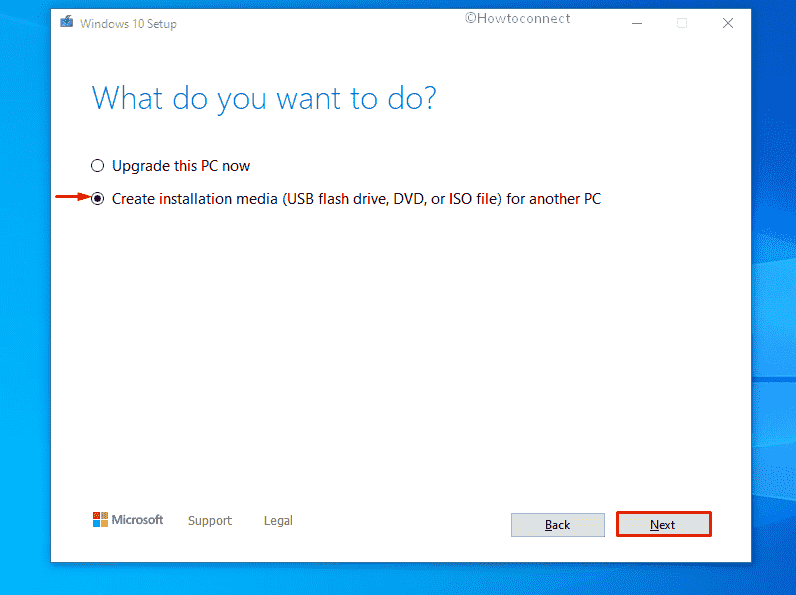
- Select – Create installation media (USB flash drive, DVD, or ISO file) for another PC.
- Click – Next.
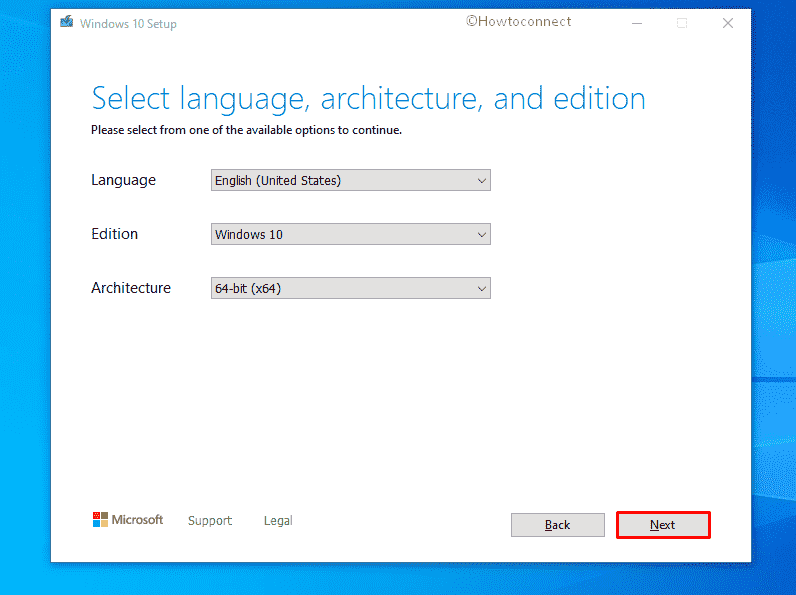
- Make sure that Language, Edition, and Architecture are set correctly.
- Hit – Next.
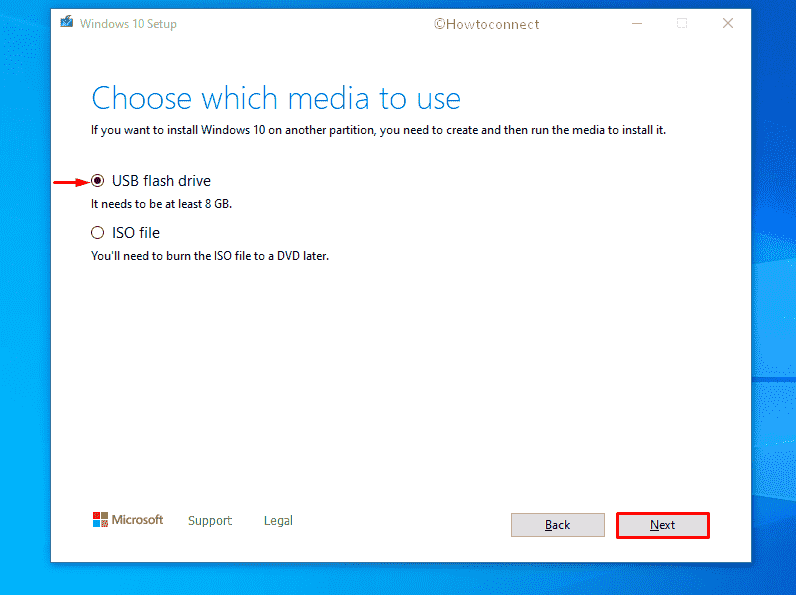
- From the next page, pick – USB flash drive and then click – Next.
- Select the USB drive you want to make bootable. If you don’t see the correct one, click – Refresh drive list.
- After choosing the desired one, hit – Next.
- Let the downloading process ends.
- Now you can use the USB to upgrade any Windows 10 PC to 21H2.
4] Perform Clean Install from ISO
Clean install Windows 10 21H2 November 2021 Update is a more useful way if you want to upgrade want to start afresh. In order to clean install Windows 10 November 2021 Update 21H2 through ISO, here are the steps to go through –
- Go to the official Microsoft webpage.
- Click – Download tool now.
- Hit Save file if the system asks to do so.
- Double-click the exe setup file you downloaded.
- Allow User Account Control by clicking Yes.
- When Windows 10 setup wizard shows up with terms and conditions, hit – Accept.
- Select the radio button of Create installation media (USB flash drive, DVD, or ISO file) for another PC.
- Hit – Next.
- Check whether the Language, Edition, and Architecture are correct.
- Click – Next.
- Select – ISO file.

- Click – Next.
- Select a location where you want to save the ISO file.
- Click – Save.
- When the progress hits 100%, tap – Finish.
- To burn ISO, make Pendrive bootable.
- After doing so, insert the bootable Pendrive into the PC where you want to Install Windows 10 21H2.
- Hit either ESC, Del, F2 or F12 what your device suggests to proceed with Boot options.
- Check the information set for Language to install, Time and Currency Format, and Keyboard or input method.
- If all of them are correct, click – Next.
- Hit – Install now.
- Provide the license key in the specific bar.
- If you don’t have the digital key, click – I don’t have a product key.
- Select the checkbox set before I accept the license terms.
- Click – Next.
- Hit – Custom: Install Windows only (advanced).
- Select the drive you inserted click – Next.
- For appearing pop-up, click – OK.
- The further process is about to happen automatically.
- Still, be present in front of the PC to follow any prompted instructions.
- When the system powers up finally after multiple restarts, either put your Microsoft email account, phone, or Skype identification in the given field.
- Proceed with Set up a PIN option.
- If you want to turn on Cortana, click – Yes.
- Set the Privacy settings as you like.
- Finally, click Accept to finish the process.
It is decided that Windows 10 19044.1237 will be the final version of 21H2. Until the official ISo file is placed on Microsoft’s website you can download it from the below locations –
Windows 10 21H2 19044.1237 ISO download links –
For x64 – Language – En-US
Pro, Home, Pro Educ., Pro for Work., Education, Auch als N-Version Super Multi, Ent. Windows 10 19044.1237 CU KB5005565 (14.09.)
For x86 – Language – En-US
Pro, Home, Pro Educ., Pro for Work., Education, Auch als N-Version Super Multi, Ent. Windows 10 19044.1237 CU KB5005565 (14.09.)
Windows Insider Preview Downloads
Methods list:
1] Check for updates through Windows Settings
2] Install Windows 10 21H2 with update assistant
3] Upgrade to latest build using USB
4] Perform Clean Install from ISO
That’s all!!