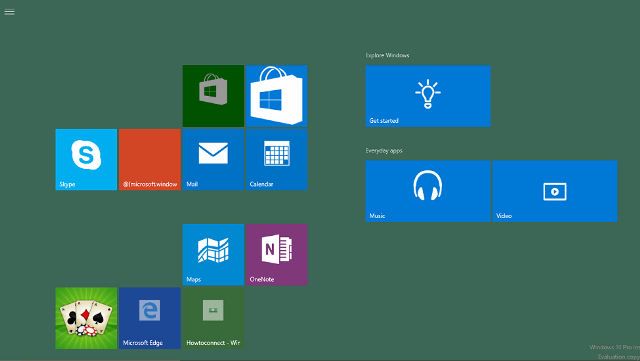
In this article, you will get to know the tips to Disable or Enable Full Screen Start Menu in Windows 10. You must have experienced the glass like look of the Start Menu in Windows 10. When you make it view to full screen, the transparency level increases without any trace of the blur effect. Now, with the Personalization Settings you can choose to turn on or off the use of full-screen Start Menu. But remember one thing, if your tablet mode is switched on, you will always see the full-screen Start Menu. So, until switching off the tablet mode you cannot see the normal one.

How to Disable or Enable Full Screen Start Menu in Windows 10
- Execute a right-click on the desktop and choose Personalize option from the context menu.
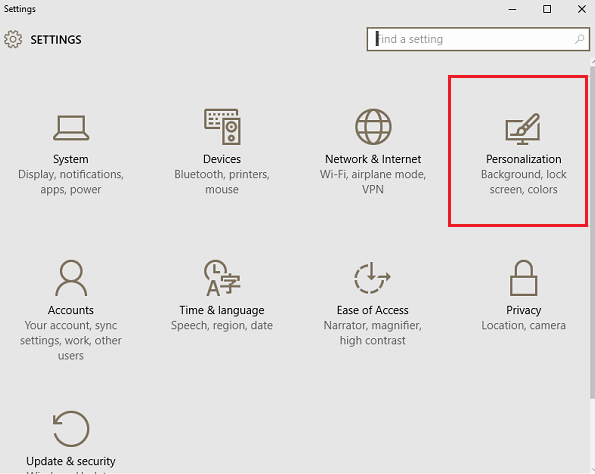
- Alternatively, you can click Settings app from the Start Menu followed by a click on the Personalization category.

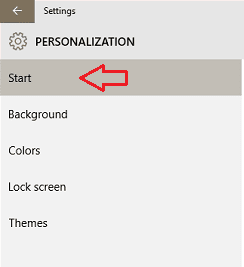
- Both the ways take you to the Personalization category. Click Start section on the left column.

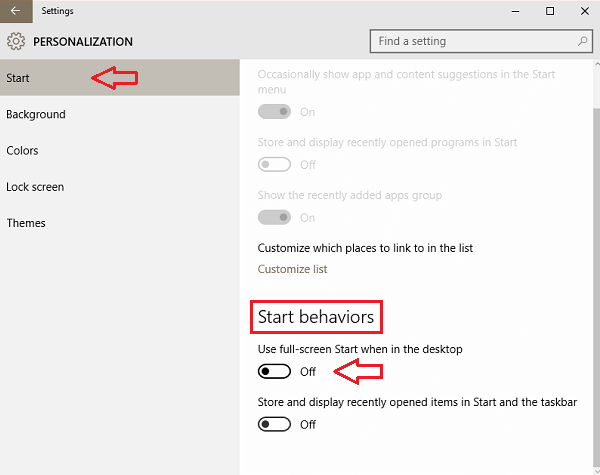
- The right pane exhibits you certain options related to the Start. Go to the Start behaviors sections.
- You can see an option Use full-screen Start when in the desktop. Use its slider to switch on or off the full-screen Start Menu.

- It’s that easy!
To Disable or Enable Full Screen Start Menu in Windows 10 has been a pretty easier task after the arrival of Settings. Earlier in Windows 8, you need to enter the taskbar property settings for this.