Windows 10 is pretty cautious about security and lets you Enable Windows Defender Ransomware Protection. There are a number of antimalware software that claims to provide safeguard against the ransoms demanding threats and attacks. But the built-in tool has an edge over all those as it provides a shield staying on Windows 10 very easily.
What is a ransomware?
Ransomware is a more dangerous and stubborn form of Virus. Unlike normal infections, the ransomware threat causes you to pay money to repair the damage it does. Its function is based on its ability to nastily lock your files and then asking for ransoms if you wish to get them back. Being a victim of a ransomware disaster leaves you with two choices, firstly restore the stuff by paying out, secondly, get a software engine to remove the virus. These options, however, do not guarantee the permanent removal of the virus; hence the problems just take on a toll on your system and peace of mind.
The ransomware uses the encryption method to lock the data into a system. Regardless any other virus attack, the ransomware works in a way where the victim is properly informed and provided with instructions on how to recover. The mode through which payment is demanded is generally virtual in order to hide the identity of the cyber criminal.
How to Enable Windows Defender Ransomware Protection in Windows 10
Thankfully, the Windows 10 developers have already realized the bullying threat of a ransomware virus. If you have an updated version, you can enable windows defender ransomware protection in Windows 10. This feature is called the Controlled folder access which is introduced in the Falls Creator Update of Windows 10. Under this, the changes in apps are monitored. It sends you a notification as soon as a blacklisted app tries to make changes to a file or folder. Here’s how you can enable this feature:
Turn on Controlled folder access
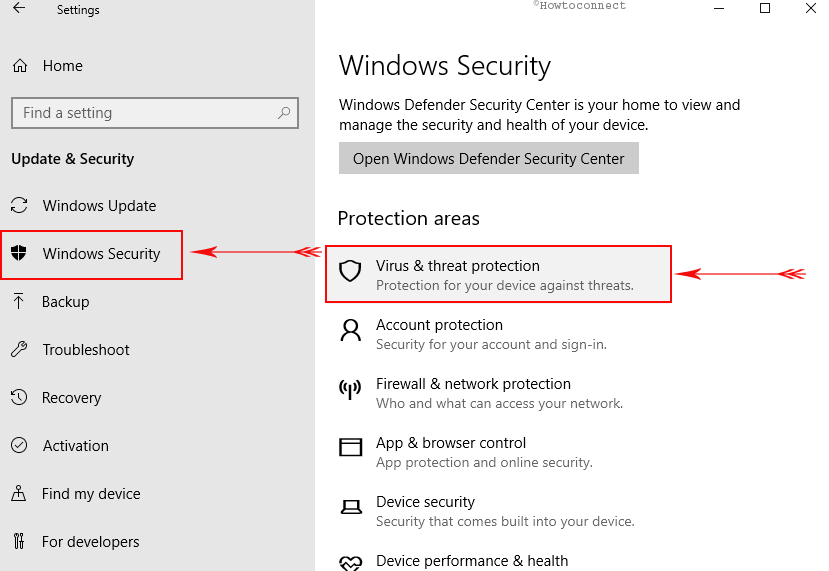
Step-1: Simply open the Settings (Win+I) on your system and navigate Update & Security.

Step-2: Click on Windows Security (also known as Windows Defender). Select Virus & threat protection here in the right side panel.
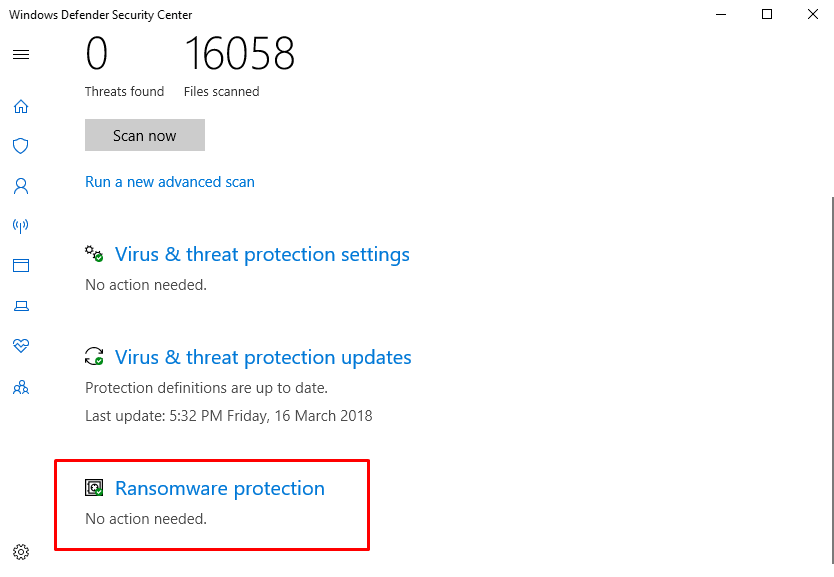
Step-3: Go downward furthermore press Ransomware protection.
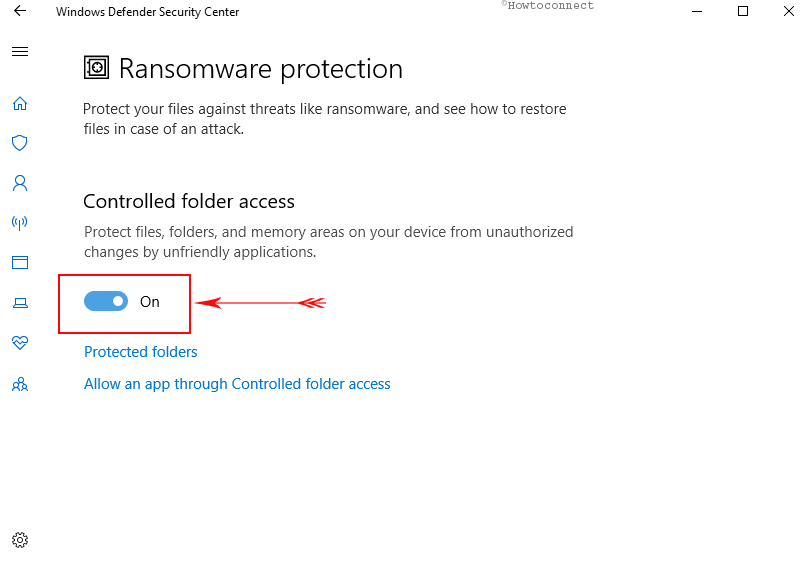
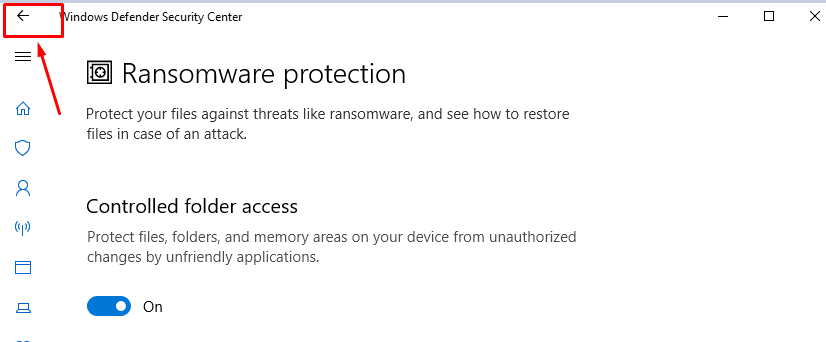
Step-6: On the next page, toggle the Controlled folder access to on, turning it blue. After you get a User account prompt, click Yes to enable the protection completely.
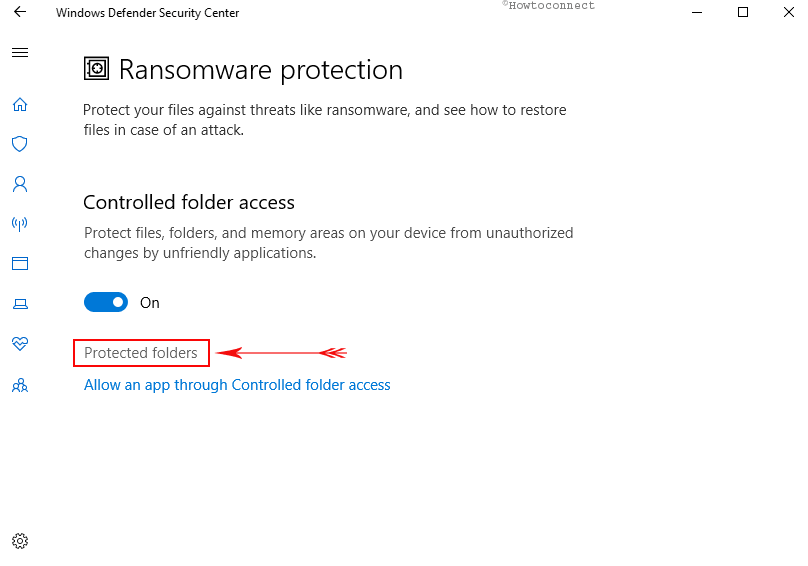
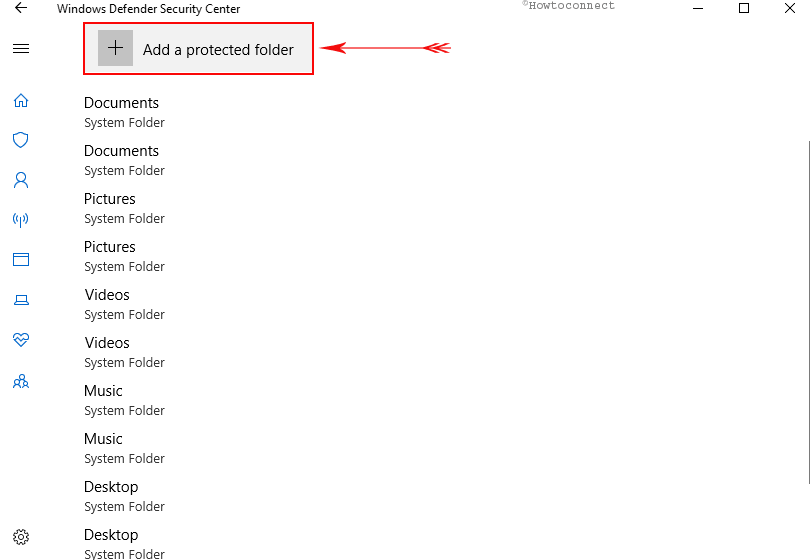
Step-7: Press the Protected folders link to see the list of System folders that are under safeguard.
Step-8: Click on the Add a protected folder icon which you wish to be saved from a ransomware virus.
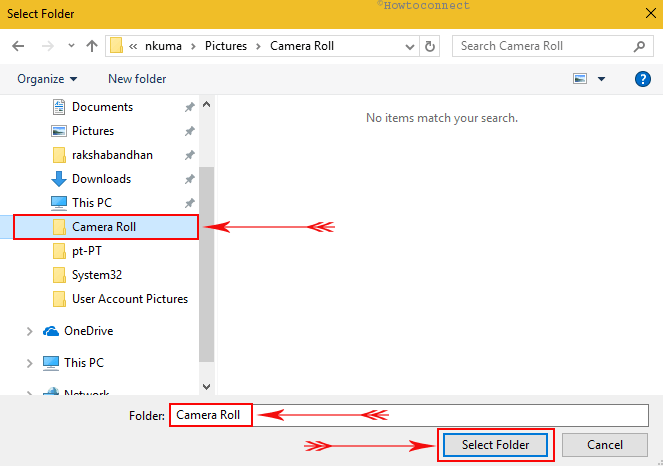
Step-9: Choose an item and click Select Folder.
Note: You can add folders to the default list of the system folders, but you cannot remove that are already present such as documents, pictures or system folders.
Step-10: Click on Back icon on the top right corner to go back to the Ransomware protection again.
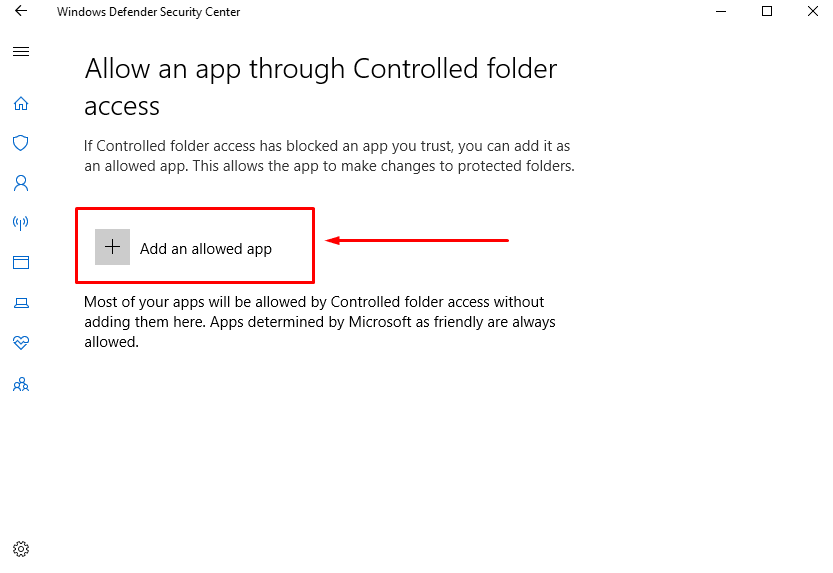
Step-11: Select Allow an app through controlled folder access.
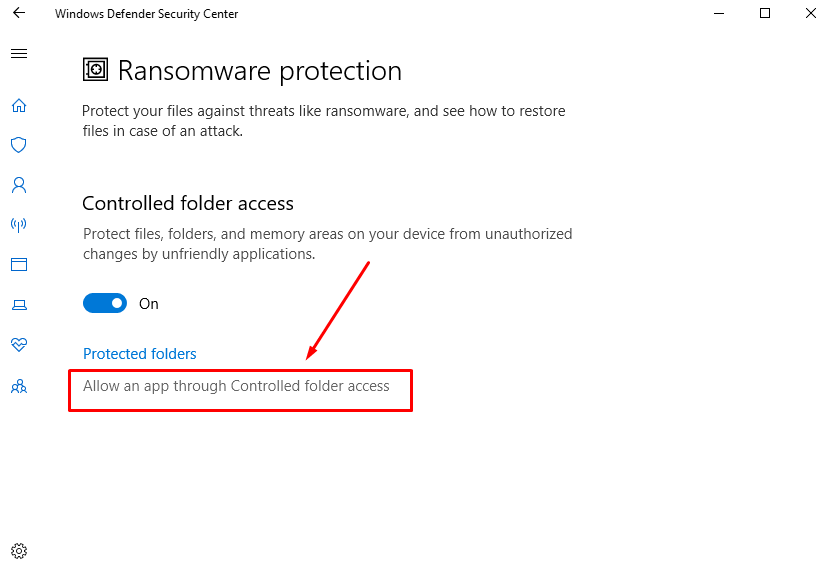
Step-12: Click on Add an allowed app to include an application for protection.
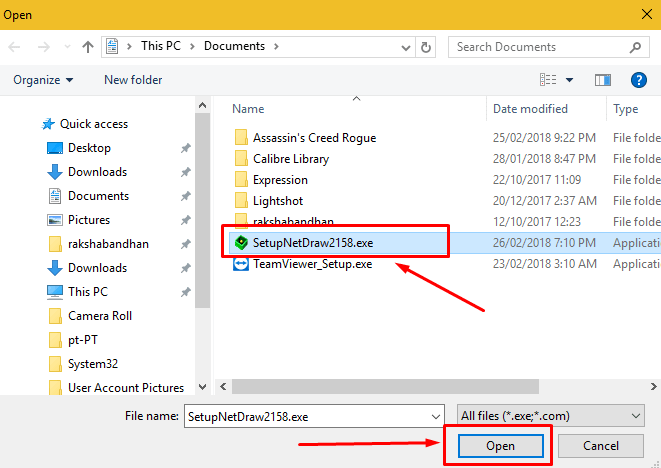
Step-13: In the dialog box, select a file (having either .exe or .com extension) and press Open. Select Yes on UAC popup.
This way, you can manually choose folders and application simultaneously for Windows Defender Ransomware Protection in Windows 10.
Though this is the safe and secure way of enabling windows defender ransomware protection, there are some unknown disadvantages that come with this method. For instance, you will get a number of notifications when you run certain apps like Kindle or your webcam after applying the method. This is because certain apps run directly from system’s AppData directory source. Hence they automatically appear under the controlled folder access as a system file. These applications will need notifications to be allowed every now and again you start them.
As this is the part of the newest update of Windows 10, this feature might simply get unbalanced in the next update we get.
Alternatively, one can use another method which provides a much easier way to protect ransomware. One such software is the PowerShell which lets you enable controlled access in an easier way.
How to Enable Windows Defender Ransomware Protection in Windows 10 via cmdlet on PowerShell
Press Win+X and select Windows PowerShell from the list of options.
Click on Yes on the User account control prompt locking the screen.
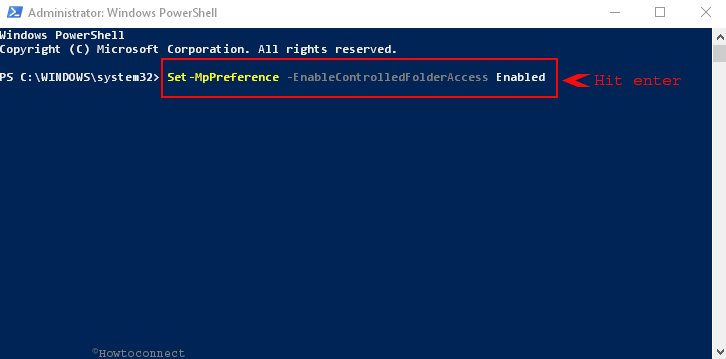
To Enable Windows Defender Ransomware Protection in Windows 10 you can copy paste the syntax and press Enter –
Set-MpPreference -EnableControlledFolderAccess Enabled
To add folders to the list of protected app, use the cmdlet:
Add-MpPreference -ControlledFolderAccessProtectedFolders “<the folder to be protected>”
Under the ‘<>’ area, you can write the address of the folder you wish to add.

Conclusion
The ransomware virus seems to be quite treacherous simply by just knowing its function. For anyone, money is important and should not be invested in handling a hazard that could have been prevented. Windows 10 has given users an easy way to stay out of danger with controlled access.
Though the methods might not be for the tech-savvies, gaining knowledge about it and knowing how to use it can certainly save bucks in the process. The method to Enable Windows Defender Ransomware Protection in Windows 10 might is quite easy and worth learning.