In recent days, few users are getting Right Click on Desktop Taking Too Long in Windows 10 issue. If your PC own any graphics card either Nvidia or Intel, you will get a glimpse of them on the context menu after you administer a right click on the desktop. This is the kingpin of this problem. The right-click is delayed in scrutinizing the context menu. It is taking more than 15 seconds of time to display the commands. So, we bought this article for you where you will find a way to fix right click on desktop taking too long in Windows 10.
The mess lies with the graphic cards that are listed in the context menu. Removing them from there will resolve your trouble and then the context menu will appear the moment you administer the right click on desktop. Now, the question is how to eliminate the graphics card from the context menu? You need to withdraw few keys from the Registry Editor. So, let us head forwards and see how to fix right click on desktop taking too long in Windows 10.
How to Fix Right Click on Desktop Taking Too Long in Windows 10
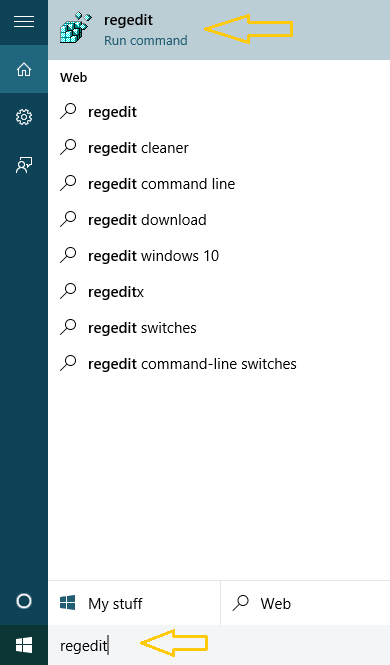
- Type the phrase regedit on the taskbar search field and you will witness the taskbar being unfolded on the screen with a regedit as a final result. Click on it.
- Click Yes when UAC is evoked on the screen.
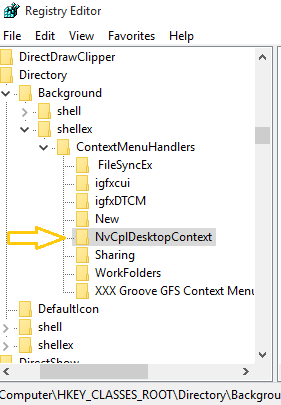
- This action will fetch Registry Editor on your screen. Follow this path: HKEY_CLASSES_ROOT => Directory => Background => shellex =>ContextMenuHandlers => NvCpIDesktopContext
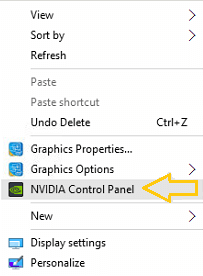
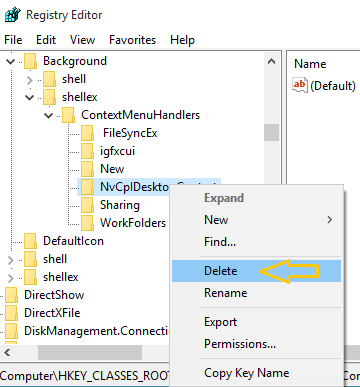
- All you need to do is to remove NvCpIDesktopContext. Right-click on NvCpIDesktopContext and select Delete. If you are eager to know what it does then the answer is this key shows NVIDIA option on the context menu of the right click on your desktop.
- This will remove this entry from the context menu. Now, do the same thing for the Intel Graphics card and Groove synchronization.
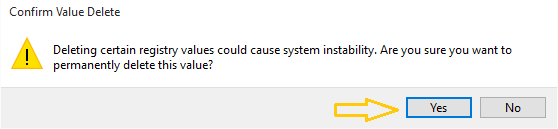
- When you see the caution message, click Yes button.
- Get back to your desktop. Right-click and the commands will be flashed up within the blink of an eye.
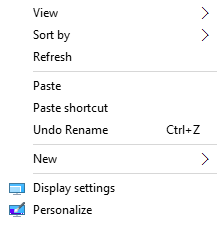
Withdrawal of the graphics items from the context menu lessens the load of the context menu and also makes it easier and quicker to arrive on the screen whenever asked for. Try this and let us the results.
Another tip
If you are unable to Fix Right Click on Desktop Taking Too Long in Windows 10 using the above tips it indicates shell extension 3<sup>rd</sup> is hindering the graphics of mouse pointer to work properly.
Here you will have to take the help of third-party application because searching manually in which shell extensions are troubling you is not an easy task. I will suggest you to
Download ShellExView in Zip file
How to Use ShellExView to Fix Right Click on Desktop Taking Too Long in Windows 10
- After downloading the zip file extract it.
- Make a double click on shellexview.exe file.
- Confirm UAC Prompt by accepting through Yes option.
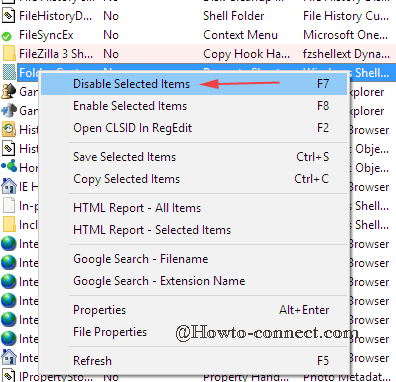
- After then the file will take a little while to scan your System. A file will be accessed with a huge list of folders and file Extensions, class, and source and many other extensions. Scroll down your mouse and search whether which file is having a pink color background.
- Right click on the files having the pink color background and choose Disable selected items.
- Disable all the files having pink color background one by one.
- Restart Explorer or restart your Windows 10 PC.
I have fixed the issue of right-click taking too long on my Windows 10 PC using this application. So I hope it will help you for sure.
Removal of registry NvCpIDesktopContext worked for me.
works perfect to me,, thank you
Had the exact same problem. Follow the steps listed above. What is interesting, is I had this Dell laptop for almost a year no issues. Had a problem and had to restore the OS from backup and right after the restore, this issue came up. But after removing registry entry as noted above, the context menu came right up! Thank you!
Worked great Windows 10 V 1803. I just did the following change:
HKEY_CLASSES_ROOT => Directory => Background => shellex =>ContextMenuHandlers => NvCpIDesktopContext
That worked for me.
Thank you
thank u mann!! vry good post!!
it works
thanks…………….
Go to your browser and product support and drivers and re download video graphics card and install. During installation, being that you still have the former graphics card installation in your computer, it might ask you if to uninstall or repair? Just uninstall and re install the newly downloaded one and it will be solved instantly.
Yes Phillips, you will have to select Enable selected item to do that.
Using the ShellExView app, is there a way to re-enable the Item to what you had when the app first loads?
Second solution:ShellExView worked perfectly!
It works! thanks alot. I only deleted NvCplDesktopContext.
Why not use CCleaner to disable and enable the items in context menu easily!
Hey Varun,
Please search carefully.
“do the same thing for the Intel Graphics card and Groove synchronization”. I found groove sync folder but couldn’t find the intel one. Please help
Long Path Tool is the best solution, try it
It works! Thank you!!!
Delete this also to remove Groove from the context menu.
and I also see something which says Groove GFS Context Menu Handler
I know that is weird, but please assist.