Sometimes Windows 10 users encounter an annoying issue while using touchpad. Cursor or keypress takes longer to respond mostly when playing games. The problem may occur with Dell, HP, Lenovo, Asus or other manufacturers’ laptops or touchscreen devices.
Commonly the cases suggest that touchpad drivers are the main culprit. In some of the evidence, a simple registry tweak fixes Touchpad Delay.
Synaptics Touchpad Delay after Typing
Here is how to fix Synaptics Touchpad Delay after Typing in Windows 10 –
1] Update Synaptics Touchpad
Major reason for any hardware issue including Synaptics Touchpad Delay after Typing in Windows 10 could be its driver. So the first applicable workaround is to update the same. You can either choose to carry out the procedure through Device Manager or manually download the latest version through the manufacturer’s website. This is how you would proceed further –
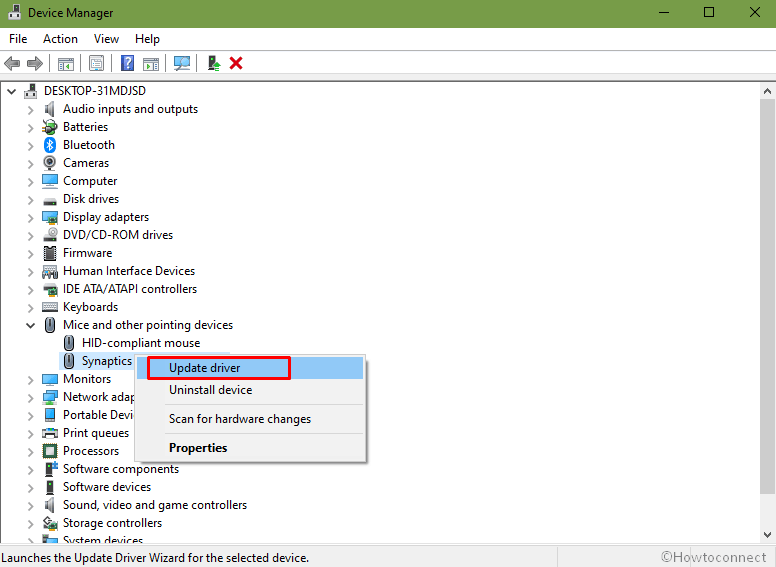
- Right-click on Start icon and select Device Manager from the Win+X menu that shows up.
- Expand Mice and other pointing devices. Execute a right-click on the Synaptics TouchPad and choose “Update driver“.
- Wait for the wizard to find the available updates. The system would download and install the same all by itself.
- If this fails to provide you the latest version, visit the manufacturer’s website. Download the up-to-date driver and install it.
2] Modify Registry Entries
The recent version of Windows 10 Touchpad settings is a little different from its previous editions. Therefore, it is best suggested by the experts to perform a registry tweak. There is a feature called accidental activation prevention (viz AAP) which helps you to ensure that unexpected taps, while you type on an integrated touchpad, are suppressed. Once you change its value to the minimum, i.e 0, would overcome Synaptics Touchpad Delay after Typing issue. Follow the below guidelines to accomplish this solution –
- Press “Win+R” hotkey in order to open Run dialog box. Insert the command regedit and click OK.
- Once you access Registry Editor, go to the below-mentioned path –
HKEY_CURRENT_USER > Software > Microsoft > Windows > CurrentVersion > PrecisionTouchPad
- Switch to the right pane, locate and double-click the DWORD AAPThreshold.
- In the Value data field, insert 0 and click OK.
- To make the changes effective and resolve the touchpad problem, Restart Windows 10 PC.
That’s all!!