One of the most convenient features that Windows 10 Mail app includes is Link Inboxes. If you have attached several accounts in this built-in application, then the OS allows you combine them altogether. So, all the Mails from those accounts will appear in a single inbox, saving time and clicks to access them individually. Here, in this article, we will show you the steps Link/Unlink Inboxes In Mail App Windows 10.
This feature made it very handy for every user with multiple email ids. Sometimes people cannot even remember different passwords, which ultimately leads to the creation of new accounts or just wasting time struggling into finding.
How to Link/Unlink Inboxes In Mail App Windows 10
Link inboxes was first launched for mobile users but recently Windows 10 PC users also have got it.
How to Check Update of Mail App in Windows 10
First, you need to check the version of the Mail app.
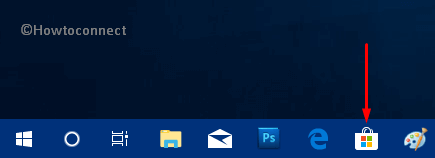
Step-1: Click on the Microsoft Store icon on the taskbar as shown in the below picture.
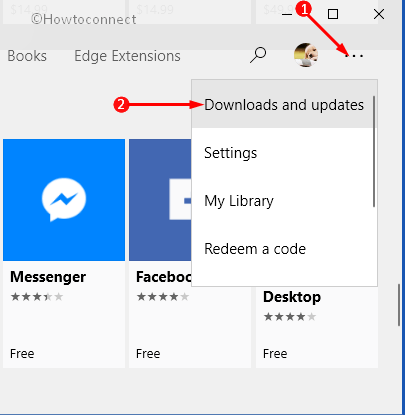
Step-2: Once the Store opens, click on the See more (…) button. From the menu, choose Downloads and updates.
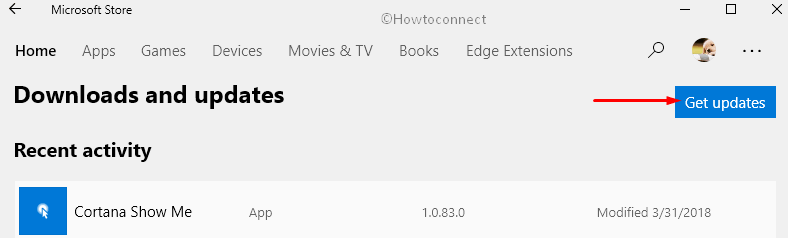
Step-3: Click Get Updates button on the following screen.
Step-4: If there is an update option for Mail and Calendar, go ahead with it.
Here, you may like to know the way to Increase Store App Download Speed in Windows 10.
How to Link Inboxes in Mail App Windows 10
Opting this feature will eventually save you from performing multiple clicks. Moreover, you don’t have to spend so much time in accessing each account separately. See ahead –
I. Open Start Menu and click the Mail app tile on the right side. If you cannot see it there, navigate to the M section and click on Mail.
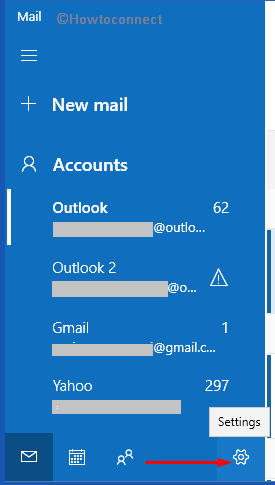
II. Once the application comes into view, click Settings (see screenshot).
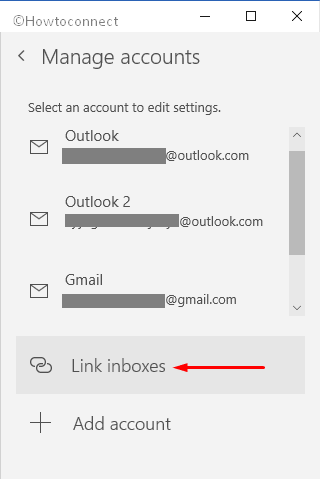
III. This will open a Settings panel on the right side of the application. Here, click Manage accounts.

IV. Moving ahead, make a click on Link inboxes.
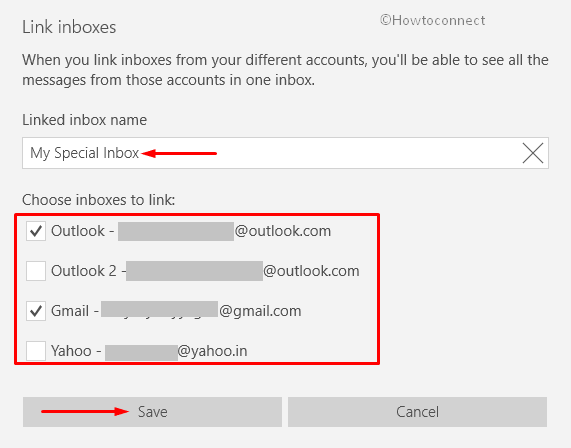
V. A new window will appear where you can view all the emails you have. Now, choose the specific ids that you prefer to use together.
VI. Set any name for the linked inbox otherwise, it will use the default name only. Finally, click the Save button (see snapshot).
How to Unlink Inboxes in Mail App Windows 10
It often happens that you end up adding email ids that do not actually bring any necessary emails for you. If such a thing is happening, it will lead to a huge gathering of emails into the inbox. This usually makes you miss certain important emails which are supposed to be our first priority.
To avoid such cases, you can unlink the email ids which are bringing the unnecessary emails and advertising email you do not need in your mailboxes.
i. First of all, get access to the Mail app.
ii. Find Settings icon on the lower left and click on it.
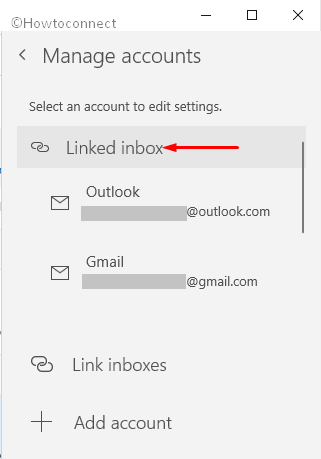
iii. Click on Manage accounts.
iv. Then click on your Linked inbox as shown in the figure below. That will lead you to the list of the email ids that are being linked.
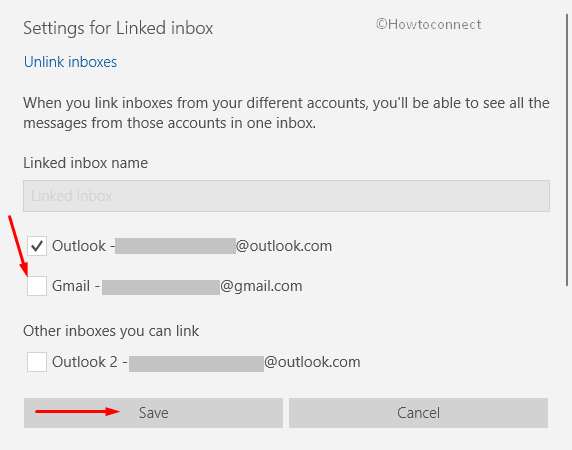
v. Uncheck the specific email ids you don’t want. Lastly, click Save to implement the changes in the application.
Read another feature – Add Clickable Links and Attachments to Emails in Windows 10 Mail App.
That is all you need to know about Link/Unlink Inboxes In Mail App Windows 10.
This united Mail inbox feature actually saves people’s time as well as energy. Windows is trying to bring even more to the Mail app through this feature to make it even more user-friendly for everyone.