Multiple methods to Open Memory Diagnostic on Windows 10 are available in this article. Run command, Control Panel, PowerShell, etc. help to easily launch this tool.
Windows Memory Diagnostic runs a broad memory test to assess if the Random access memory is faulty. This is a fast and easy working tool but before running you need to know the way to open it. If your system is malfunctioning because of bad memory, the Windows Memory Diagnostics tool will automatically recognize the same. The tool asks the user to create a scheduled memory test, which happens during the subsequent restart.
6 Ways to Open Memory Diagnostic tool in Windows 10
Here is How to Open Memory Diagnostic tool in Windows 10 –
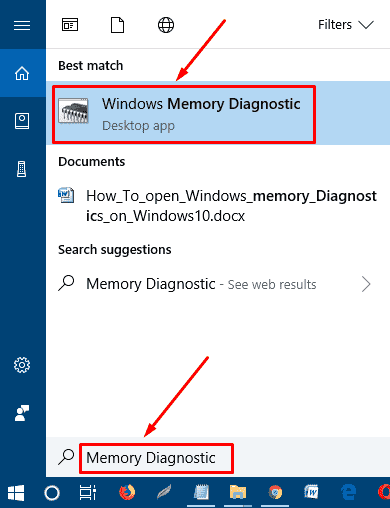
Method-1: Open by Searching
Step-1: In the Search Box, type Memory Diagnostic and hit the Enter key.
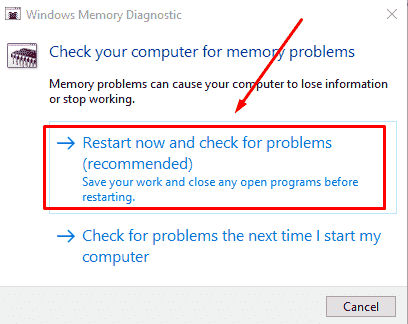
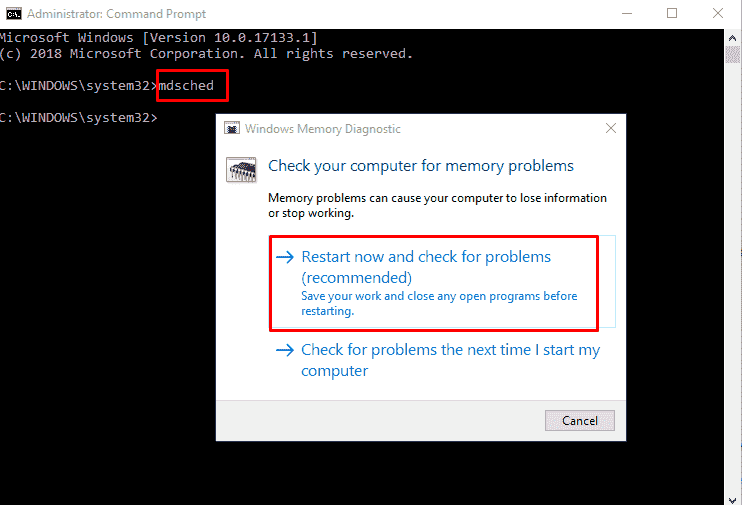
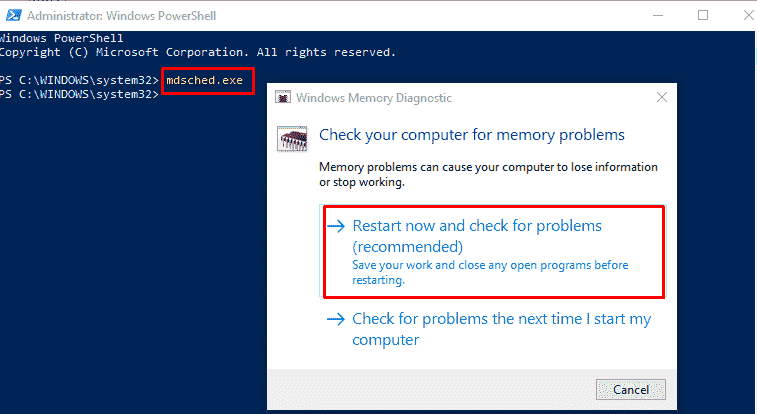
Step-2- Select ‘Restart now and check for problems’ on the dialog.
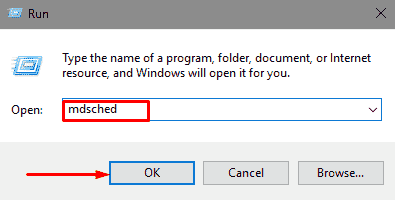
Method-2: Through Run Command
Step-1: Open Run by pressing the keys Windows + R, type mdsched, and click OK.
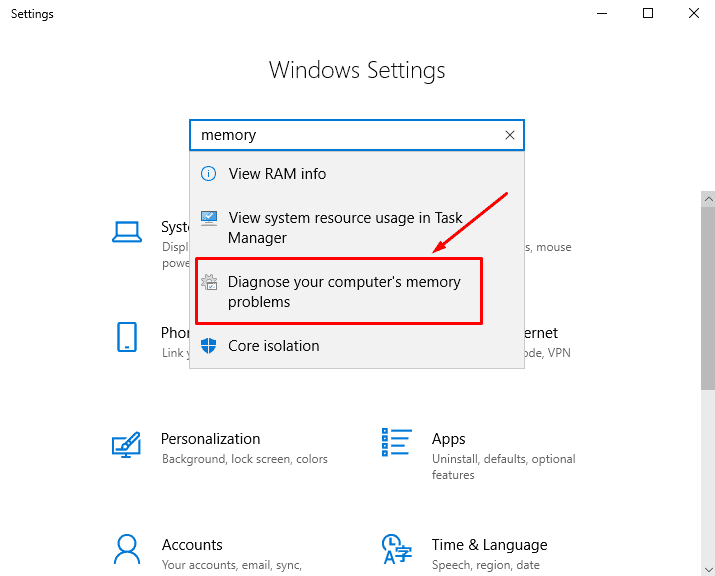
Method-3: By means of Windows Settings
Step-1: Press Win+I to open Windows Settings and type memory in the search box.
Step-2: Select Diagnose your computer’s memory problems from the resulting dropdown.
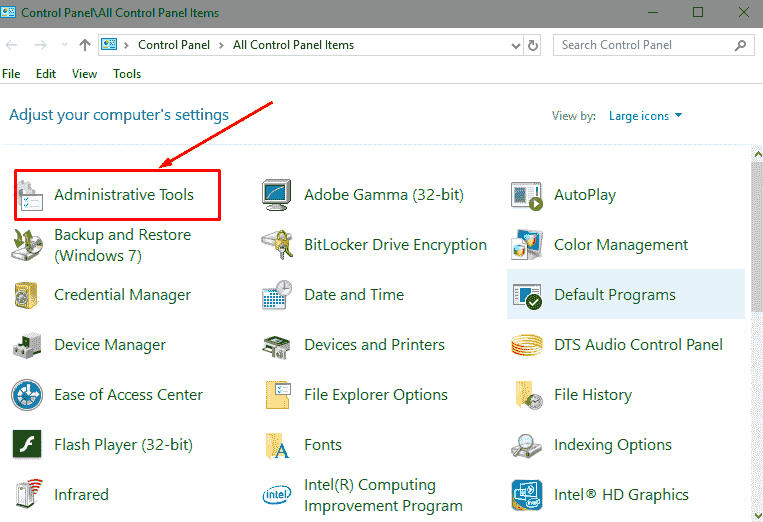
Method-4: Using Control Panel
Step-1: Click on taskbar search, paste %SystemRoot%\system32\control.exe, and then press Enter to open Control Panel.
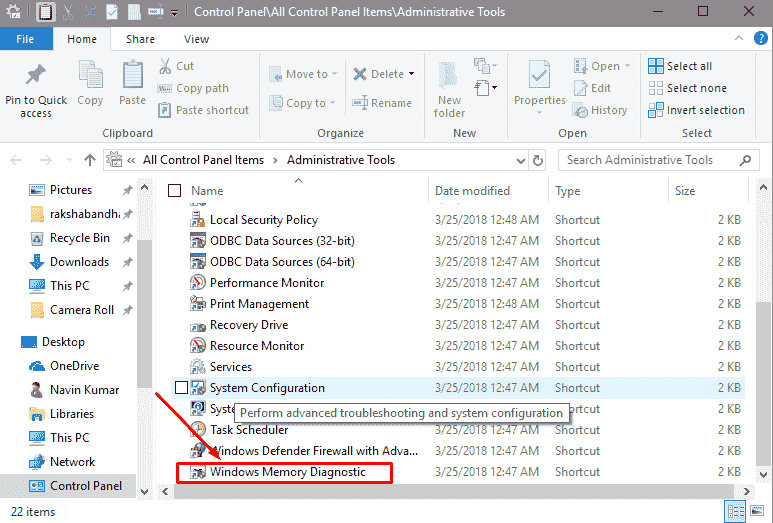
Step-2: Select Windows Tools from the applet.
Step-3: Scroll down to the bottom and double-click on Windows Memory Diagnostic.
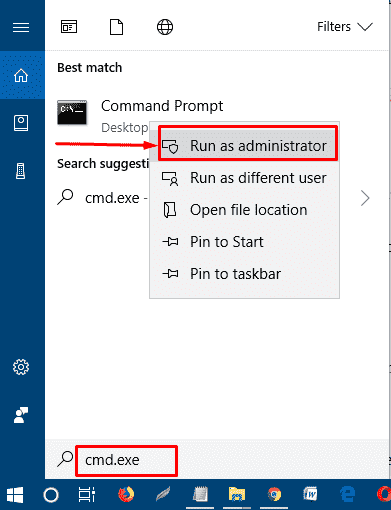
Method-5: Via Command Prompt
Step-1: To Launch elevated Command prompt, type “cmd.exe” in the search bar on the taskbar.
Step-2: While you are viewing “Command Prompt” (Desktop app) under Best match on the top, right-click and select “Run as administrator”.
Step-3: On the command prompt, type mdsched.exe and then press Enter.
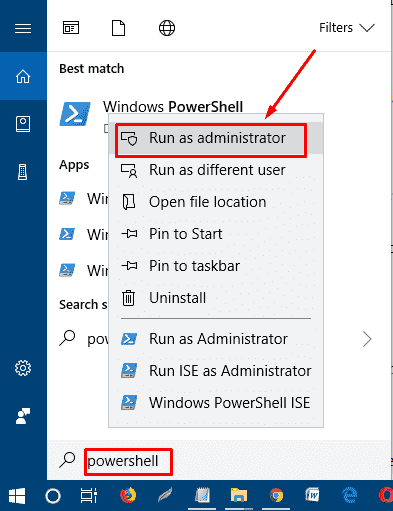
Method-6: with help of Windows PowerShell
Step-1: Type “powershell” in the search field and right-click on the result. Select Run as administrator from the list on the menu.
Step-1: Copy mdsched.exe, paste it into Windows PowerShell, and then press the Enter key.
These are the 6 ways to Open Memory Diagnostic Tool in Windows 10.
Methods:
Method-1: By searching
Method-2: through Run command
Method-3: By means of Windows Settings
Method-4: Using Control Panel
Method-5: Via Command Prompt
Method-6: with help of Windows PowerShell
That’s all!!