Delivery Optimization is one of the new and exciting features that Microsoft ships to Windows 10 and 11. By default, it is enabled in all the editions of this latest operating system. Machines running Windows 11 or 10 will get updates through Internet source or local networks with this feature. So, in this tutorial, we will present you the ways to Set Max Cache Size that Delivery Optimization Uses on Windows 11 or 10.
This eventually helps you to receive updates and apps more quickly when you have a limited or irregular Internet connection. Now, the interesting part is that this feature uses the locally stored cache. Depending on your local storage, it lets you adjust its cache accordingly.
Max Cache Size that Delivery Optimization Uses on Windows 11 and 10
“Delivery Optimization” provides you two settings to manage cache content on your local storage – a) Max Cache Size and b) Absolute Max Cache Size.
Max Cache Size: It lets you restrict the maximum amount of space the feature cache utilizes as a percentage of the local drive ranging from 1 to 100. For instance, if you assign its value as 10 on a machine running Windows 10 that has 100 GB of available space, then the feature will utilize up to 10 GB.
Delivery Optimization will continuously evaluate the available space and all by itself eradicate the cache to keep the maximum cache size under the set percentage.
Absolute Max Cache Size: When you customize this policy, it will overrule the above Max Cache Size setting. This particular policy identifies the maximum number of gigabytes (GB) the Delivery Optimization cache can utilize.
Set in Percentage through Local Group Policy Editor
1. Type gpedit on taskbar search and click Edit group policy that appears as the result.
2. Expand the below-given path on the left pane of the Group Policy Editor.
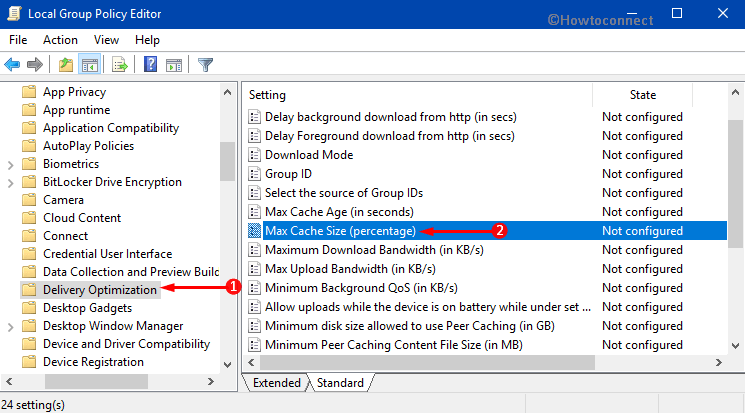
Computer Configuration => Administrative Templates => Windows Components => Delivery Optimization
3. Once you reach Delivery Optimization, shift to its adjacent right side. Here, locate and double-click the policy Max Cache Size (percentage).
4. A new window will open up, select Enabled radio button on the top left. Moving on, go to the Options section and change the Max Cache Size (percentage) between 1 to 100 as per preference.
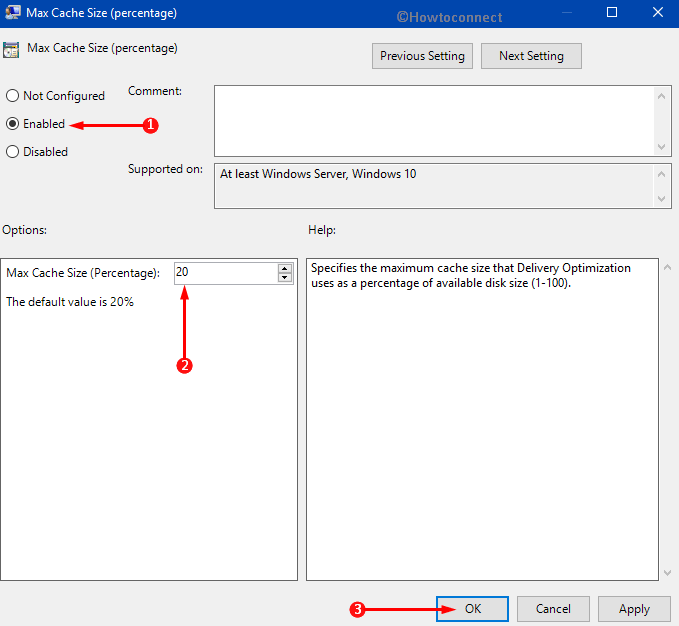
Note – 20% is the default value for Max Cache Size.
5. If you prefer to use the default percentage, select the Not Configured option.
6. Finally, click Ok to implement the modifications of Delivery Optimization.
Set Max Cache Size that Delivery Optimization uses in Gigabytes via Group Policy Editor
A. First of all, open group policy editor. The quickest method is by typing gpedit on Cortana and hitting the Enter key.
B. Once you get access to the Group Policy Editor, navigate to the following path on the left portion.
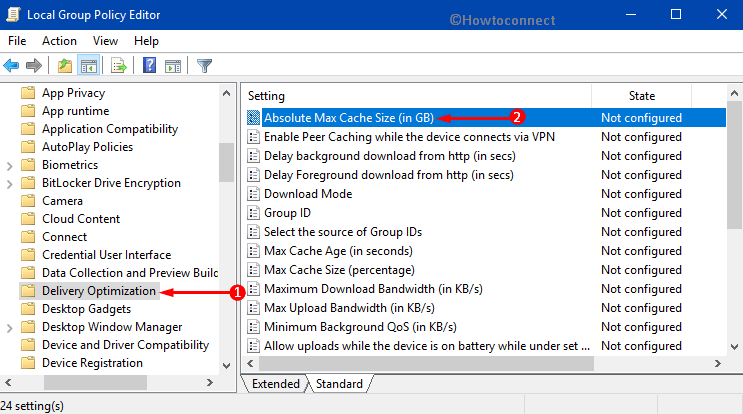
Computer Configuration => Administrative Templates => Windows Components => Delivery Optimization
C. Next, switch to the right side and perform a double-click on the policy namely Absolute Max Cache Size (in GB).
D. So, to specify your preferred value, first, select Enabled. Proceeding forward, underneath the Options section, enter the preferred size in GB as shown in the below picture. Moreover, for unlimited size, you can set 0 as the value.
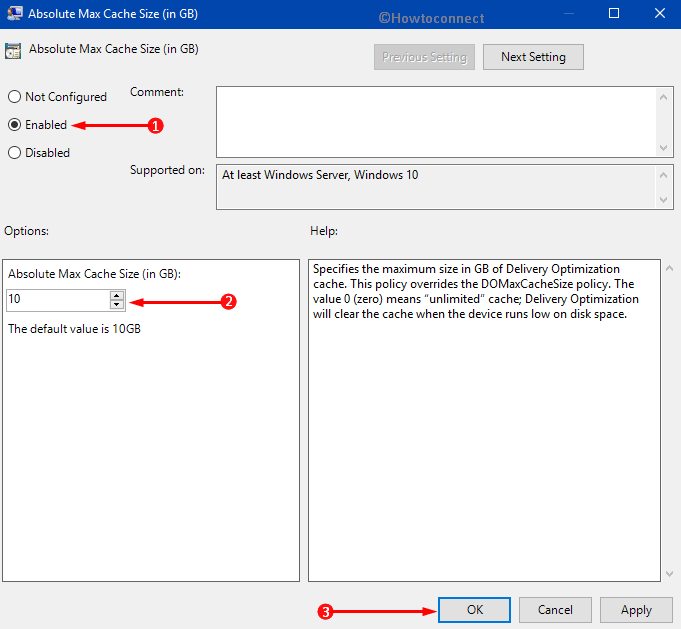
Note – 10 GB is the default value for Absolute Max Cache.
E. However, if you want to use the default size select Not Configured option to the top left.
F. As the last thing, hit the Ok button to save the changes.
Set in Percentage using Registry Editor
Step 1 – Access Registry Editor and to do so, type regedit on Cortana. When you notice the same command as the result, select it. If you come across a UAC prompt, hit Yes to proceed further.
Step 2 – Browse to the below-given key in the left side of the “Registry Editor”. Instead, you can also copy/paste the entire path to directly reach the key.
HKEY_LOCAL_MACHINE\SOFTWARE\Policies\Microsoft\Windows\DeliveryOptimization
Note – In case, the Delivery Optimization key is not present, then create a new one. For this, conduct a right click on Windows key, hover over New and choose Key. Give Delivery Optimization as its name and hit Enter.
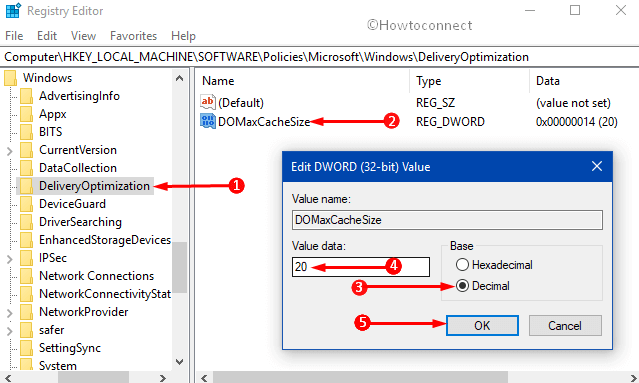
Step 3 – Shift to the right panel of Delivery Optimization key and double-click on the DWORD DOMaxCacheSize.
Note – If you cannot see the above string value, quickly create it. On the right pane of Delivery Optimization, perform a right-click on an empty area, select New followed by a click on the “DWORD Value“. For its name, type DOMaxCacheSize and hit Enter.
Step 4 – In its edit window select Decimal option. Then enter the MAX Cache Size (percentage) accordingly between 1 to 100 in the Value data box. The default percentage is 20.
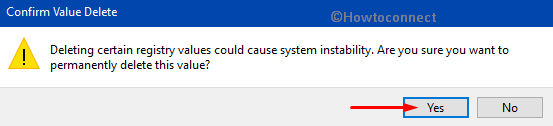
Step 5 – If you prefer to set the default Max Cache Size (percentage), then do a right-click on the DWORD DOMaxCacheSize and click “Delete“.
Step 6 – Upon the confirmation, hit the Yes button as depicted in the below snapshot.
Set Max Cache Size that Delivery Optimization uses in Gigabytes From Registry Editor
i. Hit Windows logo + R keys and type regedit on the “Run dialog”. Make a click on the Ok button to launch the Registry Editor.
ii. On the left sidebar of Registry, go to the following path.
HKEY_LOCAL_MACHINE\SOFTWARE\Policies\Microsoft\Windows\DeliveryOptimization
If DeliveryOptimiztion key is not present, then you have to generate it. So, right-click Windows key and choose New moreover click Key. Next, name it as DeliveryOptimization.
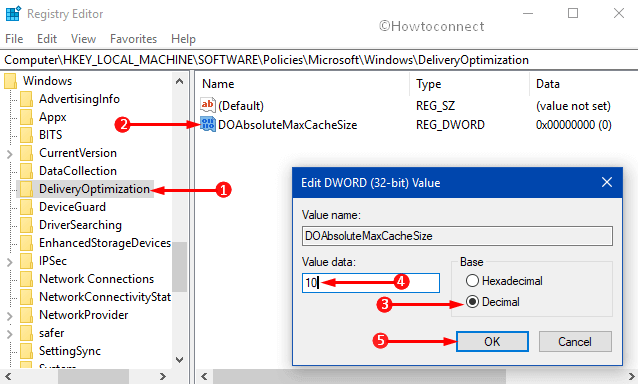
iii. Go to the corresponding right pane of the key and double-click the string value namely DOAbsoluteMaxCacheSize.
Here also, if the string value does not exist, right-click somewhere on an empty space on the right side. From the list of options, click New and String Value. Assign its name asDOAbsoluteMaxCacheSize.
iv. Select the Decimal option on the pop-up and set Absolute Max Cache Size (GB) as per requirement in the Value data box. Lastly, click OK to modify the changes of the string value.