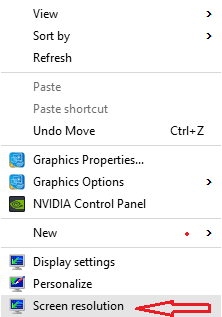
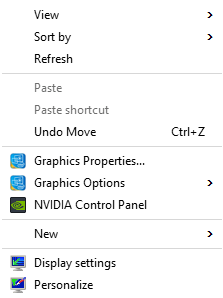
As the development of Windows 10 is crossing the advance stage, new things are coming out into the light. The context menu of the Desktop will no more display you the Screen Resolution option. But you can create a custom one. If you prefer to see it again we will let you know How to Show Screen Resolution in Desktop Context Menu in Windows 10.
You may like to read:
How to Change and Configure Screen Saver on Windows 10
When you execute a right-click on the Desktop of Windows 10, you see few options which are termed as “Desktop context menu”. Till the previous build of Windows 10, the Screen Resolution was present in the Desktop context menu. But the new release of Windows 10 Build 10074 substituted Screen Resolution with Display Settings. The sharpness of the pictures and text exhibited on your screen mentions the Screen Resolution. The appearance on your screen depends on the resolutions. When the resolutions appear to be of higher quality, you can see many small size items on your screen. And if the resolution is not that larger (800×600) you might see fewer items only but in large sizes. So, if you are among the users who take very good care of their Screen Resolution and find the Desktop context menu the easier way to get into it, you can add it now in Windows 10. Read out the steps below!
How to Show Screen Resolution in Desktop Context Menu in Windows 10
Show Screen Resolution
- Click or hit the Download button and save the downloaded file.
- Now, you have the downloaded .reg file.
- Execute a double click on it and when UAC prompts up, click Yes button.
- Now, the Screen Resolution is added to the Desktop context menu.

Delete Screen Resolution
- Click or hit the Download button and store the downloaded file.
- Twice hit on the downloaded .reg file and you can see a UAC.
- Click Yes button.
- The Screen Resolution will be removed from the Desktop context menu.

This is the way you can How to Show Screen Resolution in Desktop Context Menu in Windows 10 pretty easily.

