In Windows 10, 8, utility tool Disk Error Checking has been modernized with more handy enhancements. Its new features seem more valuable than previously contained windows operating systems. It is known as chkdsk utility tool and used to fix drive of a computer like disk error, lost clusters, repair of hard disk bad sectors, fix corrupted file systems errors. The trouble creates due to sudden shutdowns, corrupted application files, bad sectors in hard disk, Infected virus and a lot more. It can assist you to resolve few troubleshoot of computer and try to give better windows performance.
Microsoft has presented new file system in windows 10, 8 which is recognized like ReFS. It does not need to run chkdsk in offline mode to resolve hard disk errors or repair file systems. If potential errors are revealed from chkdsk tool then you will get alerted ahead. It automatically begins system scan in background mode while you are accessing computer. If you get system errors at this time, you will have to reboot your computer through upcoming warning messages.
Way to Use Disk Error Checking in Windows 10,
- To start the Disk error scan in Windows 8, firstly right-click on the preferred drive.
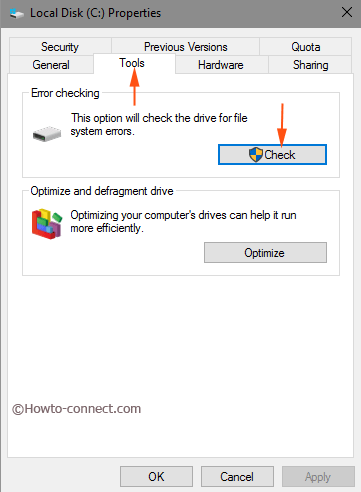
- Choose its Properties. Then click on Tools tab at the top panel.
- From Error checking section, hit on the Check button.
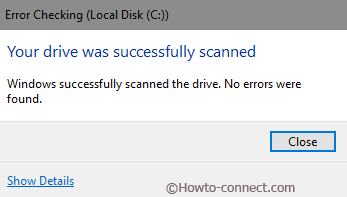
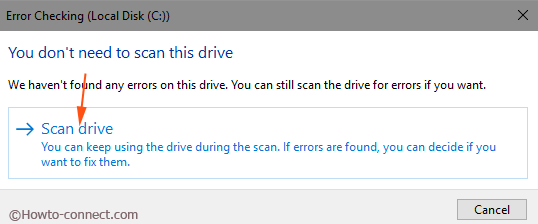
- Next, if your windows 10, 8 do not find errors then you will get a message – You don’t need to scan this drive. On another hand, if disk errors are found, a scanning of checking windows will be continued for few minutes to fix it.
- Now you need to reboot your computer to finish Disk Error Checking in Windows 10, 8.