strong>Procedures to Include Accounts Using Exchange ActiveSync in Mail App Windows 10 through steps. – Windows 10 allows to Integrate iCloud and Gmail and other mail services to the Mail App. In addition, you can also add accounts that use exchange ActiveSync. You might have known that ActiveSync works for the synchronization of Mobile devices accounts with a desktop.
Exchange ActiveSync is popularly referred with a short name, EAS. This is a communication protocol that is specifically equipped to sync emails, tasks, and calendar from messaging server to many mobile devices including Windows 10 computer. So, after you Include Accounts Using Exchange ActiveSync in Mail App, you can straightaway read the emails. One advantage of the inclusion is that you don’t have to download or store any email because you will be able to access them right away from Exchange Server. Moreover, Exchange ActiveSync also allows you to access emails even when you don’t have an Internet connection.
Include Accounts Using Exchange ActiveSync in Mail App Windows 10
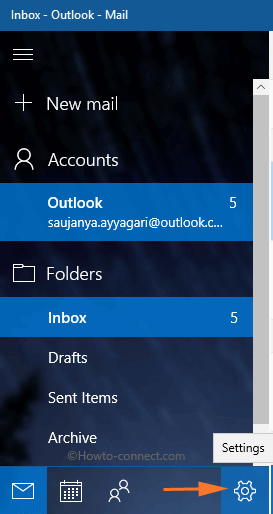
Step 1 – First of all, open your Mail app. You can open it by clicking its icon that is on the taskbar, else launch it from the Start Menu.
Step 2 – Now, when the Mail app shows up on your PC screen, click Settings (gear shape one) on the lower left sidebar of the app.
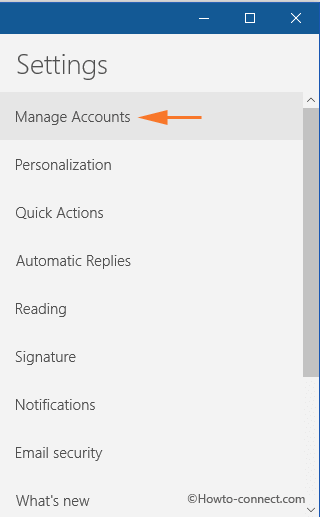
Step 3 – This will make the Settings panel appear on the right-hand side of the Mail app. Settings pane displays many options, so, click the first one, Manage Accounts.
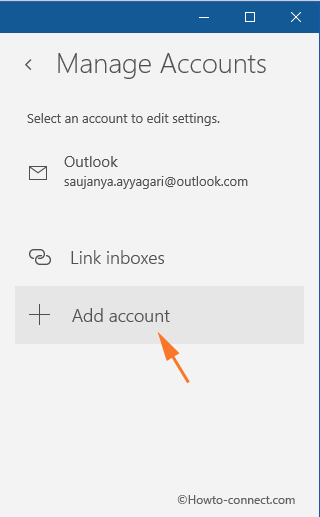
Step 4 – Next, few options will be visible on the Manage Accounts pane, select + Add account.
Step 5 – Moving on, one small dialog box with a title Add an account will pop-up. Locate and select the option Advanced setup in that box.

Step 6 – Now, the Advanced setup will display two options, click the first one Exchange ActiveSync.

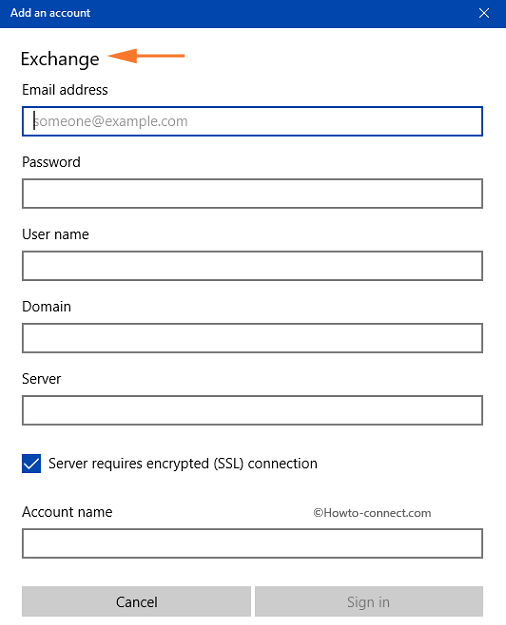
Step 7 – Next, enter the proper details in the respective fields.
Email address – Write the address of the account that you want to include and is using Exchange ActiveSync.
Password – Write the password of the email address in this respective field.
Username – In this field also enter the address that you want to add.
Domain – Don’t provide any information in this box, leave it empty.
Server – Write down the name of the server.
Server requires encrypted (SSL) connection – Put a tick mark on this option.
Account name – Provide a description of the account, else write the email address again.
Step 8 – After entering all the details, cross checks them and lastly, click Sign in button.
Step 9 – In the end, a success note will come up, select Done. Finally, you Include Accounts Using Exchange ActiveSync in Mail App Windows 10.
Conclusion
The methods to Include Accounts Using Exchange ActiveSync in Mail App Windows 10 is pretty effortless. All you need is to correctly input the credentials to add up the account to the Mail app. If you know more about Exchange ActiveSync and its inclusion to the Mail app in Windows 10, please do write to us in the comments form.
Hi, I have been looking for some help with an issue, when I try to set a email account just like you have described before but into Windows 11 Mail and calendar, but it never syncs. I read in a post that MS had disabled ActiveSync into Windows 11 so people buy Office 365 but I dont know if this is true or false.
Would you try it in Win 11?
Thanks in advance… kind regards