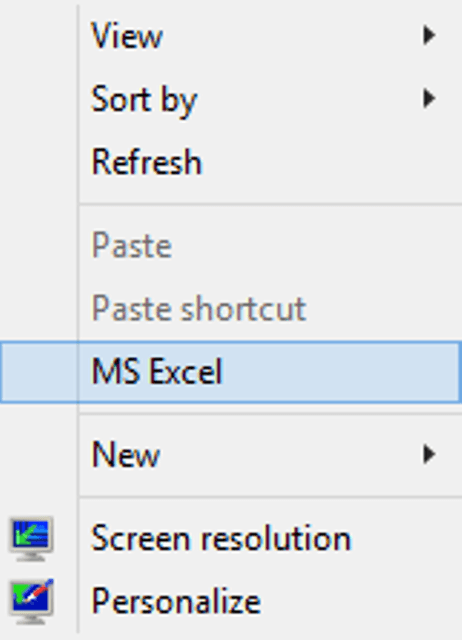
There are certain apps on which we practice quite bit regularly. Every time going to the Start Screen or menu and checking for the application really takes up your time especially when you are in a hurry to open them. You can easily access your application from the context menu of your desktop. Yes, when you right-click on an empty space on your desktop, you can see a context menu. You can Include an Application to Context Menu as an option and arrive at the application with mere one click. Here in this tip, we will show you how to Include an Application to Context Menu on Windows 10, 8.
You have to do some settings in the Registry Editor and your work will be done. Follow the tips below –
How to Include an Application to Context Menu on Windows 10, 8
- You have to open Registry Editor first.
- And to do so jointly hit two keys (Windows and R) on your keyboard.
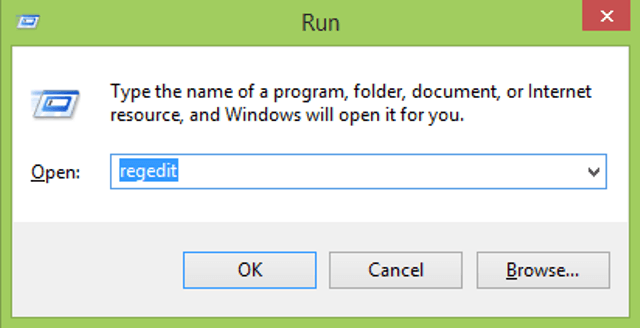
- This action will lead to open the Run command dialog box.
- Type regedit on the text field and click Ok to continue.
- A User Account Control will pop up on your screen for your permission to proceed further.
- Click Yes.
- Registry Editor window is now open up on your screen.
- Now follow the path below to do some changes –
HKEY_CLASSES_ROOT\Directory\Background\shell
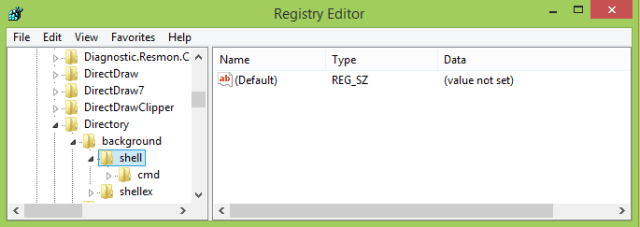
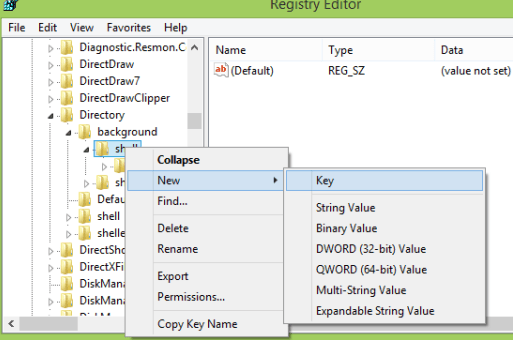
- You will create a new key under Shell. The name of the key will be what you desire to use on your context menu.
- Right click on the Shell and select New followed by Key.
- Provide your desired name to the key. I am using MS Excel!
(Here is a small note for you. If you want to get easy access to this menu entry and wish to provide any “Alt” key to this menu entry then you require changing the default value on the right pane of the window. When you double-click on it, a new Edit String dialog box comes to sight. Put an “&” symbol in front of the key that you want to use. I don’t feel this method quite satisfying as anyways I have to right-click my mouse.)
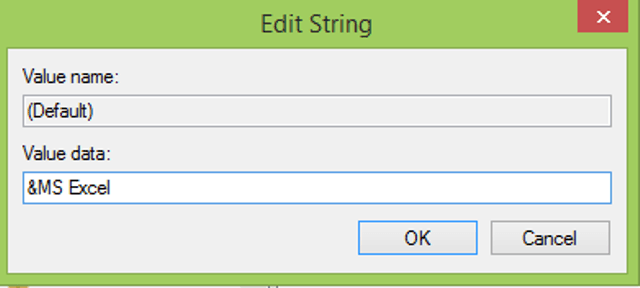
- Furthermore, you need to create a command key that will carry the command to launch the application.
- Right click on the MS Excel key and select New and succeeding Key.
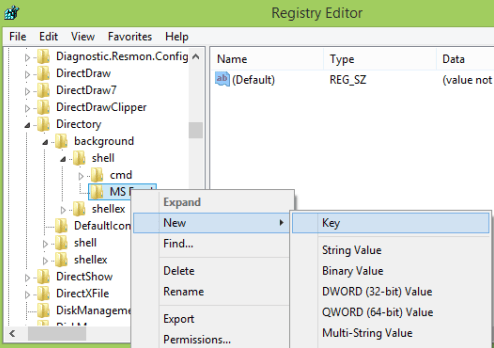
- Provide “command” as a name to this newly created key.
To accomplish this step, you have to provide a full path to your application. To get the full path, open your Windows Explorer. Go to the location where your file is located. If you don’t know the location then search the same in Windows Explorer. Once you get the location, press the Shift key, and Right-click the mouse at the same time. You will get a menu with many options. Select Copy as Path.
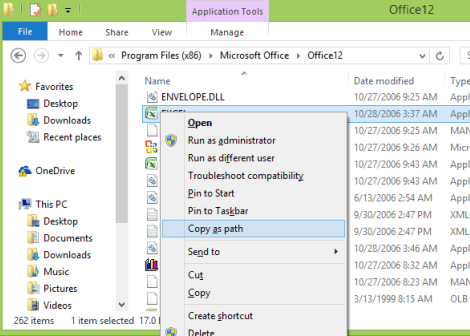
- Click on the command key.
- Go to the right pane of the window.
- Double click on the Default key.
- An Edit String window appears on the screen.
- Under the Value Data field, paste the path that you have copied earlier.
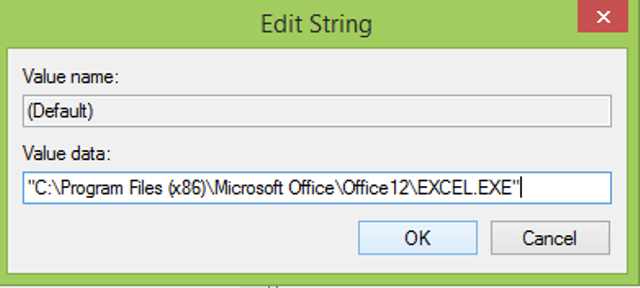
- Click Ok to save the changes.
- Exit yourself from Registry Editor.
- Now right-click on a vacant area of the desktop and confirm whether the application has got included in it.
