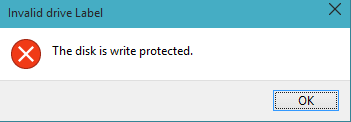
Write protection (read only) restricts somehow activity to take place on your disks like SD card or Pen drive. It stops the contents of the disk from being changed. You will not be able to access when it is connected to your own computer or another PC. If you have anything important on the disk and wish no one should do any change, you can make it write protected.
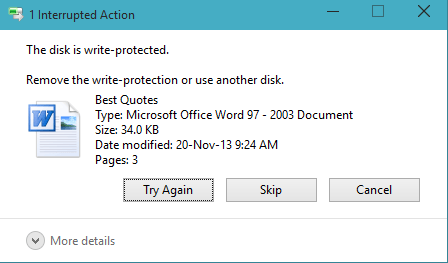
There are various methods to Make a Pen Drive Write Protected in Windows 10. You can edit write protection on your own using some command or using like Cryptainer LE which secure your data efficiently and easily. When you Pen Make a Pen Drive Write Protected in Windows 10 you will get following screenshots like messages when you connect it to your Computer.
Make sure you need to sign into Windows 10 with all the administrative authorities to do the write protection on disks.
How to Make a Pen Drive Write Protected in Windows 10
This method is applicable when you insert removable disks to your computer.
- This method is executed through Elevated Command Prompt. Hence, right click on the Start Menu icon on the taskbar to open Power user menu and choose Command Prompt (Admin). The elevated Command Prompt arrives on your screen.

- Copy diskpart and paste into the command prompt and hit Enter key.

- Again, copy and paste list disk into the Command Prompt, and tap Enter. After then you can see the disks existing in your PC are listed in the command prompt.

- You need to type command select disk #. (Remember to replace # with the number of your pen drive. For instance select disk 1)

- Now, copy and paste the command attributes disk set readonly

- Now, try to perform any changes on your Pen drive and you will fail to do so. Hence, you are successful to Make a Pen Drive Write Protected in Windows 10.
Remove Write Protection of Pen Drive on Windows 10
- Copy diskpart and paste into the Command Prompt and subsequently a hit on Enter.
- Then type list disk and press Enter key to get the list of the disks.
- You need to now pick up the disk to remove its write protection. So, copy select disk #. (Replace the # symbol with the disk number) and paste this command succeeded by a hit on Enter.
- Finally, copy attributes disk clear readonly and paste into the command prompt followed by striking Enter button.

Open your Pen drive and do your preferred changes.