How to Make Windows 10 Auto Logon After Sleep – You all set specific times for your Windows 10 computer to get into sleep position. But some users are left irritated as they have to enter the password, again and again, to sign in and resume the desktop. If you also do not prefer to write password repeatedly while your computer is resuming from sleep, no problem! We bring you this article which says you how to make Windows 10 Auto Logon After Sleep.
Sleep position is used by the users to save their system’s energy and also not to display the happenings of the screen to all, especially when they are away from their computers. This safety measure sounds fine till here but to make the system active, you need to enter the password every time. And this situation is not liked by everyone and so might want to avoid it. So, you are finding a way through which you can allow your system to enter sleep mode but while resuming it, you don’t want to enter a password. Then let us begin with the steps and see How to Make Windows 10 Auto Logon After Sleep.
Related:
How to Enable Hibernate on Power Button on Windows 10 – 5 Steps
How to Make Windows 10 Auto Logon After Sleep or Standby
1st Way: Through Settings
- Tap on Settings icon on the Start Menu to Get access to the Settings Windows.
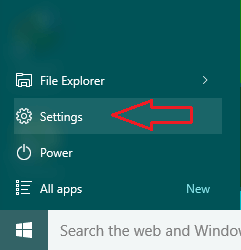
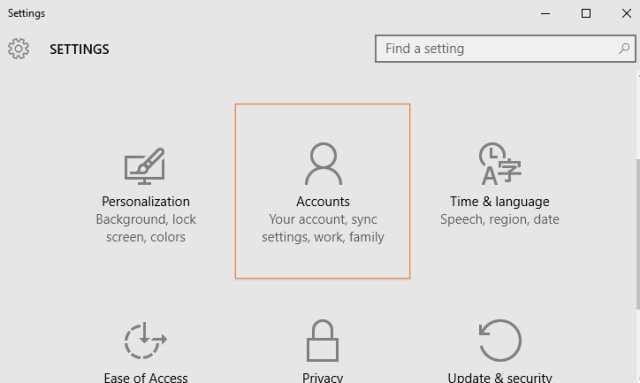
- Press (hit)Accounts on Settings Window.
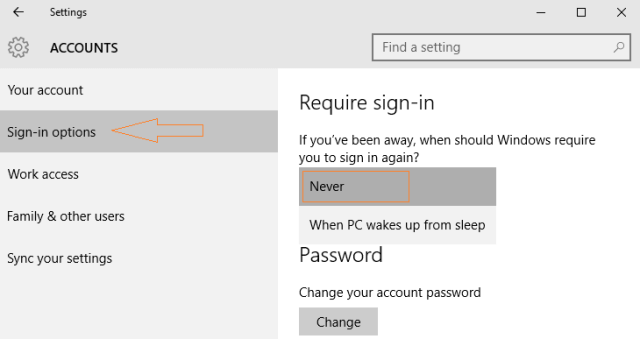
- By default it opens up into Your Account. Click Sign-in options to proceed to Make Windows 10 Auto Logon After Sleep. In the left sidebar of the window, you see Require Sign – in at the top saying If you have been away, when should Windows require you to sign in again. Click the drop down just below and select Never.
- You need to be present in the Power Options window to Make Windows 10 Auto Logon After Sleep. There are a few different ways to do it. Launch Control Panel with the small or large symbols and pick up Power Options.
2nd Way: Through Power Options
- Launch Control Panel and from the list of icons, search and click Power Options.
![]()
- Or, open Start Menu, type power plan, and moreover, click Choose a power plan on top of Cortana.

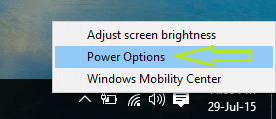
- Thirdly, right-click on the battery bar of your taskbar and select Power Options. (This is applicable for laptop users).
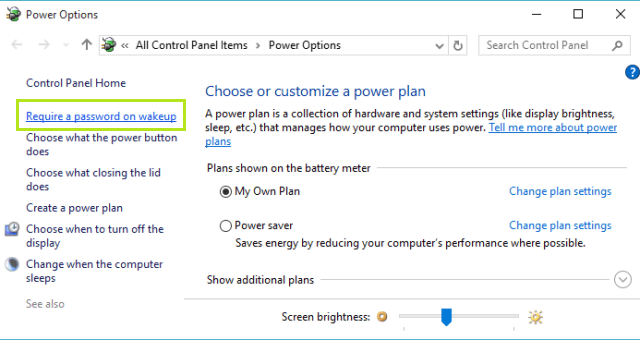
- You see Power Options window on your screen where you need to press Require a password on wakeup link lying down at the left sidebar.
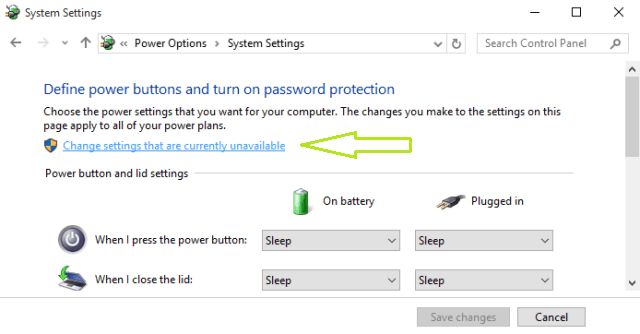
- In the following window, click Change settings that are currently unavailable.
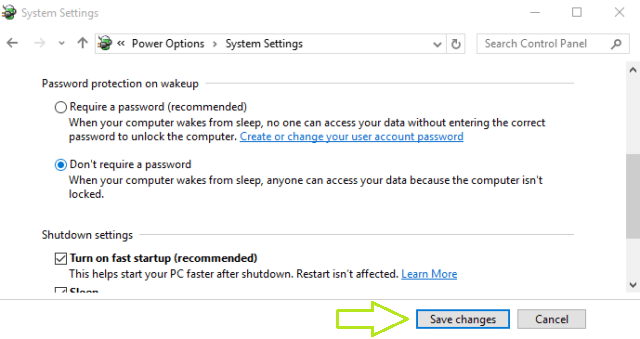
- You will be shown the list of settings that were hidden. Make your way to the Password protection on wakeup segment.
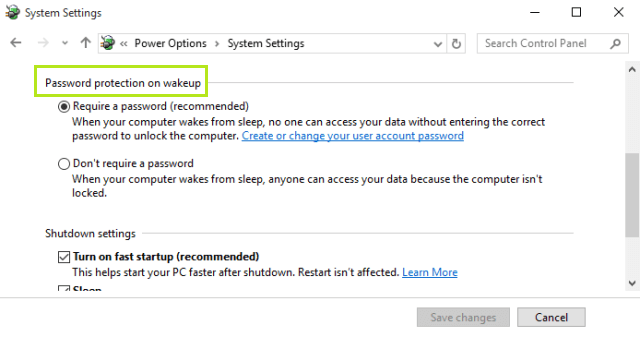
- You can see two options lined up under this section. Click the radio button of the option that says Don’t require a password.
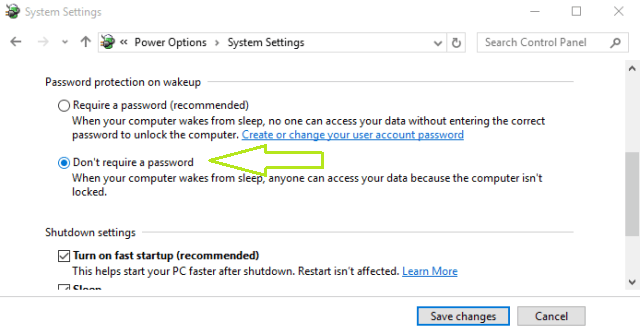
- In order to apply the modification, click Save changes button.
- Now, wake up your system from sleep or standby without entering password!!!
Many users definitely prefer password if they have something very important. But to other users, typing it every time seems time-consuming and annoying. So, with few simple clicks get rid of this issue, Make Windows 10 Auto Logon After Sleep and enjoy working on Windows 10!!!!
Thanks for complement.
thanx your guidance is really very helpful for us