Manage Known Networks is a settings segment that provides you keep a hold on Wi-Fi connections in Windows 10. Add, Forget, and Properties and a lot more options here are efficient to make secure continuous internet access available. Privacy of a user is well understood and you will find many tools in the concern. Let’s see further that how you should handle this Network & Internet settings section to get the maximum benefit.
Ways to Manage Known Networks in Windows 10
See the way to open the Settings area before entering deep into different options.
How to access Manage Known Networks in Windows 10
Way-1
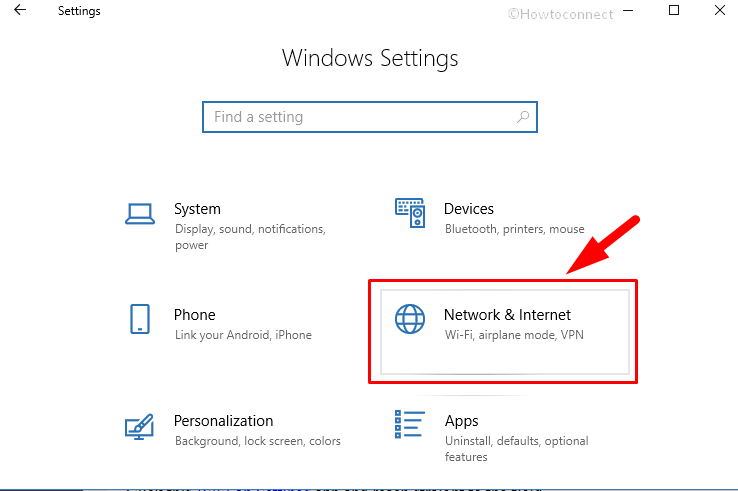
Step-1: Open setting app by pressing Win+I hotkeys directly.
Step-2: Placing the cursor over Network & Internet highlights it. Click on this area.
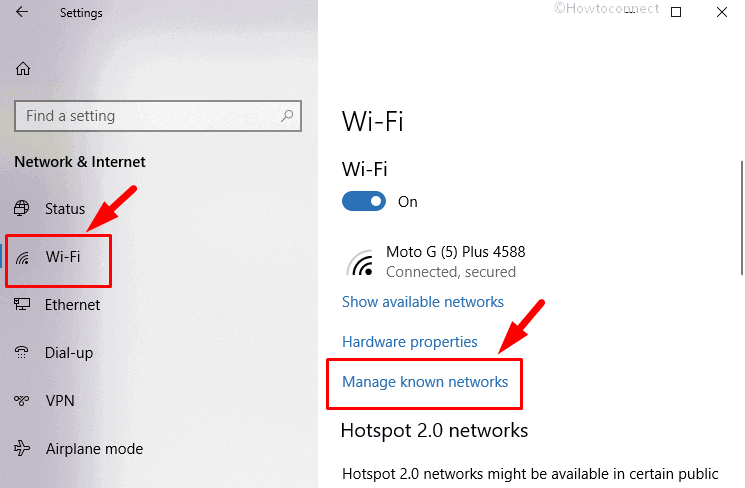
Step-3: Select Wi-Fi from the left pane to see all the corresponding option on the right. Scroll down and perform a click on Manage Known network link.
Way-2
Click this WiFi on Settings app and reach straight to the field.
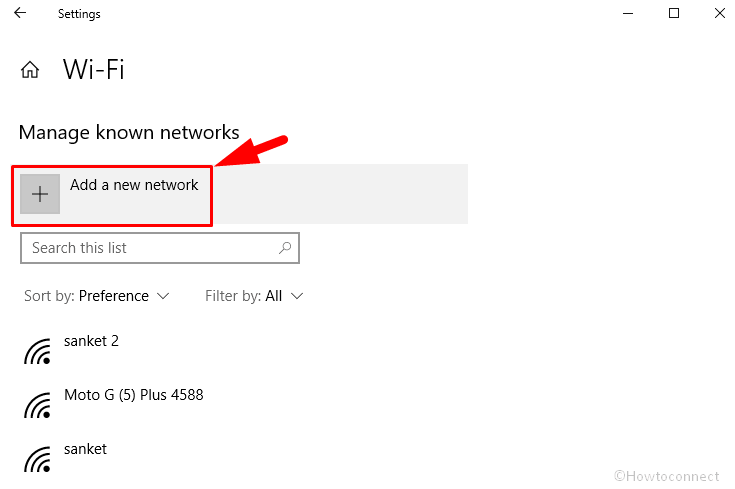
When this Settings page appears you get a glimpse of Add a network (with + mark) moreover a list of few network names followed by a search box. You can sort the items here by Preference, Name, and Source and filter by All, Open, Secured, Suggested, Network provider and Company policy. But the main works that can be performed here are adding and removing a network s we will have a look at both now.
Add a new Network
Microsoft Windows 10 lets add a network manually if you need. A very easy process is ready for this in the Known network setting part to make the lives of users easy.
Why will you add?
When a device like a cell phone as Wi-Fi router comes nearby your system Windows 10 automatically traces out and show on the Available networks list. But when it is unable to detect you can add manually.
and How?
Step-1: Select “Add a new network” and allow a form to appear.
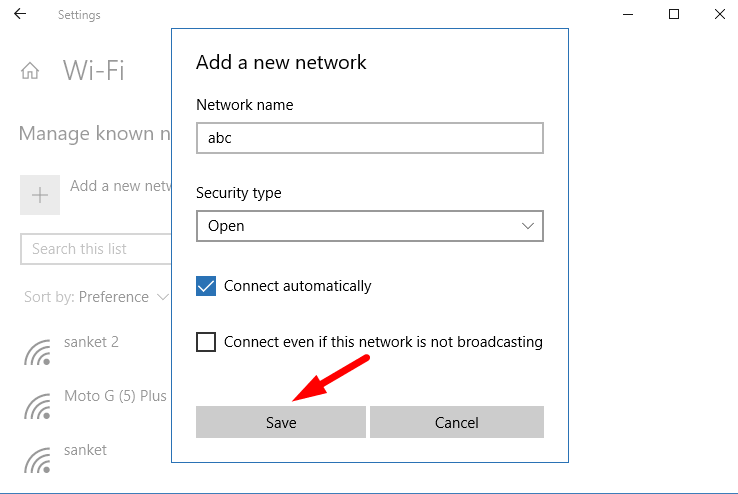
Step-2: Write Network name in the first box.
Step-3: Click on the drop-down under Security type.
You see here 4 options – WEP, WPA2-Personal AES, WP2-Enterprise AES, 802.11x WEP. Select one that your device supports. However, know that when you choose Open, then any Security type on your device will be compatible with Windows 10 system.
Step-4: If you want to connect once it comes in the range, check “Connect automatically”.
Step-5: You find a checkbox for Connect even if this network is not broadcasting. This option attempts to continue connection even when SSID of a router is hidden. So select according to your preference.
Step-5: Finally, Press Save button and the windows will enlist this profile as a known network.
Add a new Network using Command Prompt (Admin)
You can add the same network also using command prompt with the following method –
Step-1: Type cmd in the search box located at the taskbar. Command Prompt will look in search result within the best match section. Now put a right click on it and select Run as Administrator.
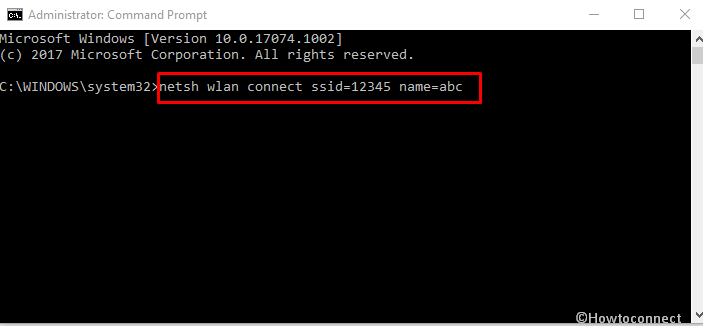
Step-2: Type the ahead provided command replacing YOURSSID with the security key and PROFILENAME with the network name and press Enter.
netsh wlan connect ssid=YOURSSID name=PROFILENAME
Forget a Network
When you Manage Known Networks in Windows 10 this is an important part where you must pay attention. However, you can read all about this topic from here How to Forget Known Network on Windows 10, but we are giving more detail here.
Why Forget a network?
Forget network is directly associated with your privacy. Suppose a neighbor of yours comes to you and request for WiFi credentials for certain important work. You have given the same considering the emergency. But once he connects his device to your network the user id and password will be saved automatically on his device. Later he becomes able to make a connection without taking a permission from you with your network whenever he desires. Forget a network is a solution to this problem. Using this you can delete your credentials the device from him to keep your privacy intact.
How to Forget a network?
Way-1
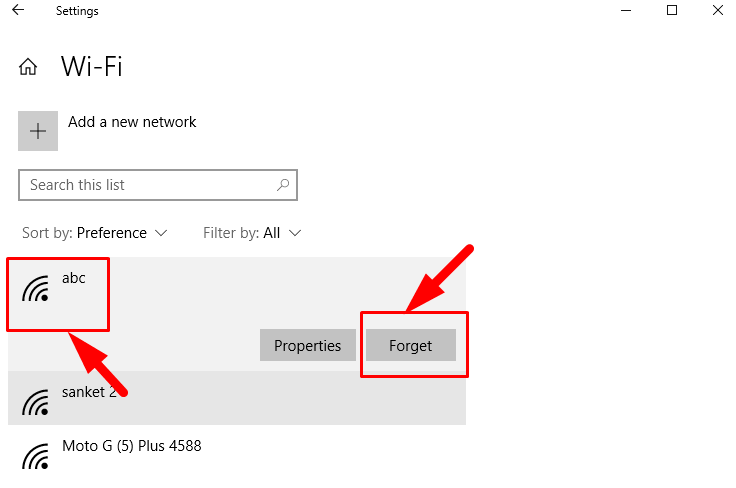
Step-1: Once you are in “Known network” section, click on a Network name. On the extended view, press Forget and that’s all.
Way-2
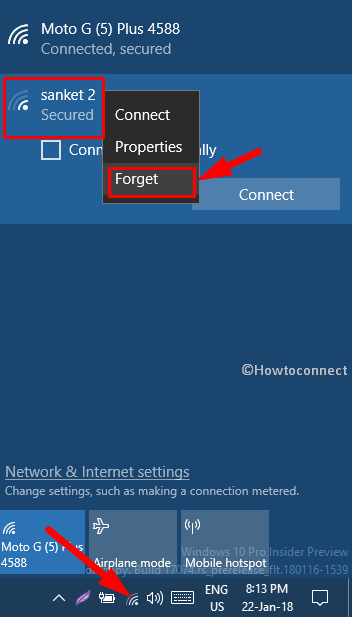
Step-1: Click on the network icon on the extreme right of the taskbar.
Step-2: Perform a right click on the Network profile for which one you require the elimination and choose the Forget option from the context menu.
OS will erase the details for this profile. If you are doubtful, click on the same Network. You will see that it is asking password.
Removal of known networks using Command Prompt (Admin):
Moreover, we are here giving few additional methods for the same with the application of the Command Prompt for your convenience.
Step-1: Get access to the elevated command prompt as you have done in the earlier steps.
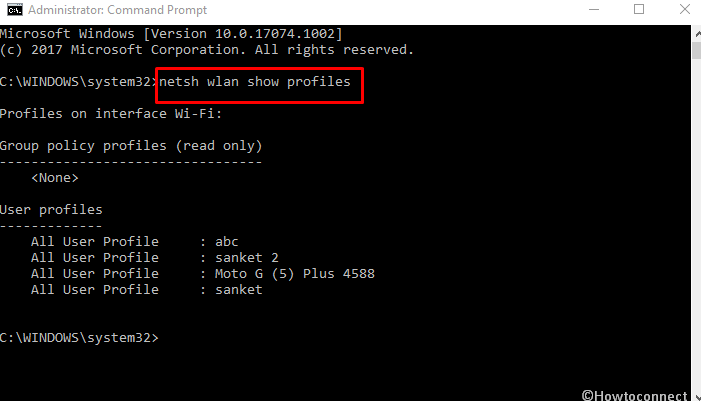
Step-2: Insert further given command and press Enter button:
netsh wlan show profiles
Wireless networks those are used will appear as the details are stored in the system.
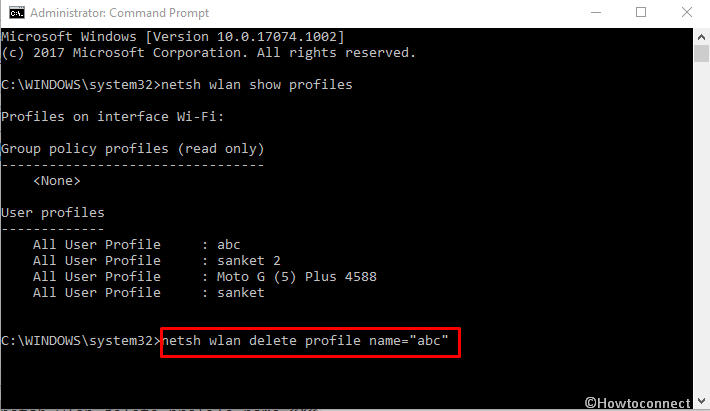
Step-3: Note down the network name you want to discard, type commands as following and Hit Enter:
netsh wlan delete profile name=”X”
Replace “X” with the network name. With the same process, execute commands one after another for others too to delete multiple networks.
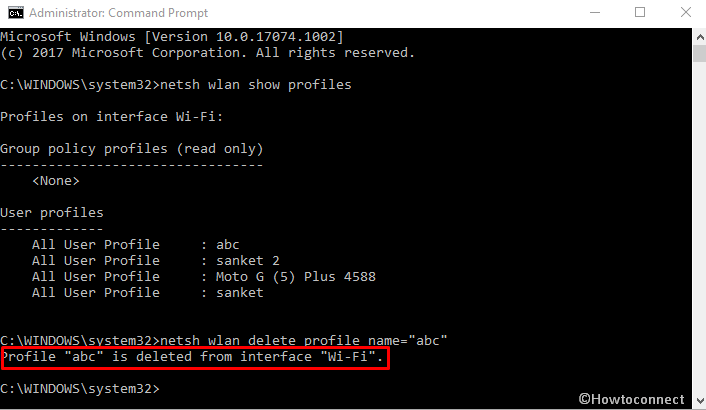
Step-4: Windows will confirm the dismissal after the accomplishment of commands showing the message as follows:
Profile “X” is deleted from interface “Wi-Fi”
Step-5: Now, if you have connected to lots of suspicious networks and opt to perform a batch delete, you can run the following command to accomplish the task.
netsh wlan delete profile name=* i=*
Upon pressing Enter button, confirmation messages will start coming after removal of each and progress forward till ends all. This is how we can Manage Known Networks in Windows 10 following these methods.
Configure Known Network Properties
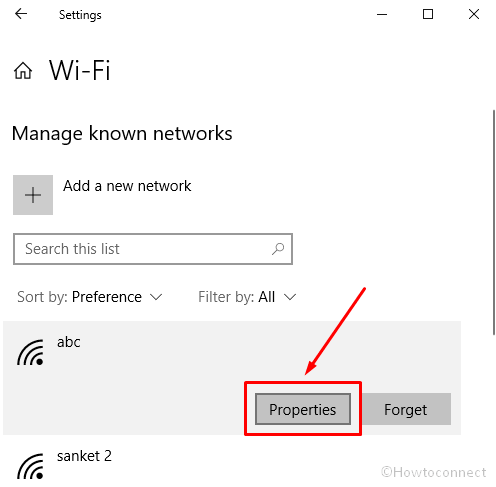
However, when you manage Known Networks in Windows 10 you can click on connected Wi-Fi to directly access its properties. Maximum users like this easier method. But the Known network section has also given a navigation for Properties with each network. So we are explaining here what you can do with the selection of this button. Following steps will be helpful doing so:
Step-1: Select a Network and click on Properties from the expanded tray. Reach out its profile section on the next page.
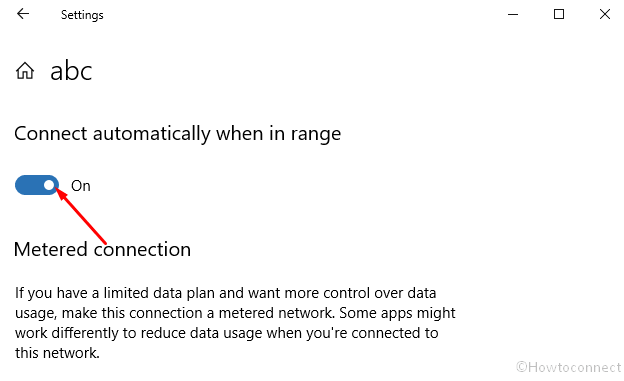
Step-2: If you want the network to “Connect automatically when in range” then pull the slider of this setting to On.
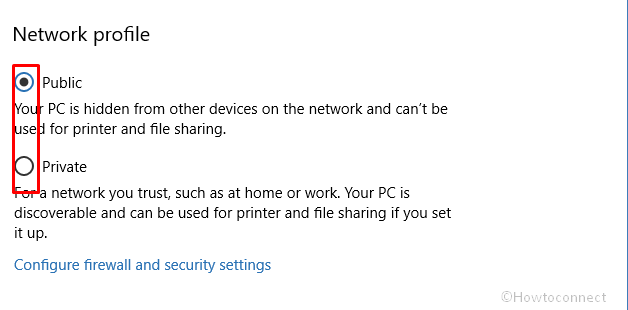
Step-3: Now, Choose Public if you don’t want to share anything with it such as printers and other accessories.
Step-4: Clicking Private enables sharing of other things. Therefore, if this network is one of your own like hotspot from your mobile or router, you can go for this option.
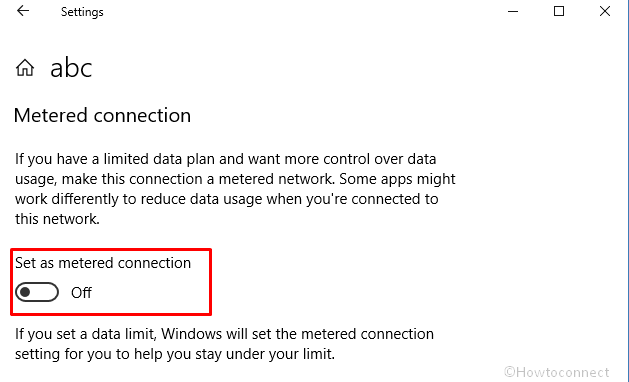
Step-5: Moving forward, you will find a Toggle switch for “Set as metered connection” Turn it On once you are using limited data tariff.
Step-5: Next task is to manage the IP settings either manually or automatically. Click on Edit option under IP assignment and the system will straightway open a popup to set IP for this network.
Get the full description here – How to Edit IP Settings for Network Connection in Windows 10
Conclusion
This was overall about Manage Known Networks in Windows 10 with the help of the default settings app moreover command prompt. We have tried to reach up all the possible ways with simplification. Hope you will get ultimate benefit of the info.