To Optimize Battery Saver Settings in Windows 10 in better and better way enable the battery of your laptop more efficient. This is among one of the attempts to give the best performance to your laptops having Windows 10. This feature facilitates the available resources of your laptop in the best way to extend battery life. Here we will see how it works and how you can Optimize Battery Saver Settings in Windows 10.
You may like to read:
Windows 10 – How to Boost Laptop Battery Life
This new feature in Windows 10 reduces the background events and empowers your laptop’s battery to serve for some more time. Well, battery saver comes disabled until you enable it personally or you set it to enable automatically when the battery crosses the minimum percentage you set. Let’s walk through the steps and see How to Optimize Battery Saver Settings in Windows 10.

How to Optimize Battery Saver Settings in Windows 10
1. Expand Settings app on your screen from the Start Menu.
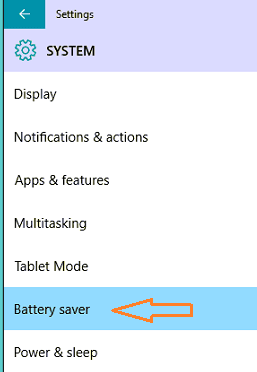
2. Pick up System category and press Battery Saver in the list of segments on the left pane.
3. The right panel of the Battery Saver exhibits you two sections, Overview and Battery Saver.
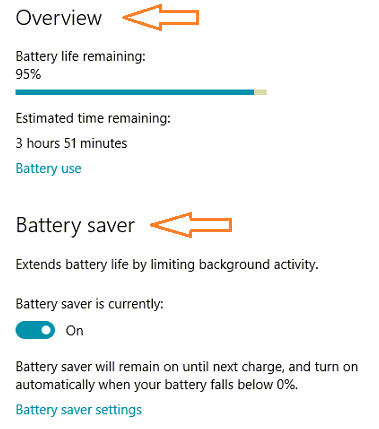
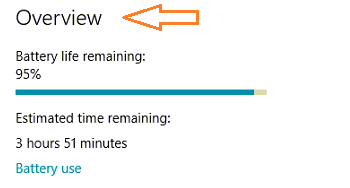
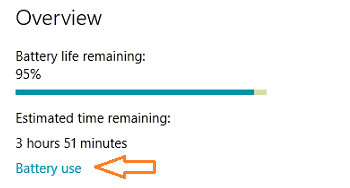
4. Overview section exhibits you the amount of time your battery left.
5. Second section is the Battery Saver. Take the help of the slider and turn on the feature to enhance your battery life by restraining the background events.
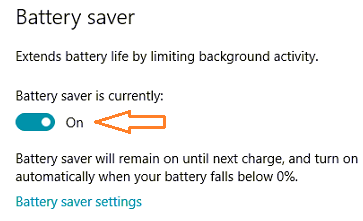
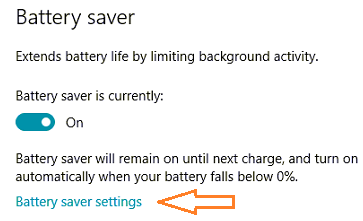
6. The feature is now turned on. You can also put into action when your battery drains out to a certain percentage. To set the percentage, click Battery saver settings link.
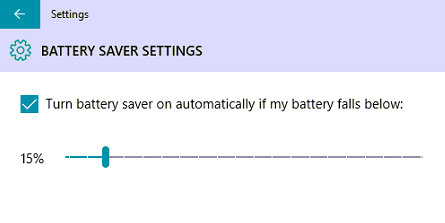
7. Now, on top you can see a slider. Set the slider to a certain percentage, for instance 15%. Now, when your battery level reaches to the last 15% of its charge, the battery saver will be turned on.
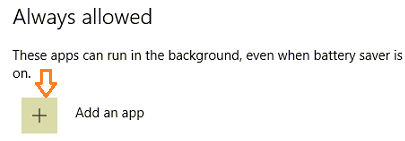
8. Also, the feature provides you the facility to run apps in the background when it is turned on. To add apps, click Add an app button.
9. Pick the app you prefer to run in the background.
10. Now, get back to the Battery Saver panel. Under the Overview section, you can see a link Battery Use. Click on it.
11. Using the drop down menu you can see the usage of the battery based on past one day, two days or a week. If we check for past one day, you can see the percentage of battery consumption by system, by display and also by Wi-Fi.
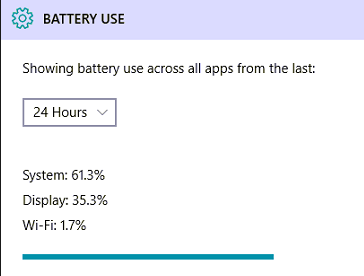
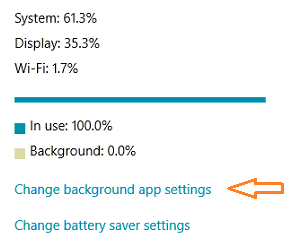
12. It also lets you the amount of consumption in the foreground and background.
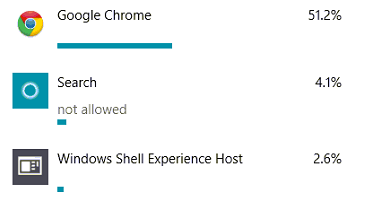
13. A list of mostly used items can be seen with their amount of battery consumption in percentages.
14. Now, here also you can see two links. Click Change background app settings.
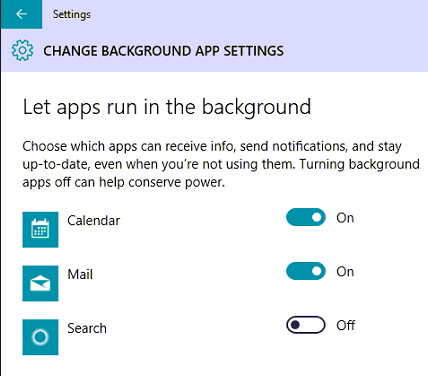
15. You can select the apps for which you prefer to receive information. Turning them off conserves your battery.
16. Now, click Change battery saver settings link.
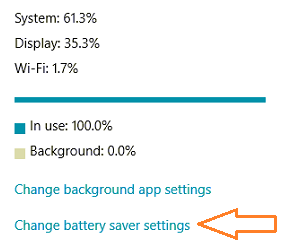
17. This opens up the same window where you can assign a certain percentage for the battery saver to activate itself.
Well, it is advised to try out the steps and Optimize Battery Saver Settings in Windows 10 to get maximum of it. Let us know if you have something to share on this topic.
