How to Disable/Enable Print Spooling Service Windows 10 – When a user remains engaged in focusing on his printing activities a service constantly sticks to the operation of handling the entire procedure. This is none other than Print Spooling service. In general, you may understand as the whole Printing functioning is executed according to the order passed by this service.
How to Disable/Enable Print Spooling Service Windows 10
Way 1 – Services
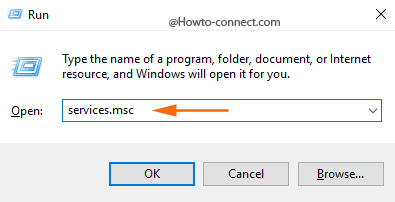
- Open Run dialog box by jointly hitting Windows +R keys and then write the code services.msc and at last hit Enter.
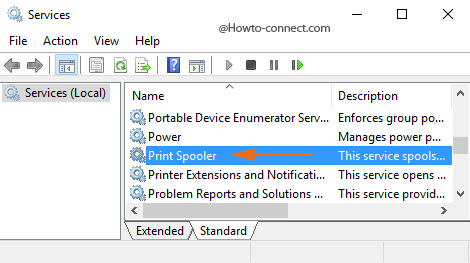
- The Services console will soon be prompted, locate the middle column and find out a service entitled as Print Spooler.
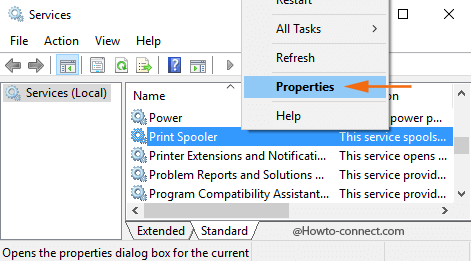
- Make a right-click on Print Spooler and tap the choice Properties from the emerged menu.
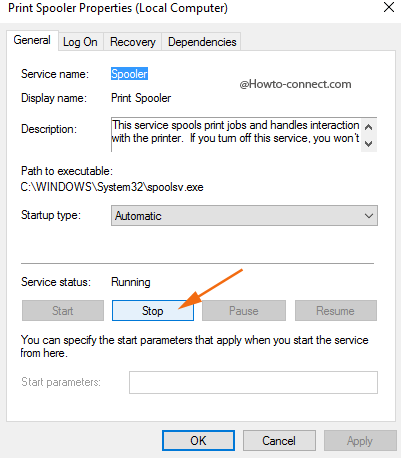
- Print Spooler Properties box is launched, stay into the General tab, move to the second section titled Service status section and hit the Start button in order to enable the service.
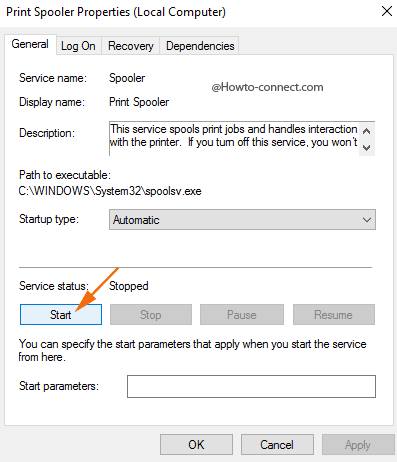
- To disable this specific service you don’t require more than a strike on Stop.
Way 2 – Command Prompt
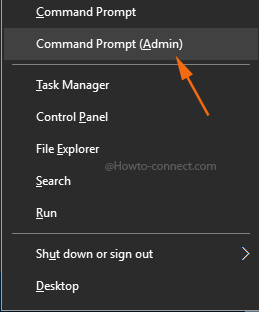
- Elevated command Prompt is compulsory to execute this tip, so jointly hit the shortcut Windows & X and upon the emergence of power menu, take a decision to opt the particular choice Command Prompt (Admin).
To start Print Spooler
- Copy the code
net start spoolerand paste into the command prompt and lastly, strike Enter.
To stop Print Spooler
- In the same manner, copy this code
net stop spoolerand paste into the expanded elevated command prompt and finally tap on Enter.
Way 3 – System Configuration
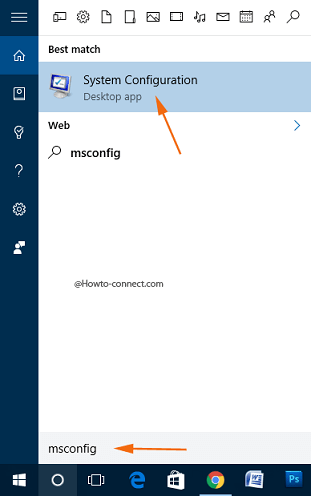
- Navigate to Cortana search area, type
msconfigin it and within no time you notice System Configuration just under Best match at the uppermost part, click on it.
- In the launched console, switch to the Services tab, the middle one and locate a service entitled as Print Spooler.
- To enable Print Spooling service, input a check mark in the square shaped tiny box and then click or hit Apply.

- To disable Print Spooler service, remove the tick mark from this square-shaped box and hit Apply.
- A reboot of the machine is very necessary for this method because the changes will be accomplished accurately after this.
Print Spooler is the service major responsibility is to manoeuvre print functions and establish communication between PC and printer. In short, this service manages the print tasks that are stuck in line and thus, deletes them once the printing gets over. Hence, depending on various situations, you can decide when to disable or enable Print Spooling and the above-mentioned ways will help you in doing this.
“When printer is not easily accessible”, all listed processes are too lengthy – 200 pages can be printed in error before printer is Personal Computer stopped. System tray print spooled stop was fast. What was accomplished by changing this procedure?