Latest Tips to Remove Temporary Files on Windows 10. – Windows needs to generate some temporary files in the process of achieving some task, but then does not really remove those temporary files. With usage, the system gets slows down with too many junk files in the form of log files, temporary files, downloaded files, or as unwanted registry entries.
Freeing up all this will provide you more areas on your operating system. Here in this article, we will walk through the steps by which you can effortlessly remove temporary files in Windows 10.
Multiple Ways to Remove Temporary Files on Windows 10
Way 1 – Settings App
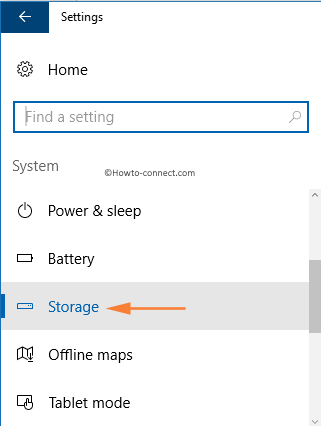
Step 1 – On the left pane of the Start Menu click on Settings –> System icon.
![]()
Step 2 – Click on Storage in the left pane of the running page.
Step 3 – On the right panel of this section, click the drive which holds Windows 10. For identification, you can use the Windows logo appearing on the drive.
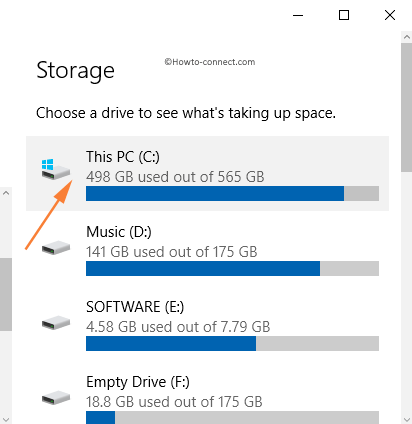
Step 3 – The Storage usage page for the selected system drive will appear on the screen. The Storage usage interface will display the available and consumed space of the system drive along with all the sections such as the games and apps, pictures, maps, temporary files, OneDrive, and so on.
Step 4 – While scrolling the entries, you can see Temporary Files entry, and the number displayed below the entry indicates the space occupied by it in on Windows 10. In order to select, you need to click on the Temporary Files.
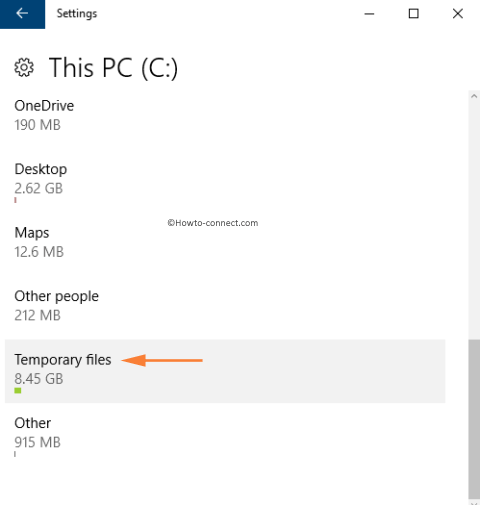
We like to tell you is that the size of the temporary files incorporates the space occupied by the Downloads folder, the Windows.old folder, the Recycle Bin as well as the temporary files folder.
Step 5 – The subsequent interface will be of Temporary files, place a tick-mark in the box entitled Temporary files, and then click on Remove Files button. This will Remove Temporary Files on Windows 10 and this way is the latest enhancement in this OS.
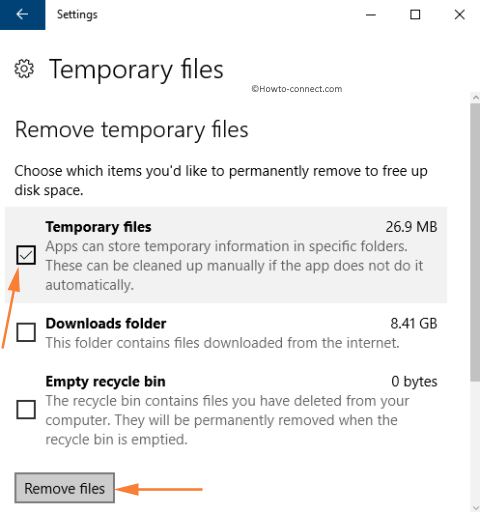
Step 6 – If a confirmation dialog appears, proceed with the deleting process either by clicking the Yes or Ok button.
Way 2 – Disk Cleanup
There is also clean-up software that can help you with this process. Anyway, we describe the method to Remove Temporary Files on Windows 10 with the help of default tool of Windows.
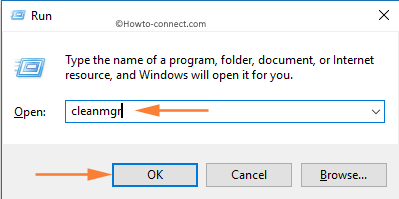
Step 1 – First & foremost, hit Win+R keys on your keyboard to launch Run box on the screen.
Step 2 – Write down cleanmgr on the text space provided and click on Ok button.
Step 3 – A box with a heading Disk Cleanup: Drive Selection will appear, pick up the system drive using the drop-down, however, the default is always C:. It will analyze and allow you to choose what you want to rid off.
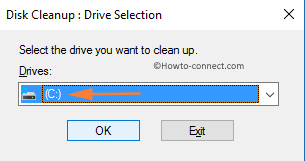
Step 4 – Here you can select the Temporary Internet Files and remove them by clicking Ok.
Recommended – Windows 10 – How to Open and Use Disk Cleanup
Way 3 – Run Command
While speaking about the easy way, here is a small mention of the traditional way of deleting temporary files –
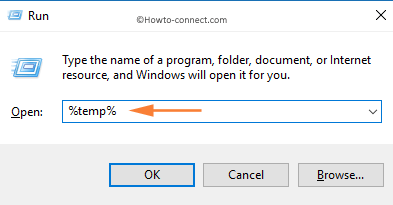
Step 1 – Hit Win+R keys and let the Run box become visible on the screen.
Step 2 – In the Run box, write out %temp% in the text area and then just press the Enter key.
Step 3 – The above action will launch the Temp folder which has all the temporary files. Just select all the items (files or folders and just press Delete key on the keyboard.