Backup and Sync is an application that establishes a connection between your PC or laptop with Google drive. This app allows you organize your collections of photos and other data stored in memory chip, USB Drive, Mobile phones computer into this cloud store. Google Drive Backup and Sync effectively performs on Windows 10 so, you will see the way to setup the application here. See a similar type of guide – Share Music from OneDrive to Groove to Play on Windows 10.
When you Setup Google Drive Backup and Sync on Windows 10 you hunt 2 targets. At one side you save space on your PC and the other make the data safe. Backup and Sync app provides to choose specific folders to sync Google drive with your computer. This will ceaselessly backup your data and images from the selected folders to the cloud store. Let’s see the whole process you need to setup the application –
How to Setup Google Drive Backup and Sync on Windows 10
Download and Install
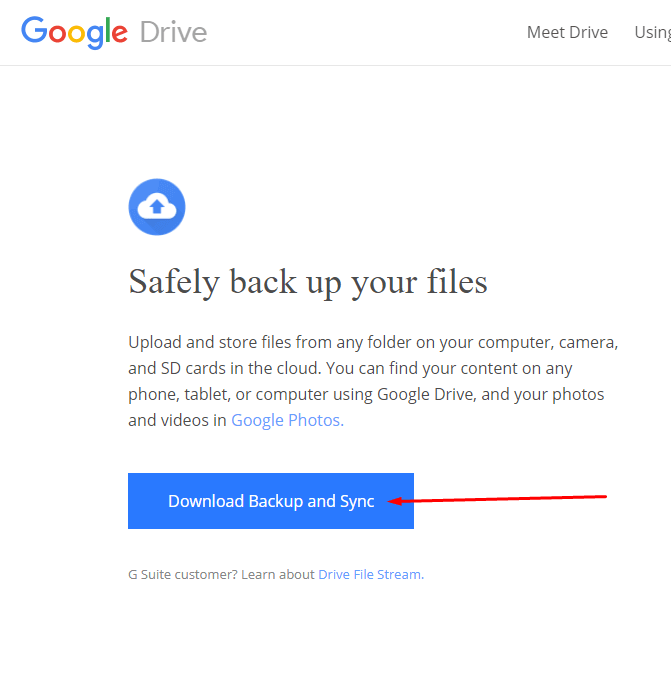
Step 1 – Click on application, navigate to new tab and then press on Download Backup and Sync under the title Safely backup your files. In case, the downloading doesn’t begin then select the option click here to retry from the bottom.
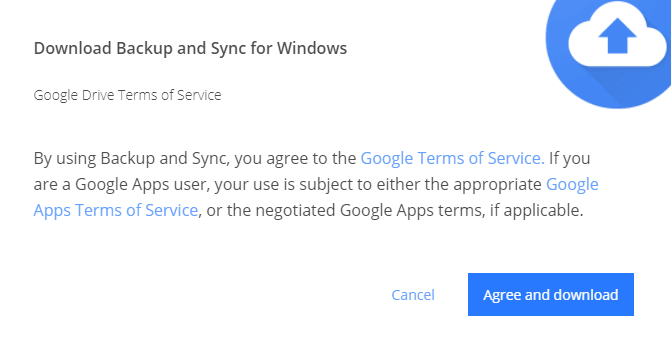
Step 2 – Click on Agree and Download after finding Confirmation dialog asking for your consent.
Step 3 – Double click on the setup file installbackupandsync, select Run on Security warning pop up and allow the process to finish.
Sign in
Step 4 – Once the installation gets completed, click on Get Started to Setup Google Drive Backup and Sync on Windows 10. As you do in normal Gmail signup, write Email, id, password, in sequence and perform verification task.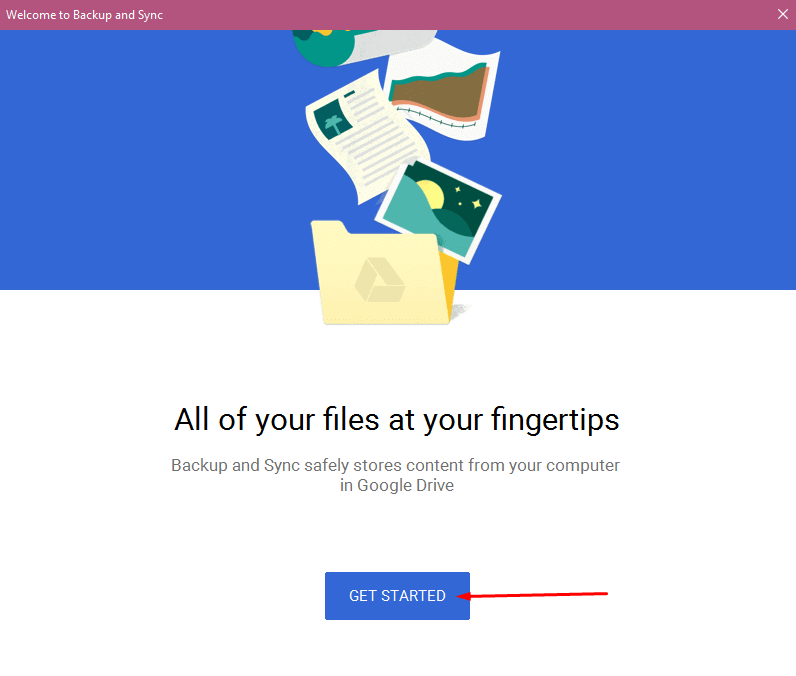
My Laptop
Step 5 – Finally, the Backup and Sync pop appears with My Laptop settings by default. You view a box having 3 folders name – Desktop, Documents, and Pictures below Choose folder to continuously backup to Google Drive. Check the Folder which you want to be in the Sync. with the drive.
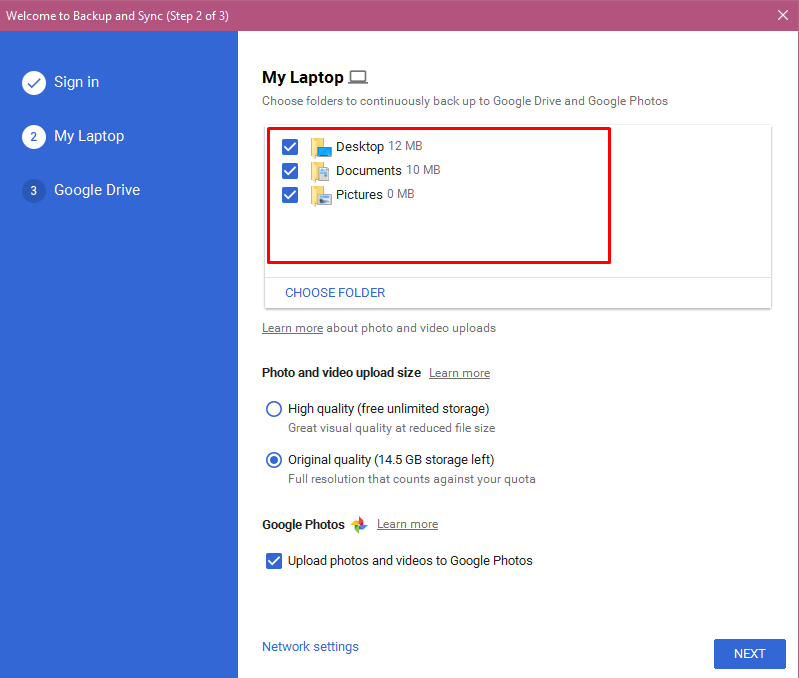
Step 6 – In addition, if you want a folder to sync on your preference then press Choose folder. Click on your necessary one and click Select Folder.
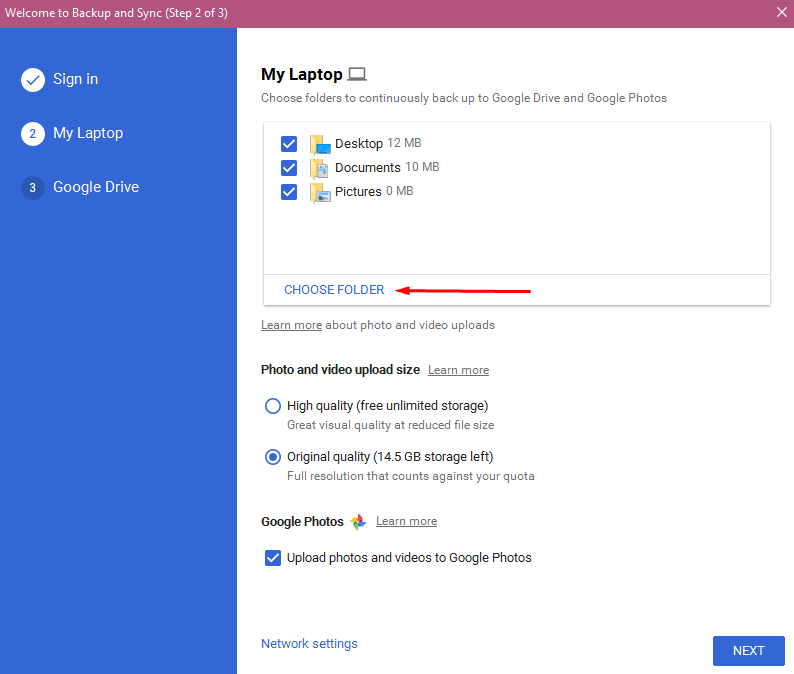
Step 7 – Select the option Original quality under Photo and video upload size. This option will help you avoid purchase extra space in Google Drive.
Step 8 – And the last one is Google Photos. If you like to upload your photos and videos here with automatic method then check this box.
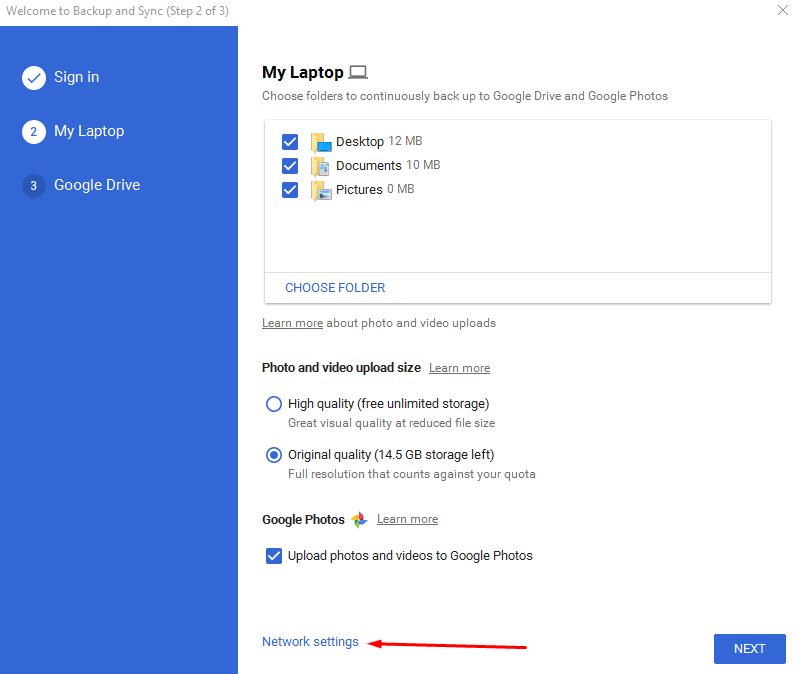
Step 10 – Click on Network Settings to manage the Proxy Settings and Bandwidth Settings.
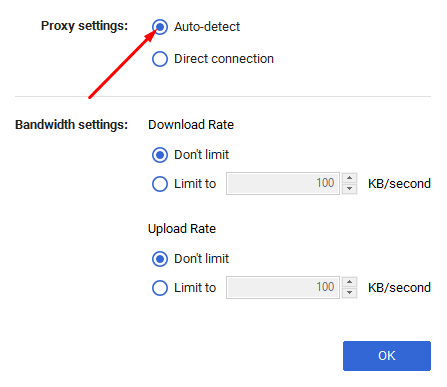
Step 11 – Let the Proxy settings Auto detect so that as your System is connected to the network, the Google Drive may start its operation itself.
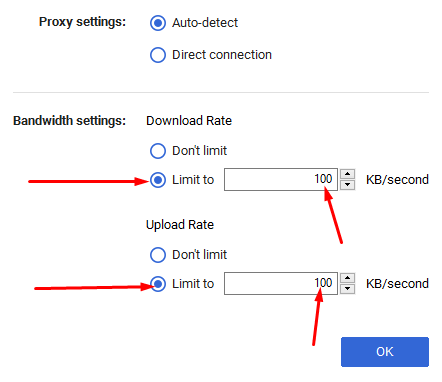
In the “Bandwidth settings”, optimize the limitation of Upload or download rate meeting with what is your internet speed. If your ISP provides sufficient speed then you may leave the Bandwidth Settings as it is.
But when you need to set a custom Upload Rate and Download Rate then check the round box Limit to separately below each. Type the preferable values in both of the drop down menus and Select Ok. Finally, select Next.
Google Drive
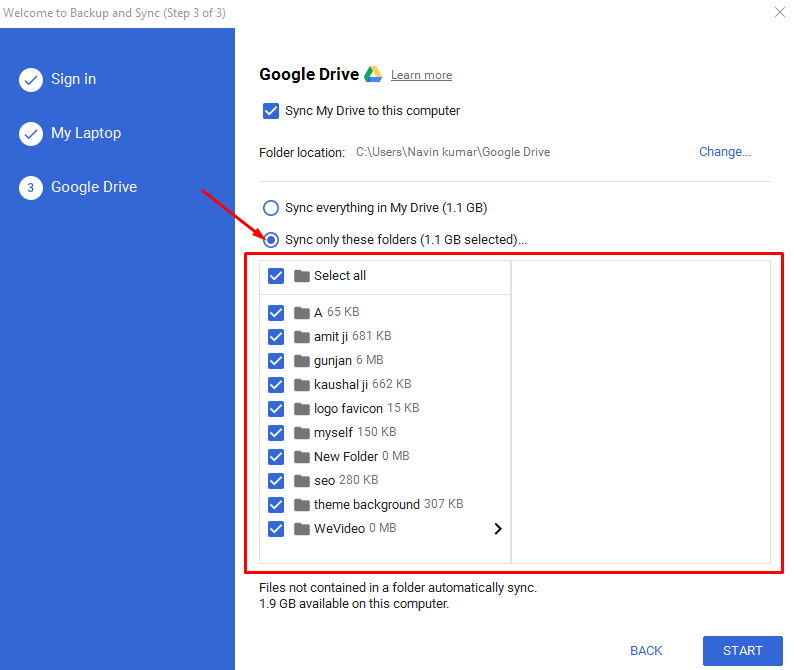
Step 12 – Subsequent settings of the Backup and Sync app will determine which file or folder in the Google drive will synchronize with your PC. Considering on the space on your Laptop or Tab, set these options. If you have enough empty space then click the 1st option – Sync everything in my drive (you check the total volume). While when you want to sync only particular things, select the items here and click Start.
That’s it.
Final words
So these are the ways using which you can Setup Google Drive Backup and Sync on Windows 10. Once you configure all the settings your photos and other stuff becomes safe. After the advent of this application, you get an addition to the OneDrive where your data remains in sync.

Thank you for this. I had spent ages trying to get this to work! I’m so grateful for this post. The Google documentation simply doesn’t explain this at all.
How the hell do I find those settings AFTER i installed this piece of crap in Windows 10?
(yes, I am really pissed with Google for messing up something that had been fairly stable for a couple years)