How to Share Documents Using GigJam on Windows 10 – Microsoft Office’s much awaited cloud-based GigJam facilitates users to share wanted areas of documents. Apart from this, using this Office component you can send photos, email, calendar, and required business particulars.
In this article, we will focus on the process which will help you to Share Documents Using GigJam on Windows 10.
Way to Share Documents Using GigJam on Windows 10
Download and Install GigJam
Step 1 – Begin the process by visiting the GigJam page, click or hit the Download button to download GigJam Preview.
Step 2 – Once the download is over, navigate to the folder where it gets stored, trace out the file entitled as GigJamPreviewSetup.exe and when you find, double-click on it.
Step 3 – A UAC pops up on the screen, agree to its conditions by tapping the Yes button.
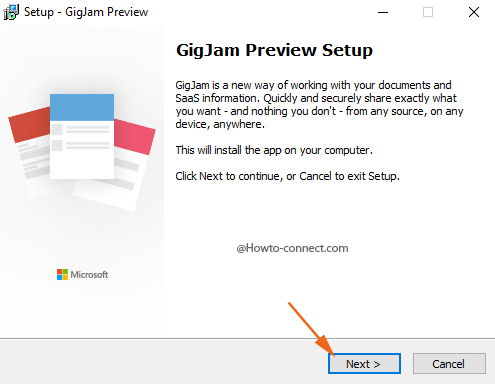
Step 4 – The upcoming box is termed as Setup wizard for GigJam Preview, tap, or hit the Next button to advance further. Abide by the directions of the wizard and complete the entire setup accurately.
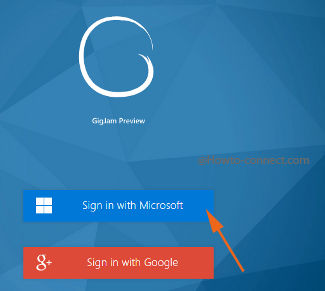
Step 5 – Once the installation gets over, GigJam will open up on the screen and will show two options to sign in – 1. Microsoft and 2. Google, click or hit the desired one.
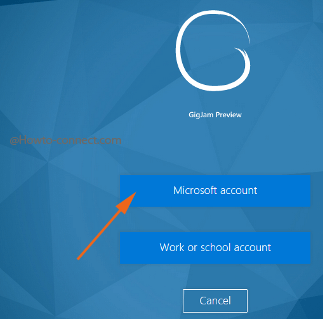
Step 6 – The subsequent screen again bestows you two options – 1. Microsoft account and 2. Work or school account, click the one that you prefer to use for GigJam.
Step 7 – After signing in, you see what all you can do with GigJam, click or hit Continue button to proceed further.
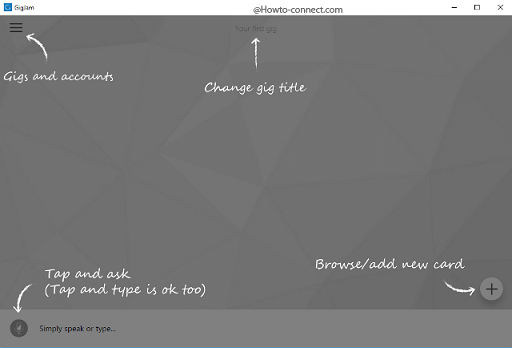
Step 8 – Now, the home screen of GigJam becomes visible on the screen, and as this is your first time, you see all the significant sections and buttons.
Let’s Create the First Gig!
Step 1 – Start by providing a name to your gig, for this, click on the Change gig title field and write out your preferred name.

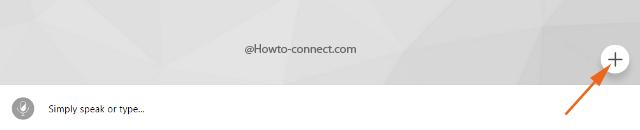
Step 2 – Now, you need to add a document, draft, or picture and to do so, click or hit the + button that you see on the lowermost right corner.
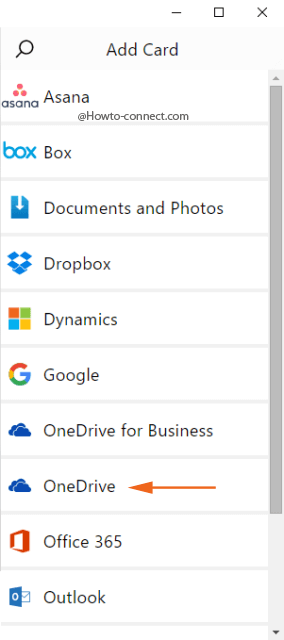
Step 3 – Add Card menu arrives on the right edge of the screen and it displays various cards from where you can add your content like Dropbox, Asana, Dynamics, OneDrive, Office 365, Salesforce, Outlook and much more. Click or hit the one from where you want to fetch your content, for instance – OneDrive.
Step 4 – A separate box for OneDrive is now seen on the GigJam screen, open the draft or document that you would like to share.
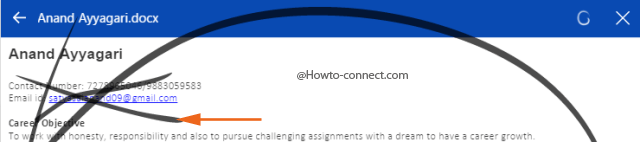
Step 5 – Click or hit the Gig icon (the round one) on the top right corner and the whole text will be circled.
![]()
Step 6 – Now, make a cross mark in the areas that you don’t want the receiver to see.
Step 7 – The text you have made the cross mark will fade off and once you are done with omitting the areas, click or hit the blue colored + button that appears on the lowermost flank of GigJam.

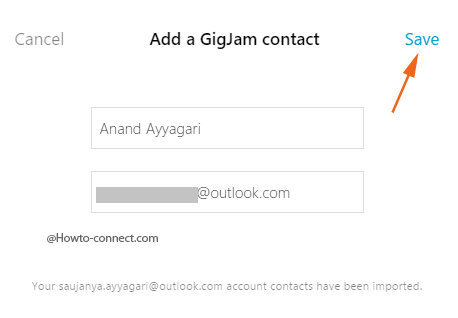
Step 8 – The next pop up box will be labeled as Add a GigJam contact, hence, write out the particulars of the receiver’s GigJam account and then click or tap the Save button.
Step 9 – The added contact is available on the lowermost flank of the GigJam screen, select it and click or hit the Send button.
![]()