2 Procedures to Enable/Disable Sync Provider Notifications in Windows 10 File Explorer. – The Anniversary edition of Windows 10 has brought bountiful features. To understand all these features and to replicate them on your personal computer, you definitely need a tutorial. Microsoft is sparing no efforts to find new ways of educating users about the features of the latest operating system. Hence, They are testing to help you by providing information about stuff straightforwardly. The medium to communicate the information is sync provider notifications. For this, an option is added to the Advanced settings in Folder options of File explorer.
But it’s your choice to One such feature to learn is adding and removing sync provider notifications in Windows 10. Read 2 methods in this concern:
Ways to Enable, Disable Sync Provider Notifications in Windows 10 File Explorer
1. Using File Explorer Folder options
Step 1 – Open File Explorer by hitting on the pair of Windows key + E on the keyboard. Another way to launch the File Explorer is by clicking the respective icon on the Taskbar.
![]()
Step 2 – Once file explorer appears, press View menu followed by Options button on the ribbon.
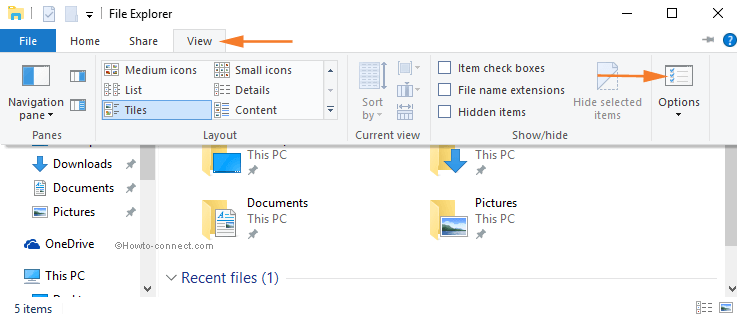
Step 3 – Switch to View tab on Folder options wizard of File explorer. Locate the option Show sync provider notification in Advanced settings box.
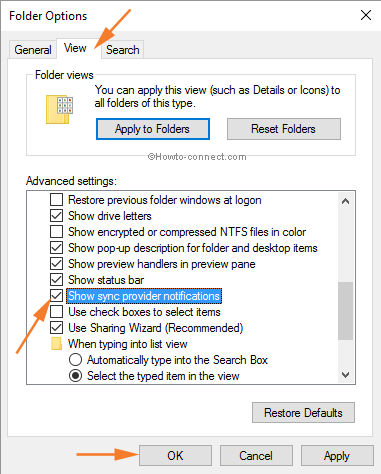
Step 4 – Check or uncheck the square-shaped box before Show sync provider notifications.
Noteworthy is checking the box will be liable to add and unchecking will Disable Sync Provider Notifications in Windows 10 File Explorer.
Step 5 – Finally, click on Apply and OK buttons to effectuate the change.
2. Via Registry Editor
First of all, Take a backup of registry editor before starting this process. If you are good at registry tweak then touch this method, since a wrong direction may corrupt during the OS.
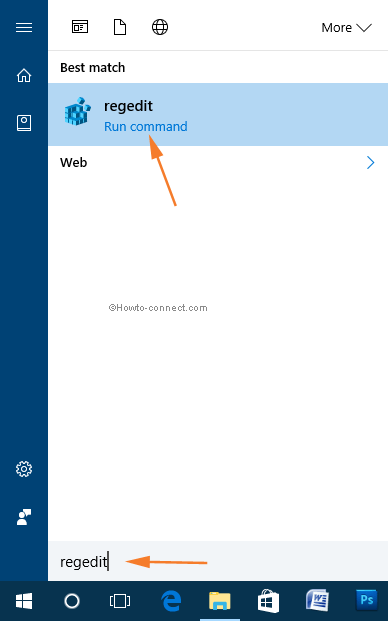
Step 1 – Launch registry editor by writing regedit in the Search field of start and gently hitting Enter. UAC pop up will ask for permission, so click Yes to agree.
Step 3 – Now follow this path
HKEY_CURRENT_USER\Software\Microsoft\Windows\CurrentVersion\Explorer\AdvancedStep 4 – After following this path locate the option ShowSyncProviderNotifications in the right flank of the registry editor. Once you recognize, perform a double click on it.
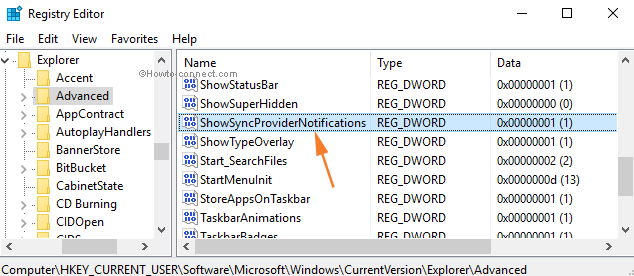
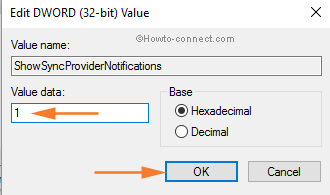
Step 7 – On the Edit DWORD (32–bit) Value pop up, just type 1 in the Value data box to Add the icon. If you like to Remove File Explorer Sync Icon in Windows 10 then type 0 in the Value data box. Finally, click on the button OK on the pop-up and exit the registry editor.
Hence, these two assistive methods lead to Enable, Disable Sync Provider Notifications in Windows 10 File Explorer. Remember that the File Explorer Sync Icon is passing through testing and builds 14901 has introduced this feature.
If this is a new option for Redstone 2 (14901 and up), then why is this option available in the Anniversary Update (Redstone 1 Build 14393)???