WiFi is an advanced technology that allows electronic devices to exchange data and connect to the internet wirelessly using the radio waves. These days Wi-Fi is one of the common ways to connect to a network because it transfers data faster, is easy to use, does not need complicated wire cables and is cheaper than mobile data network. These WiFi networks are may be open or password locked.
The problem starts when you come in the range of earlier connected WiFi network then your system tries to automatically connect to that network but you will not be able to use it. Sometimes you need to update your WiFi network security keys for the successful establishment of the connection. In this post, I will give you two important methods to Update WiFi Network Security Key. Must Read: How to find wifi Password in Windows 8 Step by Step
How to Update WiFi Network Security Key in Windows 10/8/8.1
Manually Update via Network properties
Using manual process, you can update your WiFi network security key. Below are the instructions –
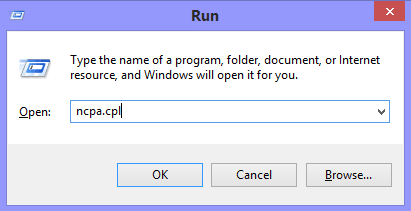
1. Press Windows key + R to open Run dialog box.
2. Type ncpa.cpl and press Enter.
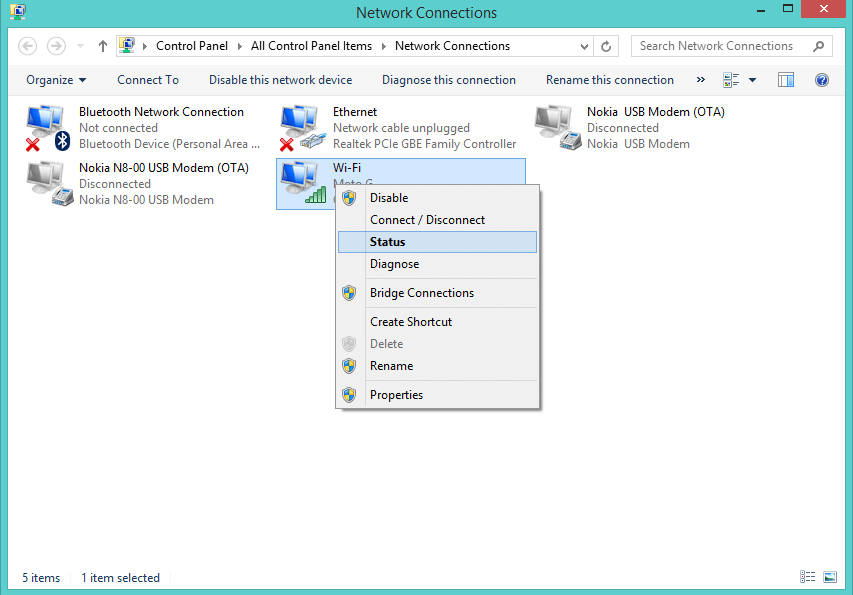
 3. It will open Network Connection window.
4. Right-click on WiFi Network and select Status.
5. In WiFi Status window, click on Wireless Properties.

6. Now in Wireless Network Properties window, click on the Security tab.
7. Enter the new password in Network security key option and click on OK.
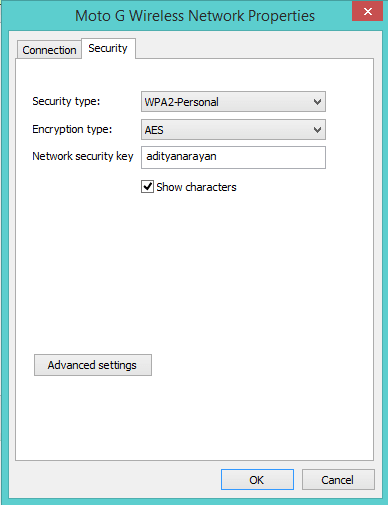
Now try to connect to that network and you will be connected to that network.
Recommended: 4 Ways To Launch Command Prompt with Administrator Privileges In Windows 8
Update Using Command Prompt
Using Command Prompt, you can update your WiFi network security key. You have to open Command Prompt in Administrative mode. Below are the instructions –
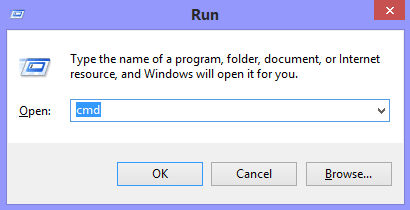
1. Press Windows key + R to open Run dialogue box.
2. Type cmd and press Enter.
3. Type netsh wlan show profiles name=”profilename” command and press Enter to see the properties of specific WiFi network. In the place of “profilename” you have to write the exact name of that WiFi network.
4. Now type netsh wlan show profiles name=”profilename” key=clear and press Enter. In the place of “profilename” you have to write the exact name of that WiFi network.
Execution of this command window removes or erases the old password and next time when you want to connect to that network it will ask you to enter the new password.
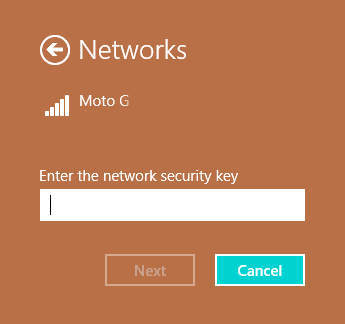
So, Enter the new network security key and press Next. Now try to connect to that network and you will be connected to that network.
Hope, tips to Update WiFi Network Security Key in Windows 10/8/8.1 will help you.