How to Use Invert Selection in File Explorer Windows 10 – To arrange and view stuff located in variant directories just like File in Ubuntu and Finder in Mac, File Explorer is a powerful inbuilt tool for Windows 10. But due to few outstanding features, File Explorer is far ahead to both. Among these features, one is Selection of the items. To select the stuff in opposite way Invert Selection is placed at the ribbon of File explorer which saves clicks, time, and energy. In this post, we will elaborate with examples of how to Use Invert Selection in File Explorer Windows 10 more efficaciously.
How to Use Invert Selection in File Explorer Windows 10
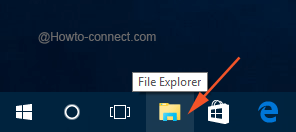
- Let us begin the process by launching “File Explorer”, and to do so click or hit its “icon” observable on your taskbar.
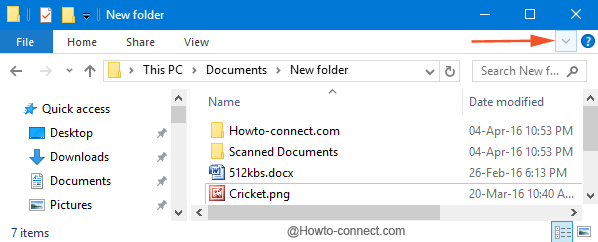
- By default you are taken to the Home tab but to view the related options and features of it, click the tiny little “downward arrow” that appears on the extreme right end of the menu bar.
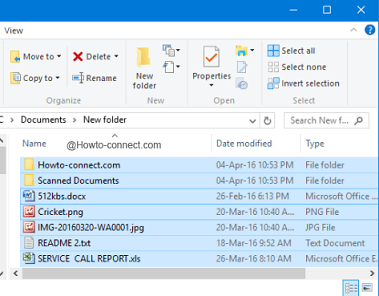
- In the dropped ribbon, look at the last block, labeled as “Select”.
- You can see that the Select block has three buttons in it – the first one is “Select all”, the second one is termed as “Select none”, and the last one is labeled as “Invert selection”.

- Now, this last button of Invert selection bestows you the chance to reverse or swap the file(s) selection in File Explorer.
Let us see with a couple of examples –
Example 1
- Select all the files in any folder of your choice; you may opt the combination of “Ctrl and A” to do so.
- Now, do a click or tap on Invert selection button, and you will witness that the files will be deselected.
Example 2
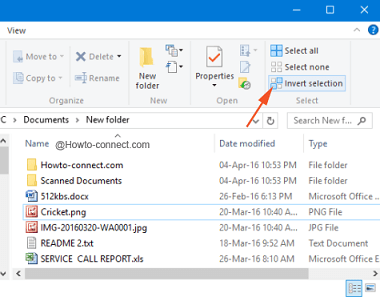
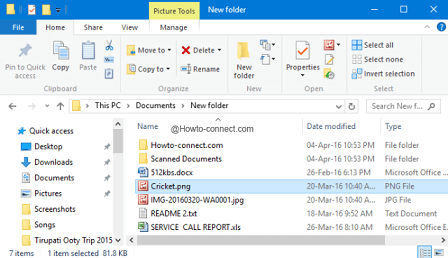
- In another instance, you desire to wipe out all the files except one (like “Cricket.png” in the below screen grab).
- So, select or opt that particular file (Cricket.png, in my case).
- Next needed step is to do one click on Invert selection and you will notice that all the files will be selected except the “Cricket.png”.
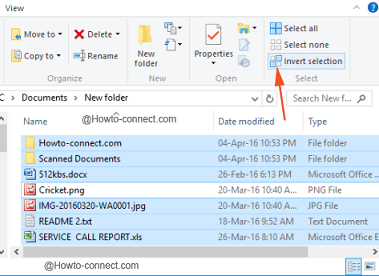
- You are now ready to strike or hit the “Delete” button and wipe out all the files except “Cricket.png”.
This feature is an old aged one and is very highly praised by the Windows users who take benefit of reversing the selection of files. File Explorer is always a storehouse of various features that bestows its users to manage things accordingly. If you know more such small yet interesting features, do share with us also!