Our topic of this post is Windows 10 Task Scheduler which is the most active tool of Computer Management. When you open the Task Scheduler, you will see quite a number of sections each providing you different information about the tasks of your computer.
Task Scheduler is been used to create and control usual tasks all by itself on a specific allotted time. The application permits you to see the tasks set by you or by the operating system in a folder of the Windows 10 Task Scheduler Library. To take a glimpse or execute an operation of any of the tasks, you need to enter the Task Scheduler Library. There, you will find all types of important information about the active tasks. Also, this place allows you to run, deactivate, configure or remove any tasks. But before you shake hands with the Task Scheduler, you should have sound information about its two main important things. They are Triggers and Actions.
In simple terms, a trigger makes a task active. Be it the starting of your computer or putting it into the sleep mode all are the triggers. Whereas action is the execution of work you trigger the task. The actions can be anything like exhibiting a message, emailing important stuff, or even simply activating a program. You can generate a task like cleaning of disk every week or anything that you wish to.
You may like to Read:
How to Bring Administrative Tools on Windows 8.1 Start Screen
Hoping that you have understood what the Windows 10 Task Scheduler actually is and what is its basic functioning, we will move forward to learn it in detail. In this post, we will see how Windows 10 Task Scheduler Functions, how to see the tasks in the library. You can view the tasks that are set by you and also by other users of your Windows 10.
Windows 10 Task Scheduler Access, Functions, Operation, Summary
1. How to Access Task Scheduler in Windows 10
First Procedure
- You can access the Task Scheduler in Windows 10 effortlessly from the Control Panel. All you need to do is simply click a few times. Obtain the Control Panel on your screen and then make a click on the Administrative Tools.
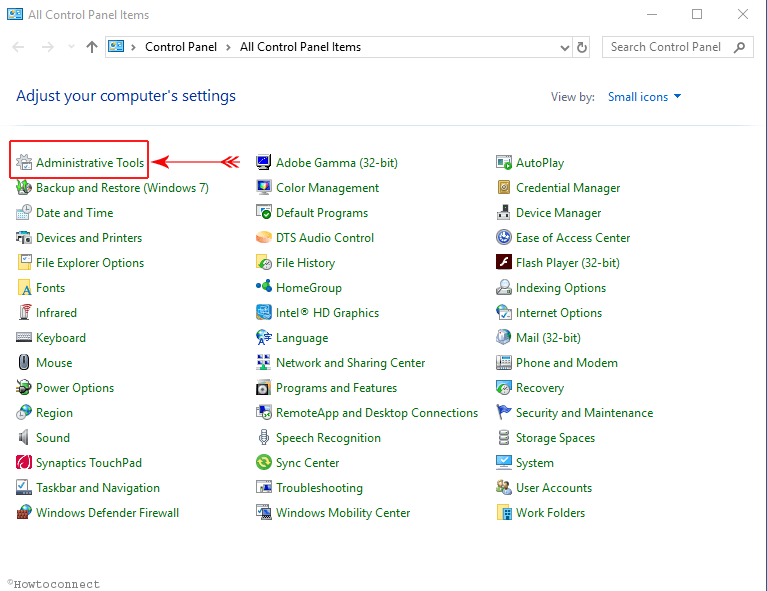
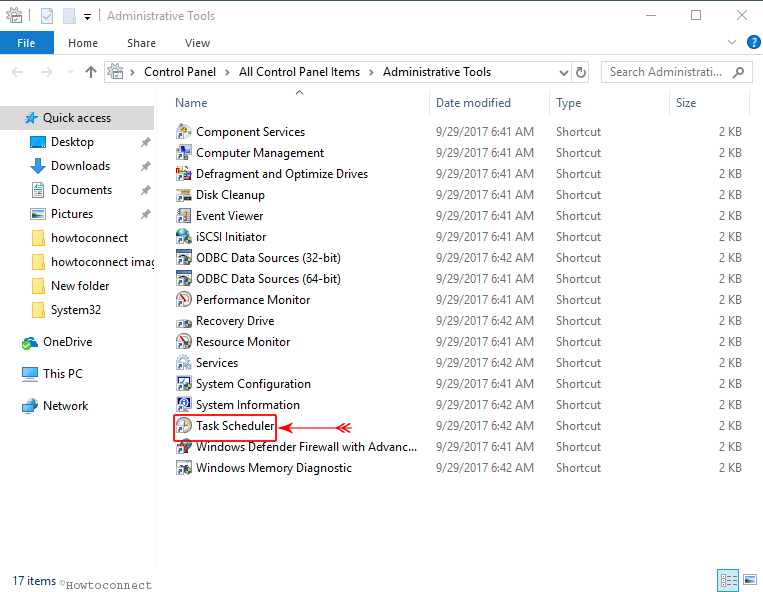
- This will bring up an Administrative Tools window on your display. See properly and you will notice Task Scheduler listed. Double hit on it and the Task Scheduler window will open up.
Second Procedure
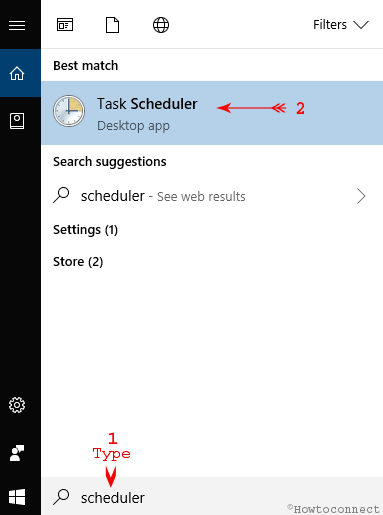
- Another procedure is there to procure the Task Scheduler window. Type schedule on the Search field of the Cortana and after pressing the Enter key you will see Task Scheduler in the arrived results. Click on it to open.
First Look of the Windows 10 Task Scheduler
So, you have learned how to open the Task Scheduler in Windows 10. And so as the Task Scheduler window is active on your screen, you will notice the Task Scheduler window has three groups: Task Scheduler Library, Task Scheduler Summary, and Actions.
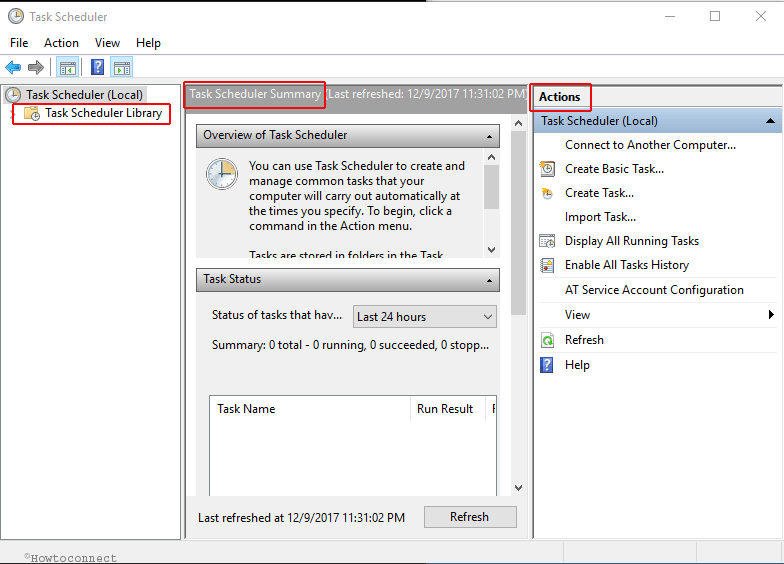
In brief, the Task Scheduler Library holds all the tasks and this is the area where you can navigate the required ones. The Task Scheduler Summary exhibits you the information about the current tasks. And the Actions group has the commands like creating a task, import task, create a basic task, run, enable, disable, delete a task. Using these commands, you can perform your required action on a particular task.
The below section will cover the details of the Task Scheduler Library and Task Scheduler brief statement.
How to Operate Task Scheduler Library in Windows 10
The Task Scheduler Library was mentioned in the immediate former section. You will find this on the left side of the Task Scheduler window. On the far left corner column, you will see Task Scheduler Library. To see the contents of it click on its arrow or simply double hit it.
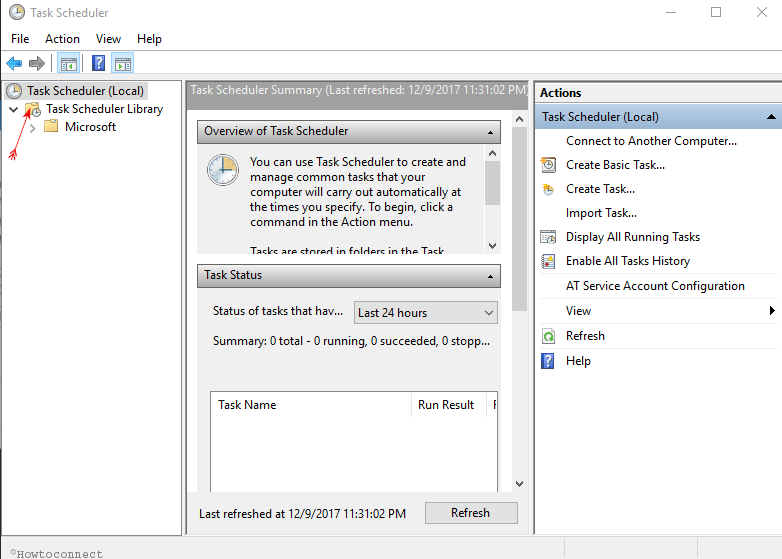
Among the arrived contents, choose your required folder and the tasks listed under it or under its subfolders. When you choose the folder or subfolder, the tasks lying on it will be displayed in the center area of the Task Scheduler window.
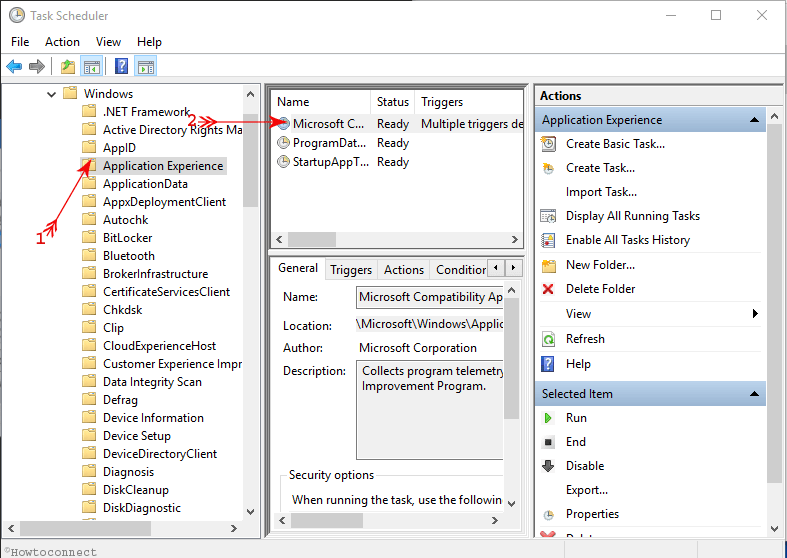
When you take a look at the tasks, you will see tasks Name, Status, Triggers, the Next Run Time, the Last Run Time, the Last Run Result, Author and Created columns. These things are visible in the first section of the middle area of the Task Scheduler.
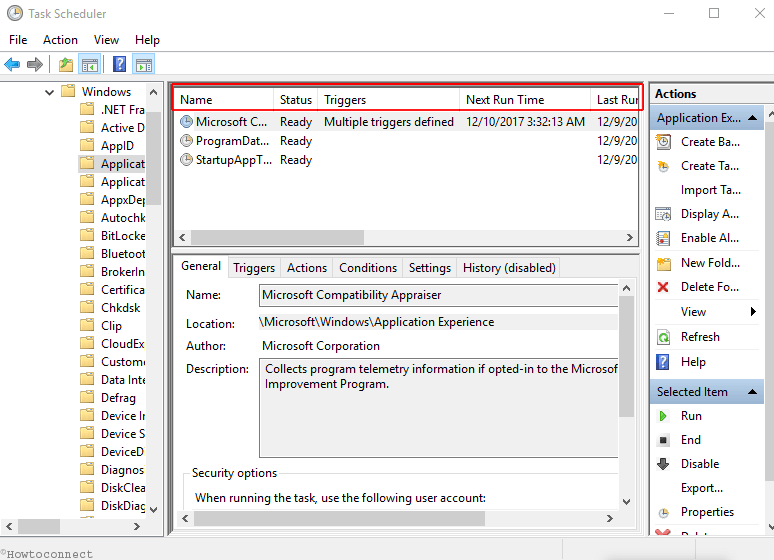
Now, when you select any of the existing tasks, you will see more things related to it in the next immediate section. The information of your selected task is divided into six tabs each covering a different piece of data about the task which is displayed only to read and not to modify.
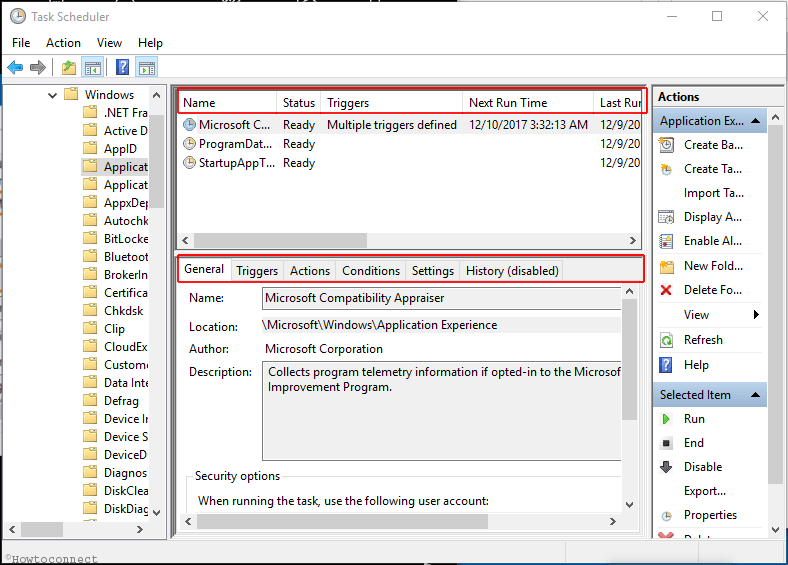
Let us see what data the six tabs offer you:
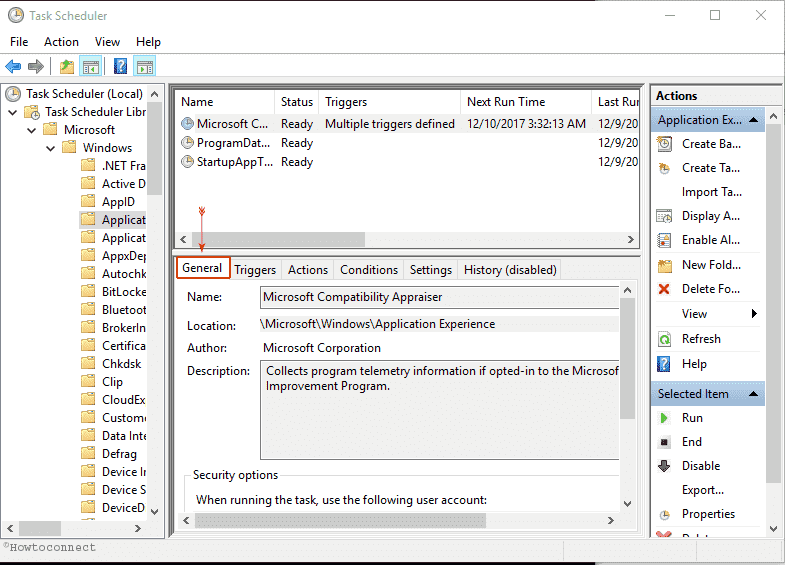
General: This tab exhibits the general information about the selected task like its Name, Location, Author and then a small description. On the lower part of the General tab, you will see Security Options of the selected tab.
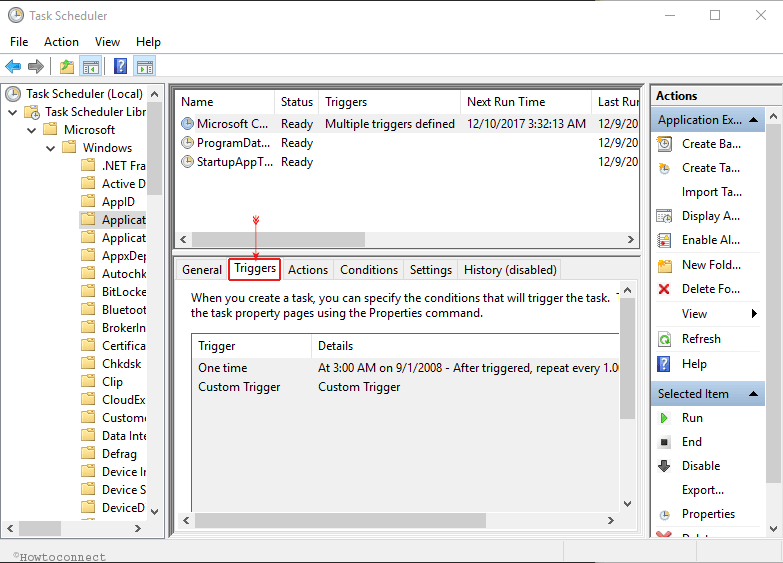
Trigger: This is the second tab that tells you the triggers along with their details and status. It exhibits the conditions that trigger the selected task.
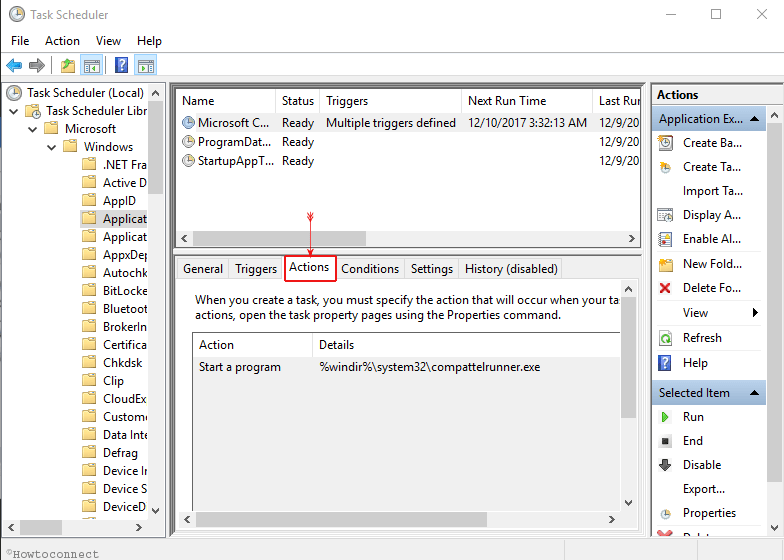
Actions: When you create a task, you must make sure to create an action that will happen when the task begins. The name of the action and its details are visible.
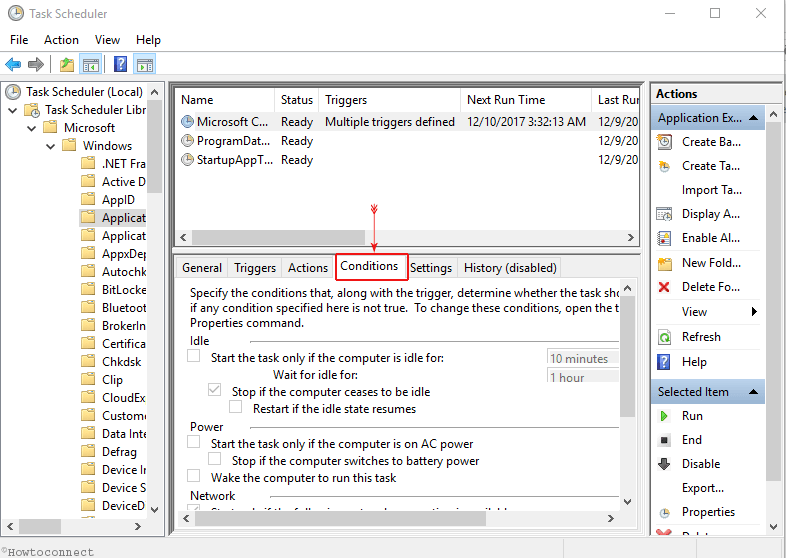
Conditions: The conditions are stated for a task to run along with the trigger. The conditions state whether the computer is running on power or on battery or is kept in idle state or not and things like that.
Settings: The settings that affect the behavior of the task, are present here. It gives you basic settings like to run a task on demand, set time to restart if the task fails, set the number of days after which the task will stop running and things like that.
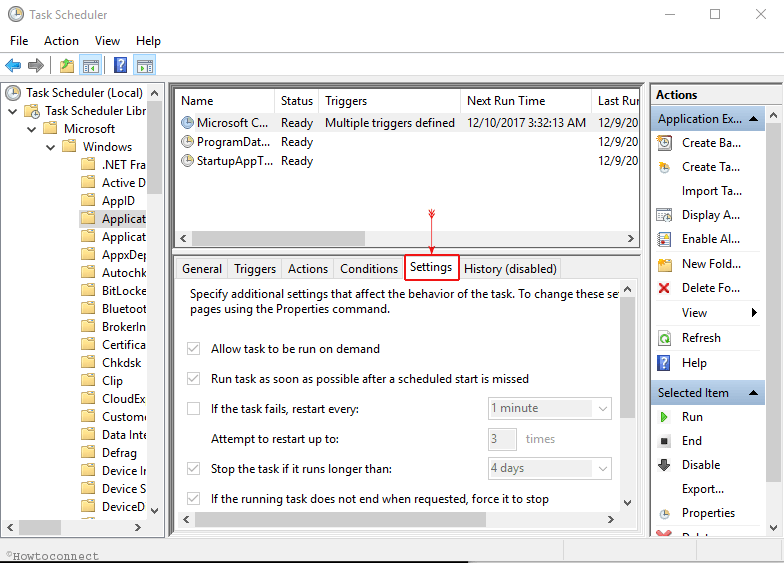
History: History tab is disabled since the previous editions of Windows and till now it is empty, does not display anything.
How to Operate the Task Scheduler Summary in Windows 10
When you choose the Task Scheduler (Local) from the first column of the Task Scheduler, the center area of the Task Scheduler window will display three sections each with an individual set of information. The sections are Overview of Task Scheduler, Task Status, and Active Tasks.
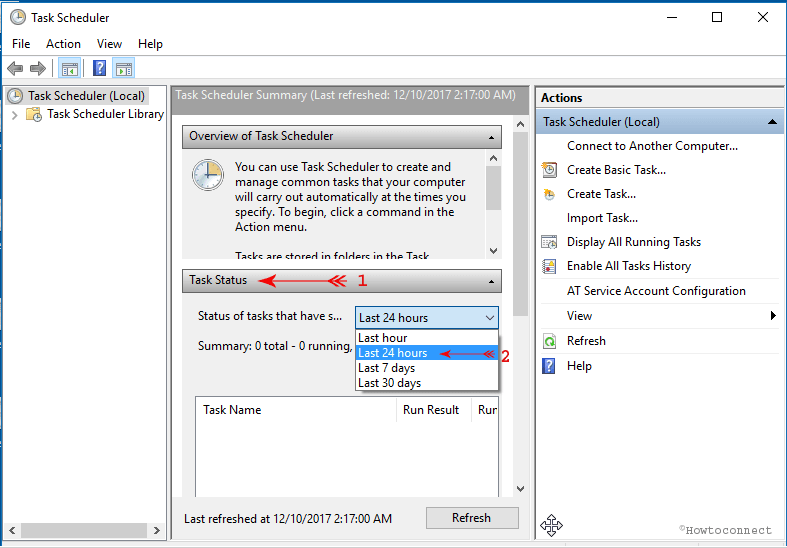
The first section, Overview of the Task Scheduler, presents the basic information of the Task Scheduler. Task Status being the second section can be understood from its name itself. It holds the list of the tasks that have started in a certain time period. By default, Last 24 hours option is selected. Use the drop down menu to put your desired time period.
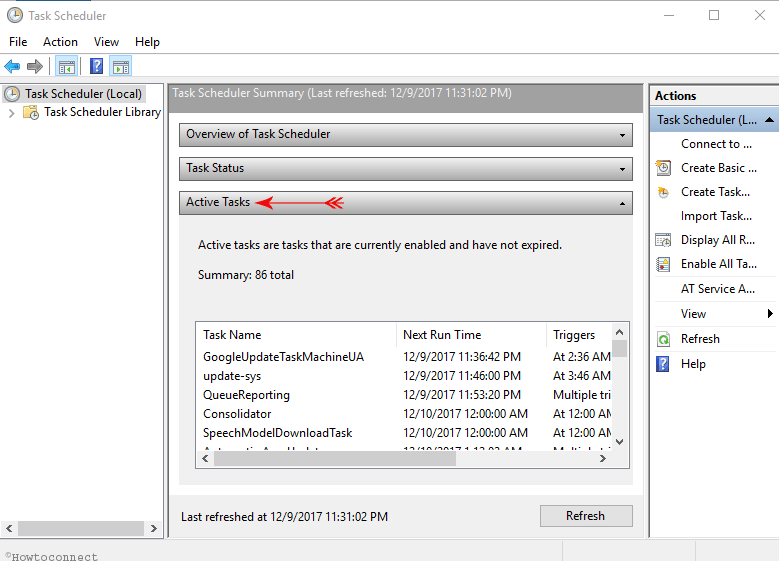
The Active Tasks section displays the table of presently enabled and non-expiry tasks. Each and every task has its individual Name, Next Run Time (mentioned in date and time), Triggers and Location.
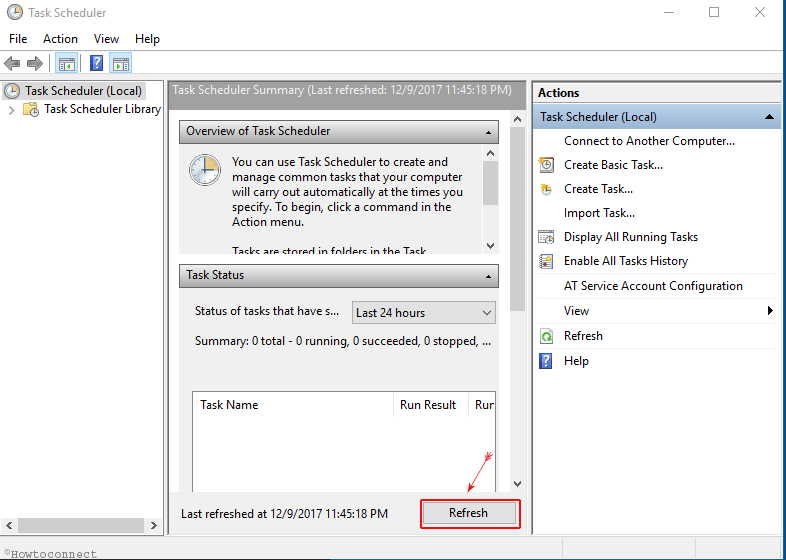
Use the Refresh button if you wish to update the data in the Task Scheduler Summary.
Finishing Touch
The development of the features since past editions has made all the users very happy which includes the basic users and also the advanced users. There are many such applications like Windows 10 Task Scheduler which are unknown to the basic users. But with the help of this post, we can at least expect our readers to give it a try and experience this. Use this application when you have to create any new task and make it run on a specified set time. Apart from that, you can perform many actions on your tasks.
We have not covered the actions part in this article as it is a huge topic. We will soon bring you a post which will describe to you all the slightest details of the Actions part of the Task Scheduler. Till then, we request you to go through the Task Scheduler once and manage all sorts of tasks on your Windows 10 computer and let us know how it went. Did you face any problem? Share it in the comments below, we will try our best.

Thanks for a good tutorial on Task Scheduler. A question: How do I set a trigger to STOP a task? I am on a metered data connection with free time between 2 AM and 8 AM. I start Google Backup and Sync using Task Scheduler near at 2:01 AM; however, I also need to STOP it before the free period ends at 8:00 AM. Thank you.
what i really want to know is how to delete all these active tasks that the computer has set for itself. the active tasks suck so much ram that the computer is slow. Also, how to stop the damn thing from rebooting all the time, and closing my browser. I keep browser windows open on tasks I need to complete, and every time the computer does its reboot, these all go away. I need a way to tell the computer i do not want it downloading crap on its own and rebooting on its own. please tell me if the best option is simply to upgrade from windows 10 to windows 7. Thank you.
Thanks PhredE for the compliment. In the near future, we will come with the next part.
There seems to be an implication that you need to be in an admin account (or have admin privileges) to use this scheduler in Win10. Is that so? Please make it plain.
Your article is quite good, as far as it goes, but it really needs a feed.
Like Michael, above, I have a lot of old jobs that are sitting in the Tasks folder, but nothing’s happening with them. And running a Win10 app is a mystery.
Can we have Part II, please?
Thanx.
It’s all good to know but after upgrading to Windows 10 from 8.1, my all created tasks in Windows 8.1 were missing. However, I have found them in c:\Windows\System32\Tasks folder. What did it mean? Are they (tasks) still registered in Scheduler and going to run when triggered? But I want these task to be listed in Task Scheduler library so I would be able to stop them and to reschedule again and again. What should I do? Do I have to create them all over again and to delete the duplicates in system tasks folder?
Have you selected Windows 10 in Configure for and checked Hidden?
When I create and try to start a task I receive this message and am at a loss.What program do you want to open this? I click on VLC but nothing happens and I am faced with a whole lot of error messages. It says look up on log but there is no log. I am unable to paste my pic of this and
therefore cannot explain any more. I am using Windows 10 Pro and have
plenty 16GB of memory. Please help
Thank you
Ron