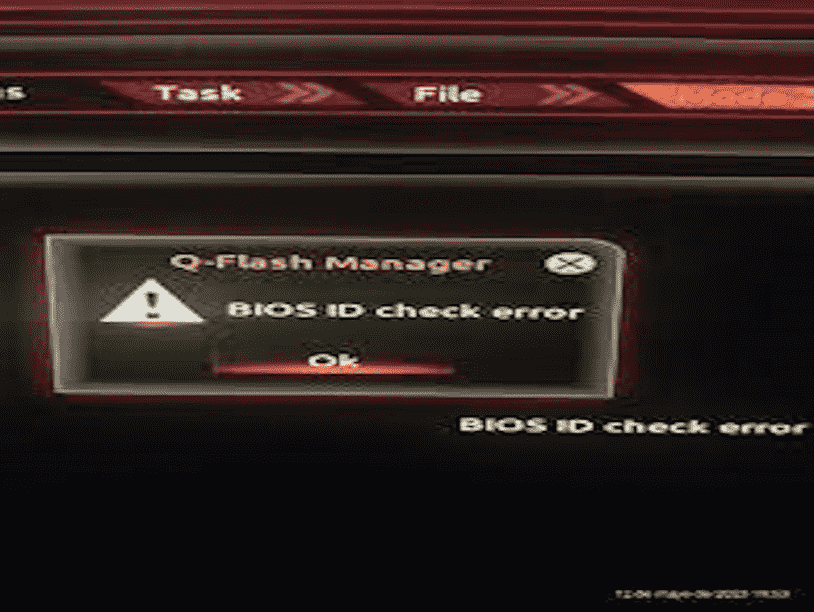
During a BIOS upgrade, seeing a BIOS ID check error may be a stressful experience. To solve this issue gracefully, it is critical to first understand why it arises. The issue might be caused by a number of circumstances such as a corrupted BIOS version which is frequently the consequence of a botched download, a weak internet connection, or reinstalling an update. Using a BIOS version that does not correspond to your motherboard or recent hardware modifications, such as faulty USB drivers or destroyed hard drives might generate the problem,
But, you must not be worried, as this underlying problem can be resolved by ensuring a clean BIOS download, resolving internet connectivity issues, or confirming the compatibility of your BIOS version with your motherboard. Understand these core causes and complete the essential steps to troubleshoot BIOS ID Check more efficiently and effectively. This issue is commonly found to occur when running a Gigabyte motherboard however the same may happen with other company’s hardware.
Table of Contents
BIOS ID Check Error in Windows 11 or 10
Here is How to Fix BIOS ID Check Error in Windows 11 or 10:
Install BIOS Update
Updating the BIOS to the latest version will help you install flawless firmware and alleviate BIOS ID check error. As, a successful update can correct any corruption, mismatch, or incomplete installation issues that frequently result in such problems, resulting in a more stable firmware experience.
Here are the steps to update the version with different methods:
- Click on Search and type cmd.exe.
- Right-click on the result and choose Run as administrator.
- Type the command:
wmic bios get smbiosbiosversion
- Then, press Enter.
- Else, you can go to the device manufacturer’s website and download the latest version and download this.
- Run the setup and follow onscreen instructions.
Also see: Fix: ACPI_BIOS_ERROR BSOD in Windows 10
Restore BIOS to Default State
In many cases, BIOS needs factory reset to solve this issue. When you restore the BIOS to its original settings it can help eliminate misconfigurations or conflicts, potentially allowing for a more seamless BIOS upgrade.
Moreover, the BIOS reset options process needs you access to the boot menu or to perform a CMOS battery re-installation which are mentioned below:
Reinstall CMOS
- Power off and unplug your computer.
- Find the small silver battery on the motherboard.
- Remove it for 5-10 minutes, then reinsert.
- Close the computer case.
Boot Menu Settings
- Turn off the computer and power it on.
- Press F12, F11, Esc, or Del depending on manufacturer during boot.
- Use the Function key written on the screen to open BIOS settings.
- Press the F9 or F5 keys (varying according to manufacturer) to bring up the Load Default Options.
- Select Yes and confirm this.
- Choose Save & Exit in the last tab.
- Restart the PC to finish.
Flash BIOS with USB Drive
To effectively resolve BIOS ID check errors, flashing the BIOS using a USB drive can be a reliable solution. Follow these simple steps to update your BIOS firmware, ensuring a smooth and hassle-free process:
- Insert an empty USB flash drive.
- Extract the downloaded file noting the updated file name.
- Restart and press F12, F11, Esc, or Del for the boot menu.
- Set USB as the Primary Boot Device.
- Save changes with F10 and reboot.
- Wait for the Command Prompt to appear.
- Enter the noted BIOS file name.
- Press Enter to start; confirm with Y.
We hope with these 3 ways you will be able to fix the BIOS ID Check Error in your Windows 11 or 10.
Methods:
Install BIOS Update
Restore BIOS to Default State
Flash BIOS with USB Drive
That’s all!!
