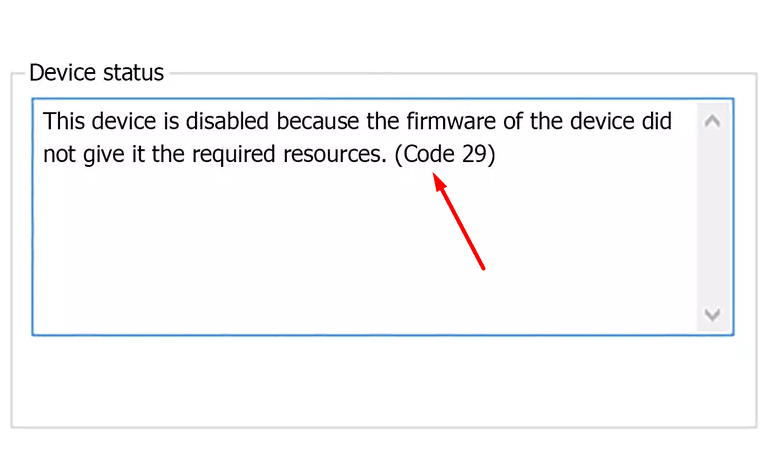
Error Code 29 – This device is disabled in Windows 10 happens to appear when driver of a specific hardware resource encounters issues. This problem indicates that the core files or folders which the device requires to operate are unavailable. In a PC, drivers include various components supported by BIOS resources. When the firmware does not provide the required, they stop functioning and lead to the Code 29 error.
In simple terms, Code 29 refers that the hardware device is not enabled in the BIOS. Some other possible reasons which might end up showing Code 29 are –
- Faulty hardware,
- Corrupted drivers or system files due to malware or virus attacks,
- An old or incorrectly configured device driver,
- Damaged Registry entries because of software change (installation or uninstallation).
Following is the entire error message that a faulty device driver shows up – "Code 29: This device is disabled because the firmware of the device did not give it the required resources."
Table of Contents
Code 29 – This device is disabled in Windows 10 Solutions
Here is how to fix Code 29 – This device is disabled in Windows 10 –
1] Restart your computer
Sometimes the issue is the result of a temporary glitch which you can easily bypass by rebooting the affected device.
Step-1: Click the Windows icon on the bottom left of your desktop screen.
Step-2: Select the Power button.
Step-3: Now, click on Restart.
When your desktop restarts, you will not see this error. However, if Code 29 – This device is disabled. still persists, move to the next method.
2] Manually enable the hardware device in your PC’s BIOS
The major cause of Error Code 29 is the disabled device in your PC’s BIOS. You can enable it manually by going through these simple steps –
- Restart Windows 10 PC and access BIOS settings utility.
- Wait for the message to enter the setup. The message usually appears in 1-2 seconds when your computer boots.
- Proceeding ahead, press the relevant key to enter the BIOS setup. Often it is F2, F10 or F12 but might vary for different manufacturers. The key you should press is either mentioned in the message or if it is not, visit the website of your computer’s manufacturer to find it out.
- Locate the disabled devices in the Advanced BIOS Settings section (use your keyboard keys to access different sections).
- Once you found, enable it.
- Now, exit the BIOS setup properly by using the “Save & Exit” option. Remember if you withdraw without saving, nothing will change and you will still get the error Code 29.
- When your system reboots after pursuing these steps, Error Code 29 – This device is disabled won’t be there.
However, if you face difficulty while manually enabling the disabled hardware device through the BIOS, you should go through the hardware documentation. Else, better contact your computer’s manufacturer.
That’s all!!
