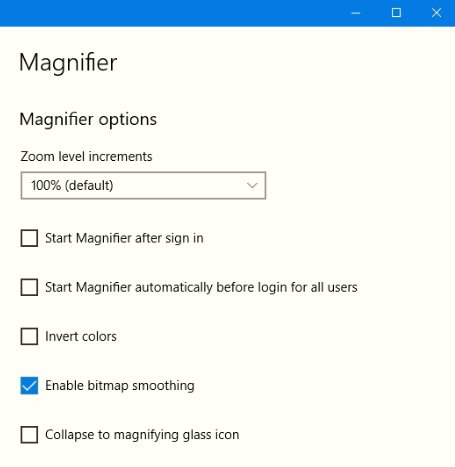
When you Enable Bitmap Smoothing in Magnifier, the magnified texts look smoother in Windows 10 OS. You all know this Windows accessibility tool has great importance in order to improve PC Screen visibility and size. See Windows 10 – How to Access and Use Magnifier to learn more.
Windows 10 provides you multiple options to enhance the accessibility and usage of Magnifier. But to get a sleek appearance of texts, build 16226 adds up an option in Ease of access area. So, when you Enable Bitmap Smoothing in Magnifier, you will get the better look of the enlarged text. Hence, let us move towards the steps and see how to enable this new feature.

Table of Contents
Enable Bitmap Smoothing in Magnifier Windows 10
Step 1 – To Enable Bitmap Smoothing in Magnifier, open Settings application. To do so, first Open Start Menu and then select the Settings icon.
Step 2 – On the Settings homepage, locate and click on the tab Ease of Access.
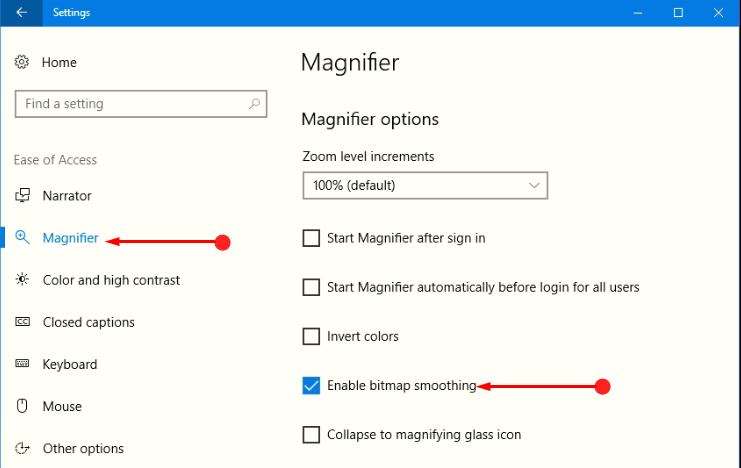
Step 3 – The left pane of the following page displays few section, click Magnifier. Now, on its right pane check mark, the option namely Enable Bitmap Smoothing.

In case if you wish to disable the feature, just uncheck the option Enable bitmap smoothing.
Magnifier displays larger screen, so you easily read texts and trace out objects. The tool magnifies the screen on a set zoom level. You can also change the size using this article – Zoom Shortcut Key Windows 10 – Read and Apply.
Conclusion
Hopefully following the above mentioned simple steps you will be able to Enable Bitmap Smoothing in Magnifier Windows 10 OS. So, once you turn on this feature, you will get a better and polished look of the amplified text. Microsoft always keeps focus on visually impaired users and tries to upgrade their experience by offering various features and options. Just give an attempt to this new feature of bitmap smoothing and share your reviews with us.