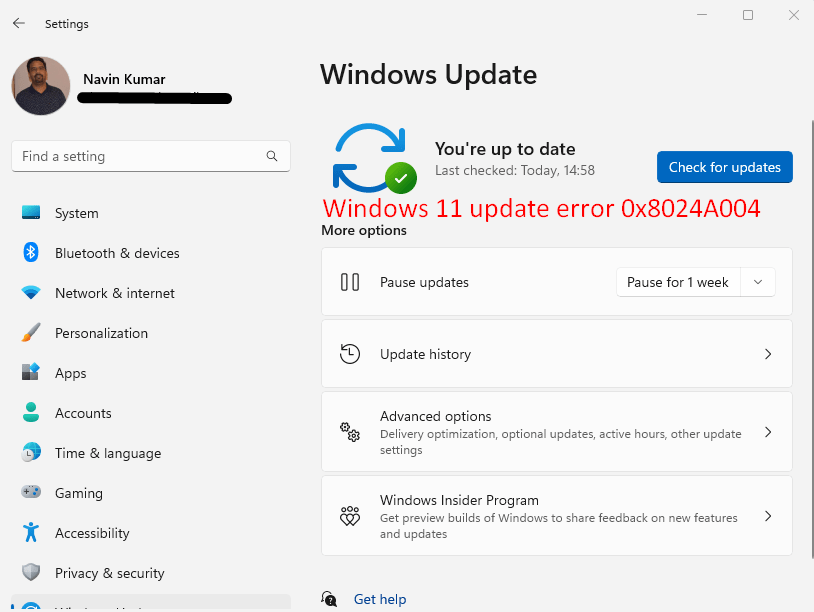
0x8024A004 error code appears when customers try to upgrade from 21H1 to Windows 11 22H2 version. Because of this problem, update installation fails and shows a message but this does not specify any reason that can guide users to solve.
Windows 11 update error code commonly occurs due to broken cache, misconfigured services, and external devices in connection with laptop or desktop. In this article, we will describe different ways you may use to resolve the issue and successfully update to the latest Windows version.
Table of Contents
Error code 0x8024A004 in Windows 11
Check out the ways mentioned below to fix the concerned update error:
Way-1: Try out with Windows Update Troubleshooter
One of the best methods to fix the error in question is to run built-in troubleshooter, which is designed to find problems that might stop system updates from installing.
Also known as “Fixit tool,” it alerts you for any issues, discovers bugs and challenges, and recommends relevant remedies. Therefore, in order to resolve error codes like 0x8024A004, try to run it by following these steps:
- Press Windows and I simultaneously.
- When the Settings app is open, click Troubleshoot from right pane.
- Select Other troubleshooters.
- From the list of programs, go to Windows Update and click on Run.
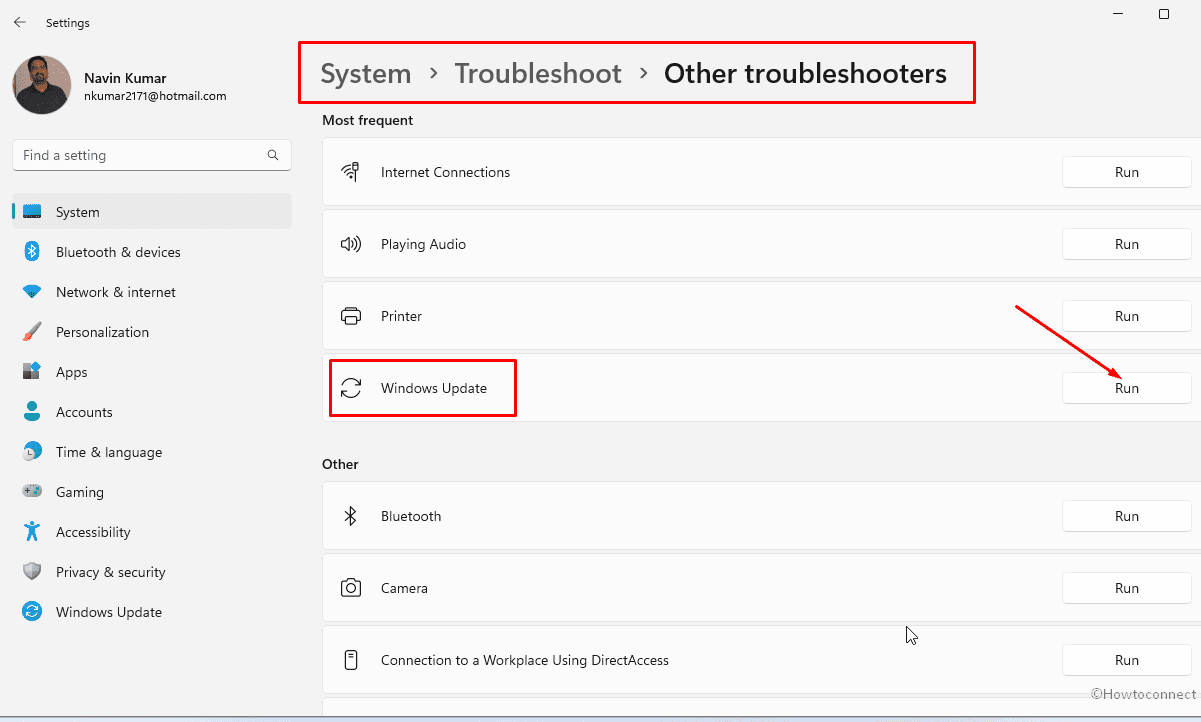
- If the troubleshooter suggests solutions, use it by clicking Apply this fix.
If the utility doesn’t find the problem, close it and move on to the next way mentioned below.
Way-2: Clear Windows Update Cache and Restart Services
The relevant services and Windows update components must be operational in order to install updates. Oppositely, when the services and components get deactivated or non-functional 0x8024A004 error code may be forced in Windows.
Windows Update service or Wuauserv is the reason in most of the cases which you can manually restart it however we are providing an administrator-friendly batch file for this.The batch file will start all essential services and reset the update cache in surplus to resolve the issue. Run this using below guidelines –
- To get Reset_Windows_11_update.zip, click on this link.
- Once the file is downloaded, right-click on it and select Extract all.
- Right-click on WuReset.bat and choose Run as Administrator from the menu that appears.
- Wait until the repair work is done. You may be asked to press some keys on keyboard for continuation of process.
- Once done, you should restart your system.
- If everything goes well, you should be able to install the update after reboot.
If the error code still persists, try fixing it the coming way, which is as follows:
Way-3: Run DISM as well as SFC tools
Existing error code in Windows 11 might be the aftermath of corruption in System files or malfunctions in .WIM. Both issues can be repaired natively without help from any experts if you follow this method –
- Press Windows + Q.
- Type – cmd.exe.
- Select the option – Run as administrator.
- Click on Yes when User account control pops up.
- Type
Sfc /scannow.
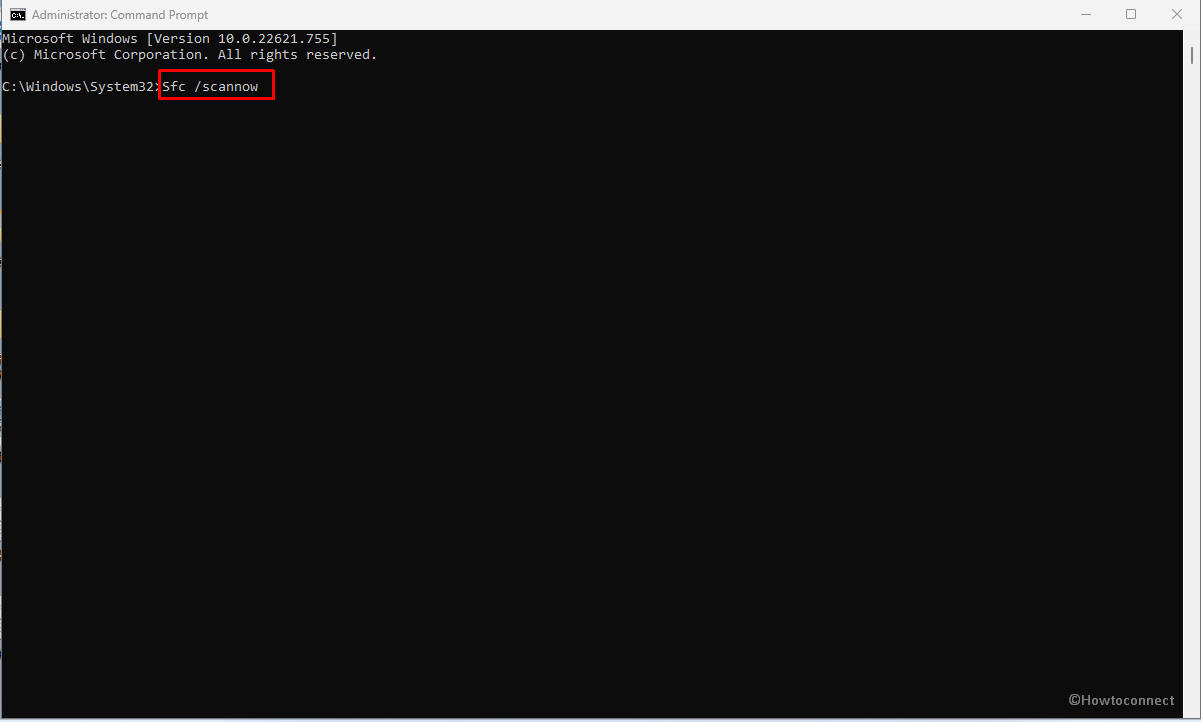
- Hit the Enter key.
- This process will take some minutes, stay calm for that period and then restart your computer at the end.
- Error still showing will indicate that you need to now make use of another tool.
- Open the Command prompt as administrator as you have done earlier in this method and type the following syntax –
DISM /Online /Cleanup-Image /RestoreHealth- Press ‘Enter’ and wait until the command performs its task.
- Again Reboot the device and the error should come to end this time.
Way-4: Manually install the Windows update
Automatic Windows update is the best way to receive any patch or build but when this process you may feel annoyed. Nothing to worry about because an additional option is still available.
Standalone copy of the same update resides in the Microsoft update catalog website which you can use to install the same rollout.
All you need is to step up with the method ahead to fix 0x8024A004 –
- Click on Start and type updates.
- Hit Enter and find KB number of the Windows update that has failed.
- If the number isn’t showing here click on Updates history and see there. Note down this Knowledge base number.
- Now, navigate to this link – https://www.catalog.update.microsoft.com/Home.aspx.
- Paste the KB number in the search box and press “Enter”.
- Locate the file compatible with your system and click on Download.
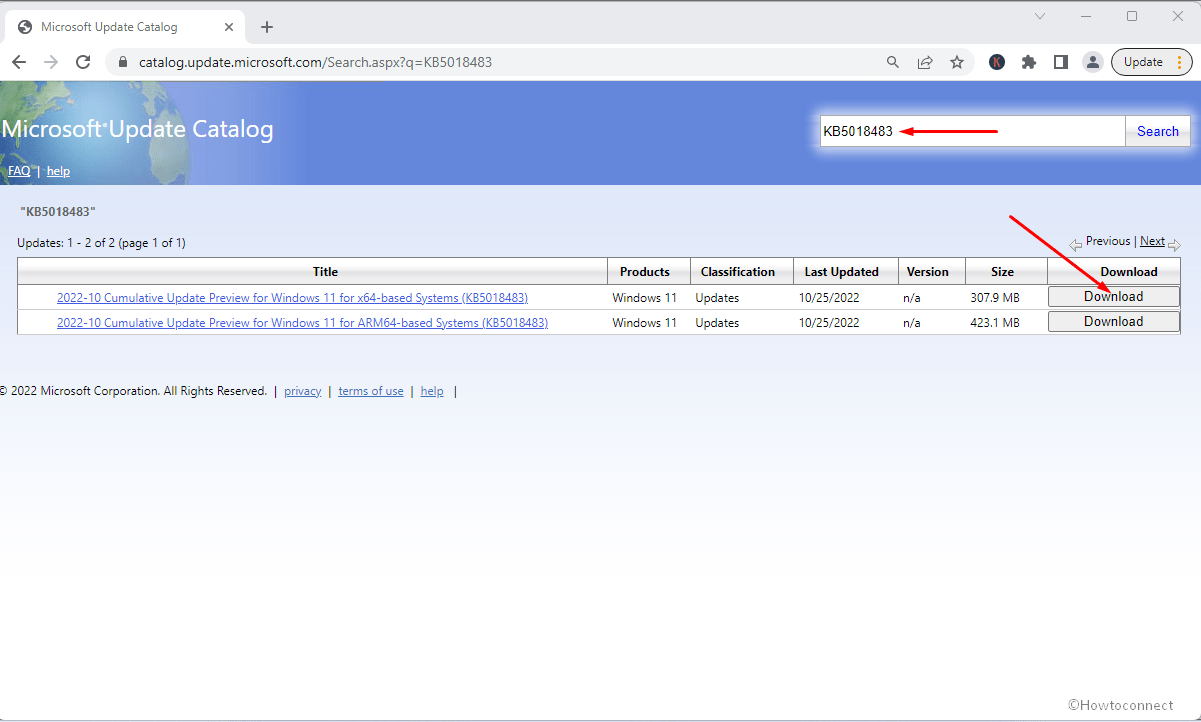
- An isolated page will prompt up showing a solitary link.
- Click on the link and allow file there to finish downloading.
- Once downloaded, double-click on .MSU file.
- Select Yes and let Windows install the update. It will restart a couple of times.
See – How to Download and Install Update from Microsoft update catalog on Windows 11/10.
Way-5: Turn Off Windows Defender real-time Protection
It’s been observed that Windows Defender assists in keeping your device safe against malicious software, data, and web content. However, it can also interfere with Windows Update installation by preventing or blocking files due to security purposes and leading to witnessing the concerned error. So, it’s better to turn it off by the following steps:
- To find this app, click Start or press the Windows key.
- Type Windows Security.
- Press Enter and go to the app.
- Select “Virus & threat protection”.
- Then, click Manage settings.
- Turn off the toggle switch that works for real-time protection. Keep in mind that scheduled scans will still happen. But files that are downloaded or installed won’t be scanned until the next scan that is scheduled.
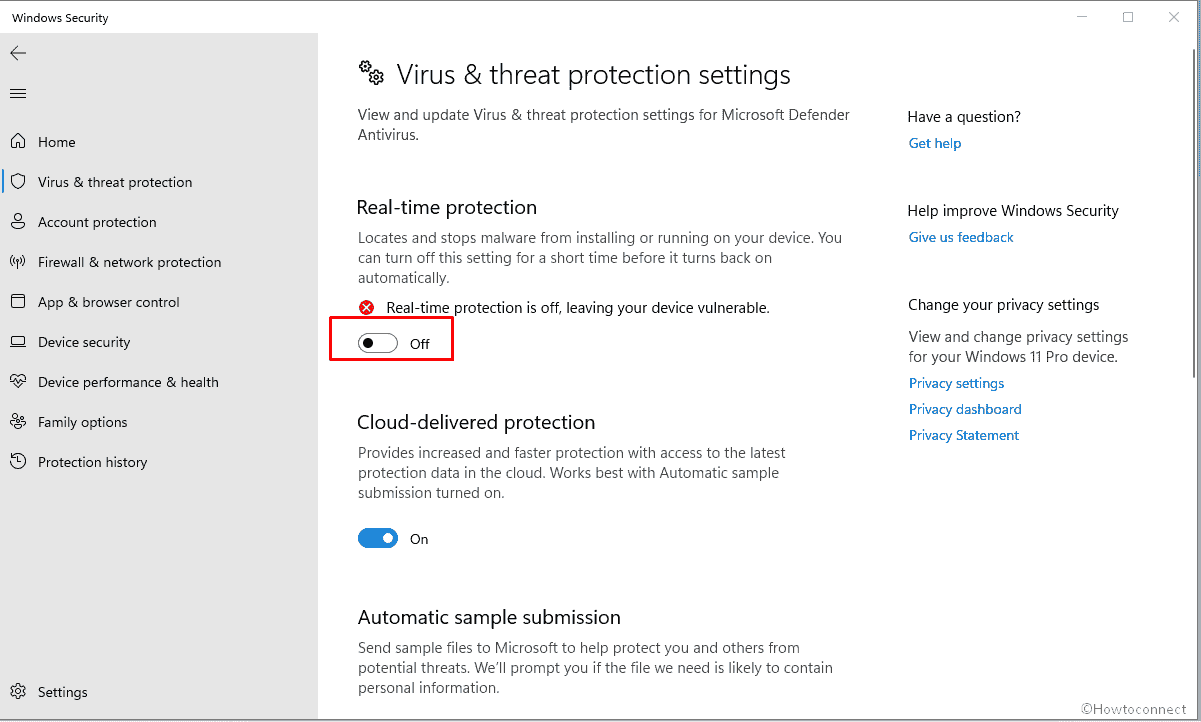
- Do note, if you have any third-party antivirus applications installed, don’t forget to disable them as well.
Way-6: Unplug all the peripherals
There have been situations in which external devices have halted the system’s update installation, resulting in the current error 0x8024A004. So, it’s better to unplug all the peripherals except the mouse and keyboard, and then perform Windows Update.
Way-7: Uninstall third-party programs
intervention in normal operating of Windows has been a great issue triggering BSOD, crashing, Update failure, interrupted internet, and even malware infection.
Problematic third party programs can give rise to the error 0x8024A004 in Windows 11 as they usually create conflicts with system files, registry, services, and other components. Messed-up elements prevent Windows updates from downloading and installing and force the system to display the existing error code.
Therefore, find and remove the program using the below steps –
- Press Winkey and R.
- Type appwizz.cpl and hit the Enter key.
- Once the Programs and Features window pops then find the program to throw it out.
- Right-click on the one and select Uninstall.
- If verification prompt appears, click on Yes.
- Follow the further instructions to remove the program completely.
Way-8: Upgrade to Windows 11 22H2 Using ISO File (In-Place upgrade)
Sometimes the system is unable to automatically install the Windows 11 update to upgrade it to 22H2 and generates 0x8024A004 error. On contrary, you can attempt to install it manually using the ISO file using these steps:
- Go to Microsoft’s official website for downloading Windows 11 22H2.
- Navigate to the Download Windows 11 Disk Image (ISO) section.
- Select ‘Windows 11 (multi-edition ISO)’ from the dropdown list of available alternatives.
- To proceed, click the Download button.
- Now, select an installation language and press the Confirm button.
- Click the Download button once more.
- After downloading the file, right-click it and select Mount from the context menu.
- Go to the mounted drive.
- To begin the installation, double-click the Setup file.
- Click Not right now in the subsequent box.
- Select Next > Accept.
- Select anything you wish to maintain throughout the system update installation.
- Finally, press the Install and wait for the procedure to finish.
Hopefully, the update will be successfully installed using this way. However, if you face any difficulty installing the update you can try this alternative method to resolve the error code 0x8024A004 in Windows 11.
Alternative Method
- Launch the Official download page of Windows 11.
- Click the Download Now option located under the Windows 11 Installation Assistant section.
- Click on the Windows11InstallationAssistant.exe file once it has been downloaded to launch it.
- To initiate the update installation, click the Accept and Install option.
We hope that the above ways must have helped you with the Windows 11 update error 0x8024A004.
Methods:
Way-1: Try out with Windows Update Troubleshooter
Way-2: Clear Windows Update Cache and Restart Services
Way-3: Run DISM as well as SFC tools
Way-4: Manually install the Windows update
Way-5: Turn Off Windows Defender real-time Protection
Way-6: Unplug all the peripherals
Way-7: Uninstall third-party programs
Way-8: Upgrade to Windows 11 22H2 Using ISO File (In-Place upgrade)
That’s all!!
