KB5053656 is going to be released for the Windows insider Release Preview channel. Soon, this patch will be also available to Windows 11 24H2 as Cumulative update preview version. If you face an problem installing this Windows update the solutions here would help you.
Let’s follow the steps to fix the error or any issue coming during installing KB5053656 on Windows 11 24H2.
Method-1: Try installing KB5053656 from Microsoft update catalog
- Go to the link https://www.catalog.update.microsoft.com/Search.aspx?q= KB5053656
- You can see some files here. Find the file supporting your system.
For this,
- Click on Start.
- Hit Settings.
- Click on System.
- Scroll down and click on About.
- Here, check System type.
- Come back to Microsoft update catalog find the file supporting your system type and click on Download.
- On the popup, click on links.
- Once the Windows update is downloaded, go to the folder where it is located.
- Right click on the file and select Open.
- The system will restart a couple of times and the update will be installed.
Method-2: Modify Services
- Click on Search.
- Type services.msc.
- On the Services, Find Windows update.
- Right click on this service and set the Startup type to Automatic.
- Click on Start if it isn’t greyed out.
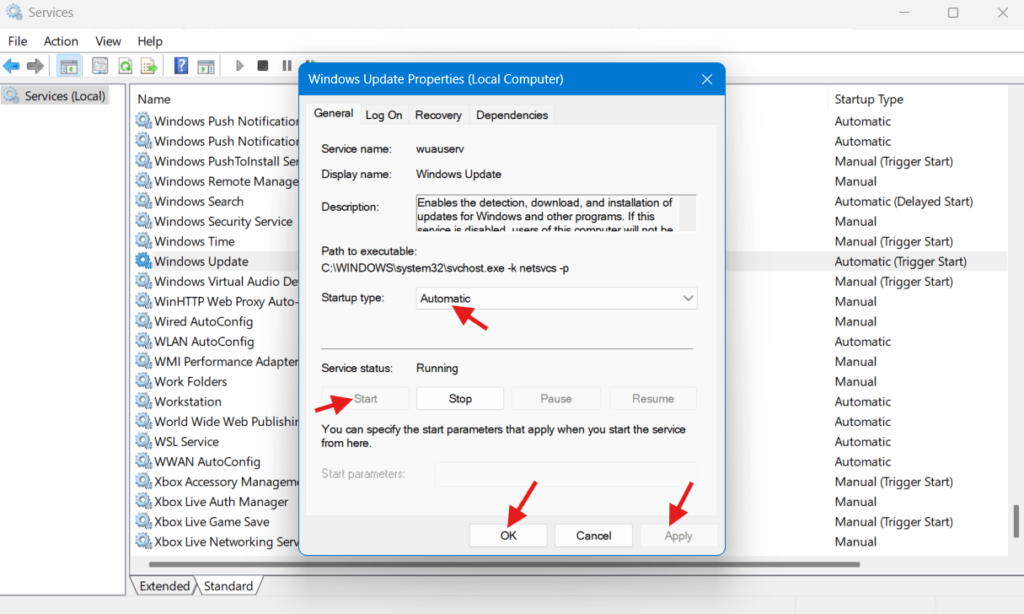
- If it is already started, then right click and select Restart.
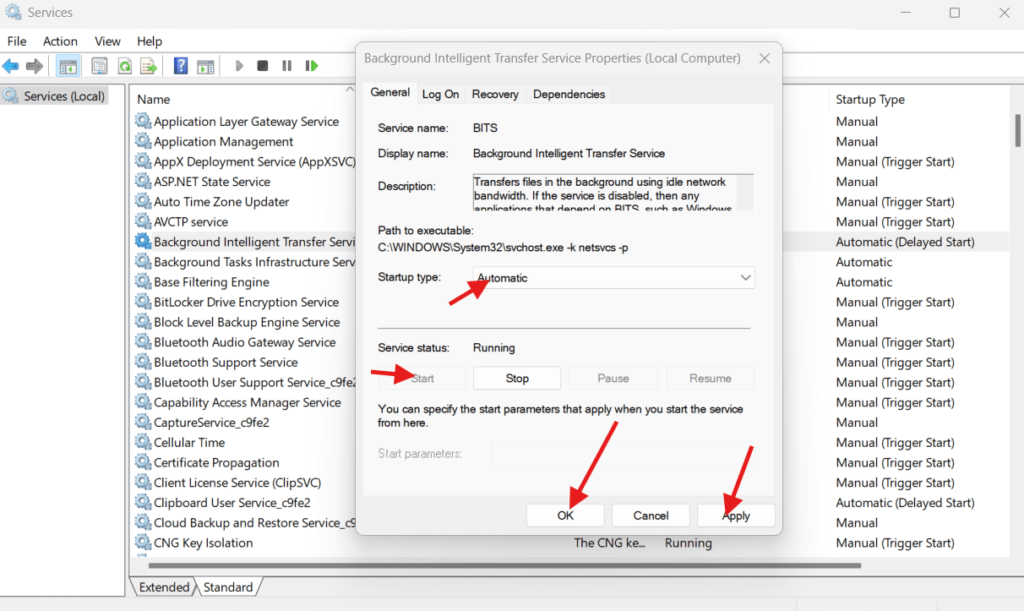
- Do the same with Background intelligent transfer service and cryptographic services.
- Now check for updates.
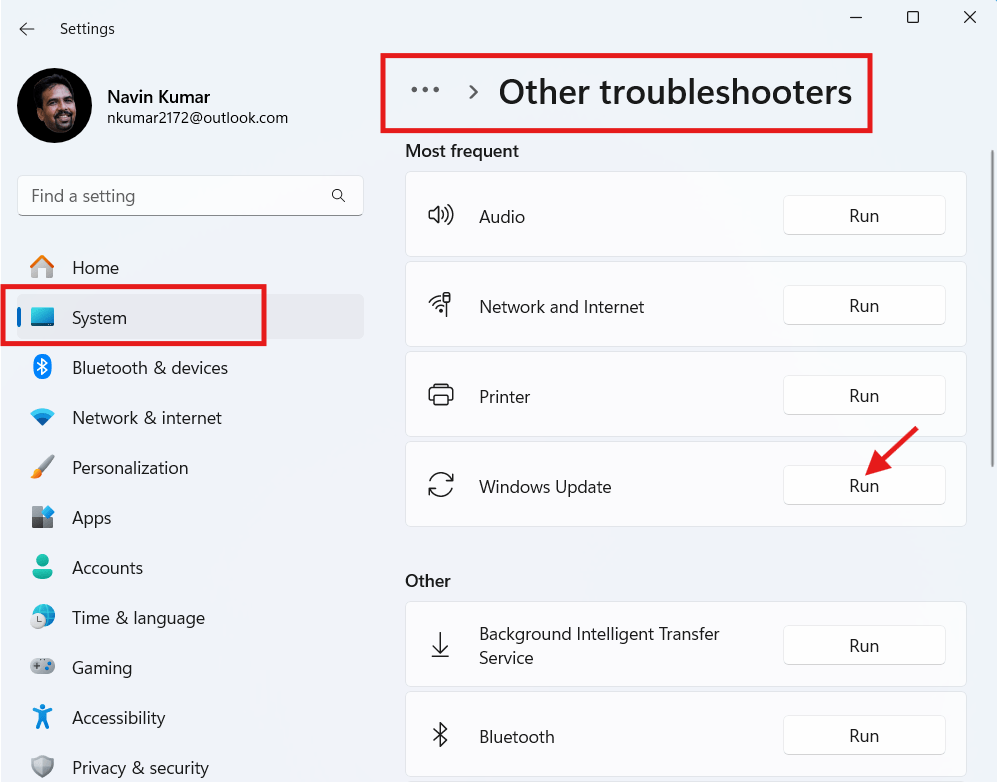
Method-3: Run Windows update troubleshooter
- Click on Start.
- Select Settings.
- Click on System.
- From the right, click on Troubleshoot.
- Select Other troubleshooters.
- Find Windows update and click on Run.
- Allow the process to complete.
- Follow the suggestions.
- Restart your PC.
Method-4: Reset Windows update cache
- Click on Search.
- Type cmd.
- Select Run as administrator.
- Type the commands one lines one at a time and press Enter.
net stop bits
net stop wuauserv
net stop CryptSvc
ren %systemroot%\softwaredistribution softwaredistribution.bak
ren %systemroot%\system32\catroot2 catroot2.bak
net start bits
net start wuauserv
net start CryptSvc

- Reboot the device.
Meethod-5: Uninstall third party antivirus or program
- Click on Start
- Click on Settings.
- Select Apps.
- Click on Installed apps.
- Find the software downloaded from third party websites or venders.
- Click on 3 dots and select Uninstall.
- If any wizard appears follow the onscreen instructions.
- Restart you PC and then check for updates.
Method-6: Run System Files checker and DISM tool
- Click on Start.
- Type cmd.
- Select Run as administrator.
- Type SFC /SCANNOW and press Enter.
- Next, run DISM Command line tool after the System Files Checker command completed 100% repairing.
- For this, type DISM /Online /Cleanup-Image /Restorehealth and press Enter.
- At last, restart your PC.
Thats all!!