In this article, you will read How to enable or disable Scroll Inactive Windows on Windows 10 and how this feature works to roll your mouse center button only after hovering on an application. We will also discuss how it works.
On Windows 10 Settings app, you observe this new feature which allows rolling the mouse center button also in an inactive Window (what you have opened on your desktop). For instance, if you have opened two or more applications at the same moment on your PC screen like notepad and Internet Explorer web page then you can scroll the mouse on both of these two whether these are in back side or on front. In the earlier versions of Windows, when you tried to scroll the mouse over the non-active window then you got fail and needed to set the application in front on which you liked to scroll.
But for the working of Scroll Inactive Windows feature you need to enable it first. If you don’t like to do so you can disable it.
You may like to read:
Windows 10 – How To Get 3 Finger Gestures for Precision Touchpads
How to Enable / Disable Scroll Inactive Windows on Windows 10
Make sure that you possess Windows 10 installed on your PC and then follow easy steps written below:
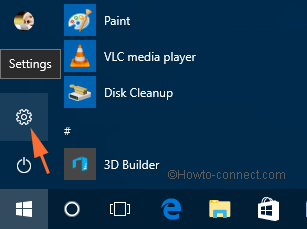
- At first, you need to go to the desktop and tap on Start menu to look for Settings option and click the same.
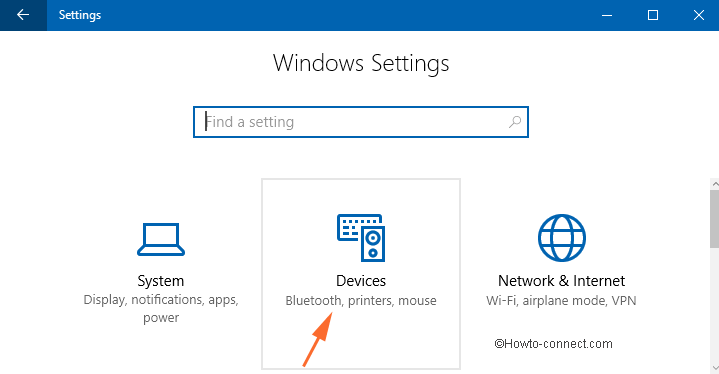
- Then click Devices category on the settings window.
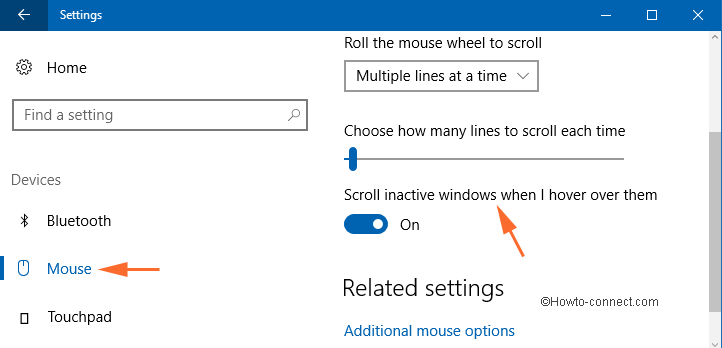
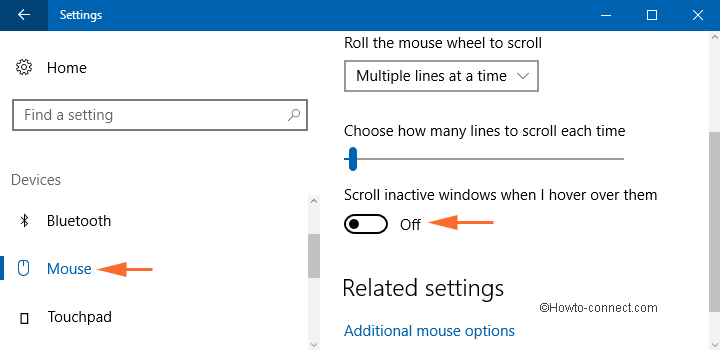
- In the left pane, choose the Mouse option. Now, you will see the text Scroll inactive windows when I hover over them on the right side of the screen.
- To enabled it, just swipe the slider to ON.
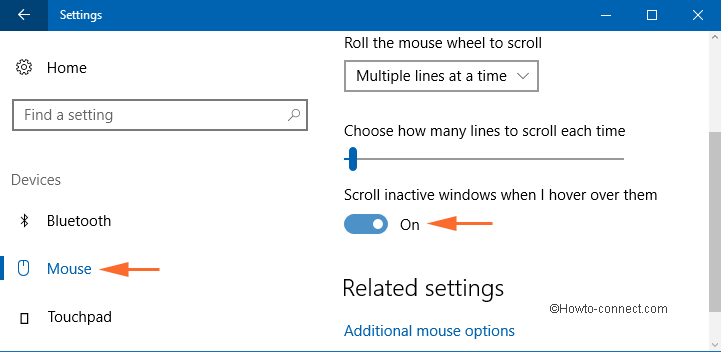
- To disable it, you need to swipe the mouse to Off.
Now you can test this new feature on your desktop. Just open two or more applications windows and put them one on the front side and other in the background. You may also put them using the side-by-side option. Scroll the mouse over the windows one-by-one then you will see that mouse starts to scroll over both of the application windows whether it is in the background or on front.