This article will show what exactly QoS Packet Scheduler on Windows 11 or 10 is & how to configure it? Modern Windows 10 computers keep a particular portion of the internet connection bandwidth aside and use for certain live applications. They hold 20% of the full bandwidth but you can configure it as per your requirement and QoS Packet Scheduler helps in this regard.
What is QoS Packet Scheduler in Windows 10?
QoS is a feature for assignment of traffic in Windows and its full form is Quality of Service. When a network uses this, it gives an administrator ability to prioritize definite network traffic over dissimilar. In this regard, you must ensure that the most sensitive applications continue to function correctly in times of high traffic.
When a new connection is configured in Windows 10, by default, a service called QoS Package Scheduler is added and marked. This service limits a certain bandwidth so that your operating system performs some operations.
QoS Packet Scheduler in Windows 11 or 10 is a kind of method of management of the network bandwidth which monitors the importance of the data packets. This depends on the priority of the packet and provides lower or higher priority or bandwidth levels to the connection. It must be supported on both sides of the connection.
If you have a slow Internet connection or are on a network with components that have different speeds, you should leave QoS turned on. On the other hand, in a standard home network with a nimble Internet connection, it has less influence.
QoS Packet Scheduler affects only LAN traffic and not the speeds of internet access. In order to function, it must be supported on each side of the connection.
Ways to configure QoS Packet Scheduler in Windows 11 and 10
Here is How to configure QoS Packet Scheduler in Windows 11 or 10 –
Using Local Group Policy Editor
Step-1: Hold down Win+ R together on the keyboard to open Run Dialog.
Step-2: In the empty space, type gpedit.msc and hit Enter to get access to Local Group Policy Editor.
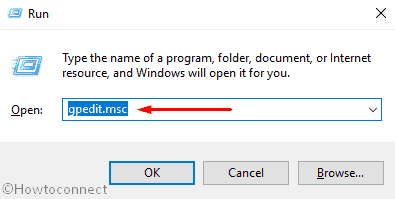
Step-3: Once it comes into the sight, Navigate the following path –
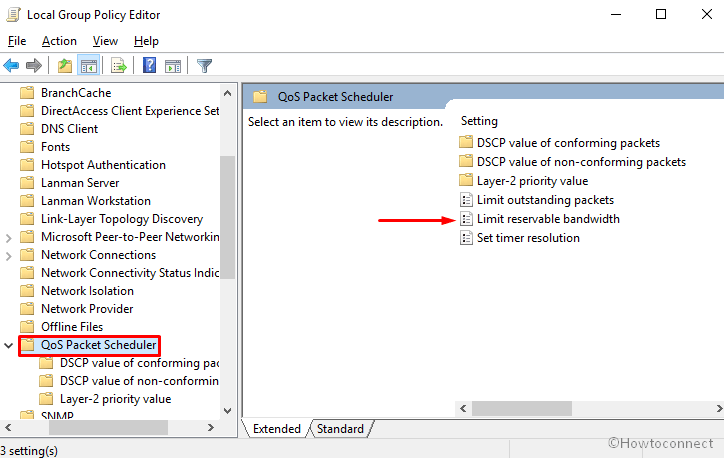
Local Computer Policy \ Computer Configuration \ Administrative Templates \ Network \ QoS Packet Scheduler
Step-4: On the right pane of the console, locate Limit reservable bandwidth and make a double click on the same.
Step-5: Click on the radio button of Enabled and later set up the percentage of the Bandwidth limit with 0.
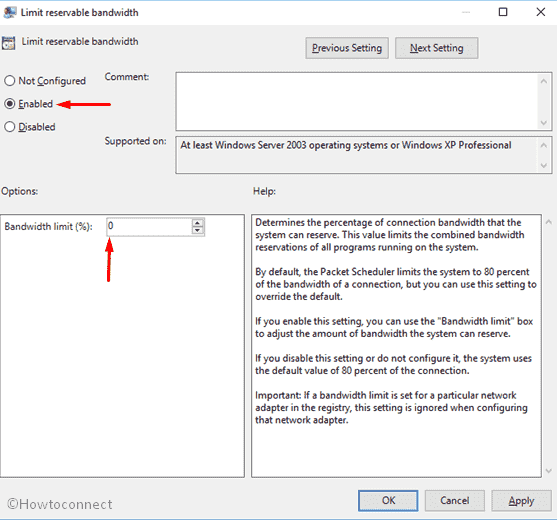
Then click on the Ok button in order to confirm and exit from GP editor. Hereafter, Restart your computer to view the change.
Via Registry Editor
Later, to modify QoS Packet Scheduler in Windows 11 or 10 and set to 20% bandwidth, you can easily use regedit.exe.
Click on the Cortana, type regedit.exe and then hit Enter.
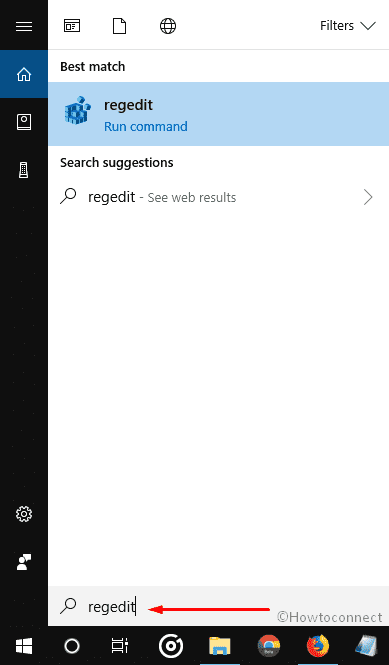
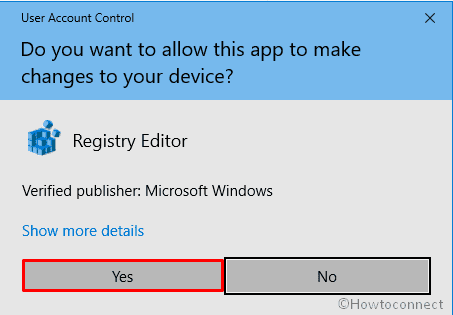
If a UAC shows up, click on Yes to give consent.
When Registry Editor appears, Browse the string and reach out to the following path –
HKEY_LOCAL_MACHINE\SOFTWARE\Policies\Microsoft\Windows\Psched
If you don’t find Psched then navigate to the right pane and Create a New DWORD Value.
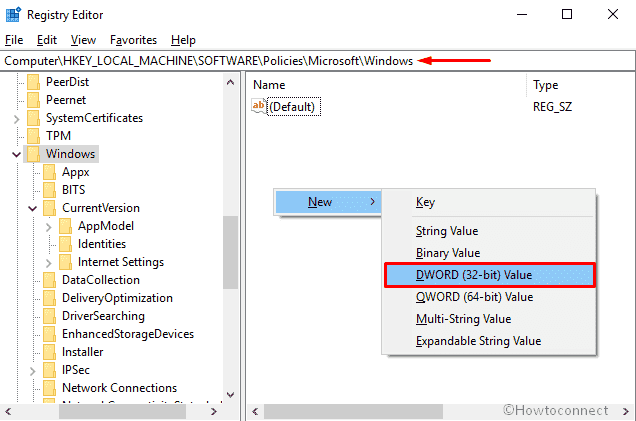
Name it Psched. Then perform a double-click on it and Type 0 in the Value data box and Press Enter.
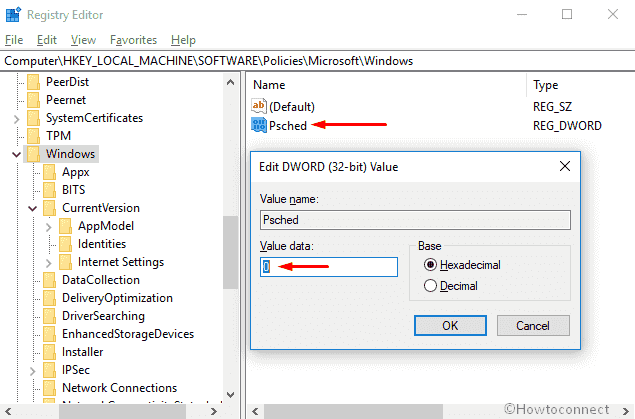
Once done, Reboot your PC to save the changes.
That’s all. Hope it was helpful.

Does the Psched value of 0 mean 20%?