If Windows Defender is on then it will let know you whenever spyware and unwanted software try to install itself into your system. The only problem with the Windows Defender in Windows 10, 8 is that you can’t setup automatic scheduled scans by default. Now if you want to set up a scheduled scan of Windows Defender to run automatically then you have to follow the tips below.
Recommended: Windows Defender 0x800106ba Error Code Application failed to Initialize Solution
How to Setup Windows Defender Scheduled Scan to Run Automatically on Windows 10, 8
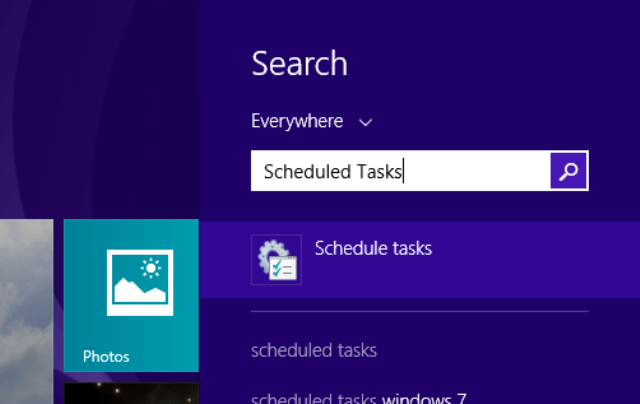
- Go to Start Screen.
- Open the Charms bar from the right edge of the Start Screen.
- Click on the Search option.
- Type Scheduled Tasks in the search field.
- Scheduled Tasks will come, select it.
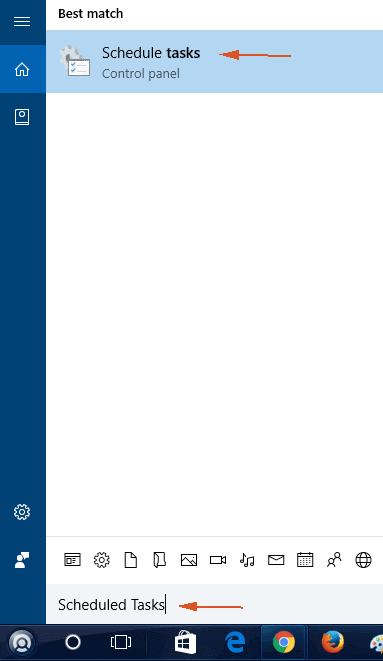
- If you are on Windows 10, write Scheduled Tasks in Cortana search area and click on the same at the top under best match.
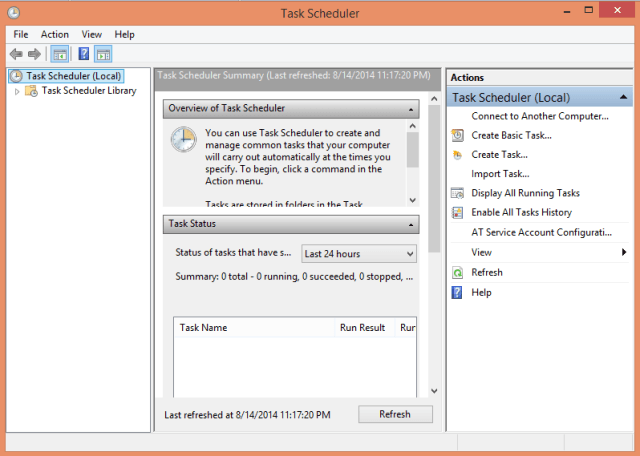
- A Task Scheduler window will appear on the screen.
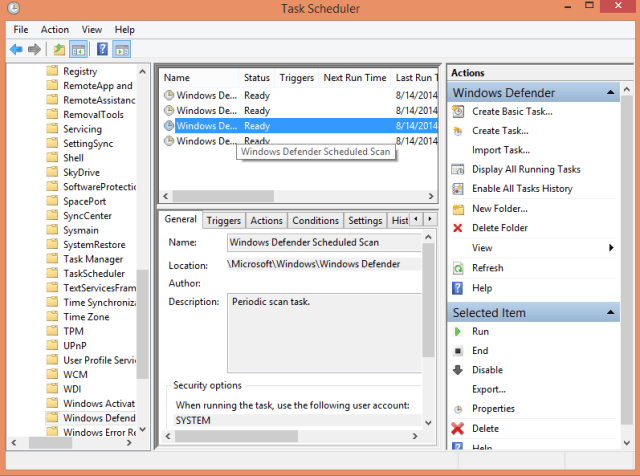
- Follow this path –
Task Scheduler Libray\Microsoft\Windows\Windows Defender on the left side of the window
- Click on Windows Defender Scheduled Scan on the right side of the page.
- Double click on it.
- A new Windows Defender Scheduled Scan Properties window prompts on the screen.
- Click the Triggers tab.

- You have to create a new Trigger, click New link.
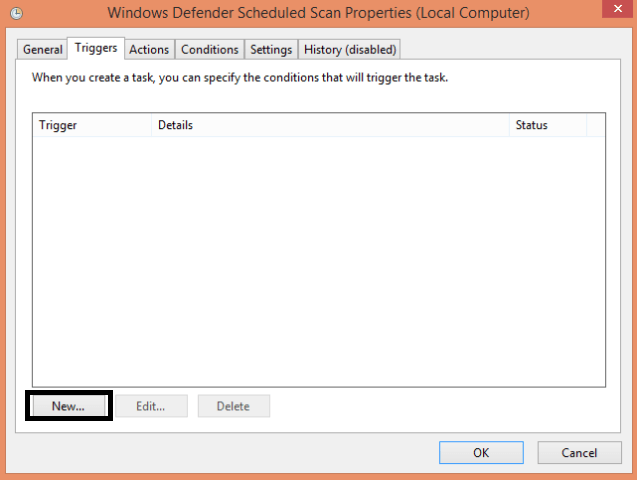
- A new Trigger window appears on the screen.
- Then use the drop down menu of Being the task and select On a schedule.
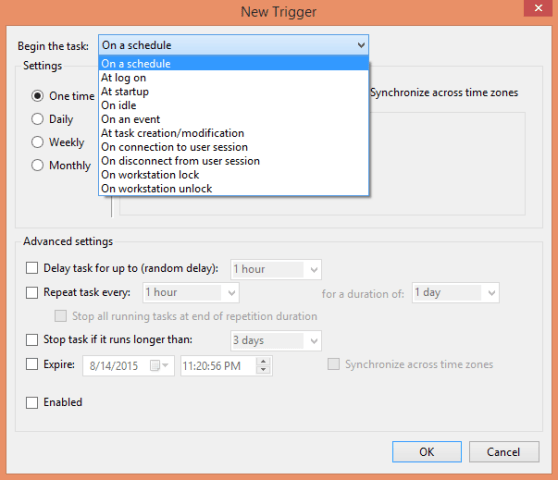
- Now set up the time and date you want it to run.
- You can make it run daily, weekly, monthly, or even just one time also.
- Click Ok to save your settings.
Read: Best Free online Antivirus to Scan Computer gets Infected