Tip to Change Public VPN to Private in Windows 10 – Once you configure Public Virtual Private Network on Computer none of the methods leads to change it to Private straightway. Noteworthy is Public VPN is unsafe due to which obnoxious people can exploit data.
Furthermore, important credentials also come in a danger zone. So It is always a wise decision to Change Public VPN to Private in Windows 10. Registry editor provides a solution for this and you can hack the value data of a subkey to do the same.
Change Public VPN to Private in Windows 10
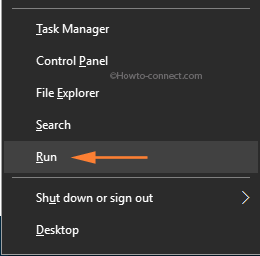
Step 1 – To begin with, hold Windows key and then tap X key to outspread a menu. Hit or tap the choice Run, the third last one.
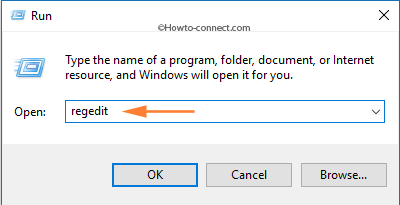
Step 2 – In the popped-up box, write out this code and tap Enter to execute it – regedit
Step 3 – A UAC prompt will arrive, tap or hit Yes button and continue with the work.
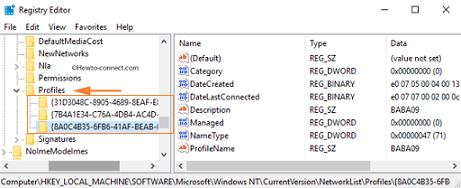
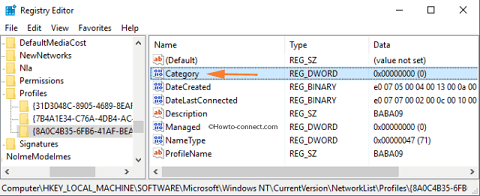
Step 4 – Soon, Registry Editor will outspread on the screen. On the left portion, navigate to this path – HKEY_LOCAL_MACHINE\SOFTWARE\Microsoft\Windows NT\CurrentVersion\NetworkList\Profiles
Step 5 – Underneath Profiles, go through the list of profiles to detect the correct VPN.
Step 6 – However, to find out the correct one, see the name specified under ProfileName on the right pane of every profile.
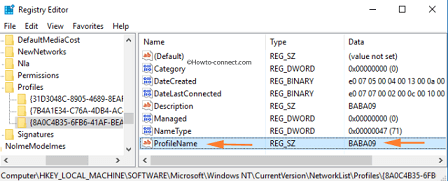
Step 7 – After detecting the desired one, double-click the DWORD named Category.
Step 8 – An Edit box will arrive, set its Value data as 1. Hit or tap Ok to save the modification.
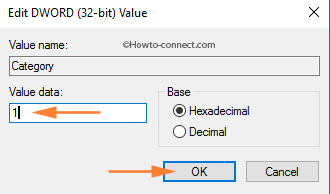
Step 9 – Now, if you again decide to roll back to Public, do the above steps and in the Value data field, write 0 (zero).
Step 10 – In order to bring the modifications to effect, carry out a reboot.
When users of Windows 10 connect to their VPN, it assigns the connection as Public. This eventually leads to some issues and most irritating is that they cannot view any of their network shares. Hence, experts have come out with a solution which we have outlined in this article.
Once you accomplish the steps, consequently the chosen VPN will no longer be public. The steps here work great for both Windows 10 Pro and Home editions.