In a very recent update, Microsoft has included Control Audio in Game Bar on Windows 10. Surprisingly this feature has been always underrated since when the company launched it. Maybe that’s why Microsoft decided to improve it with new features and fresh look in order to attract the users.
Previously Game Bar allows you to take screenshots, create videos moreover stream it directly in your TV that too without any external apps. And now you can also record your gaming experience by customizing audio settings as well. Let’s see the process.
Control Audio in Game Bar on Windows 10
Here is how to Control Audio in Game Bar on Windows 10 –
Step-1: At first, perform a joint press of Win+I to open Windows Settings, the built-in application.
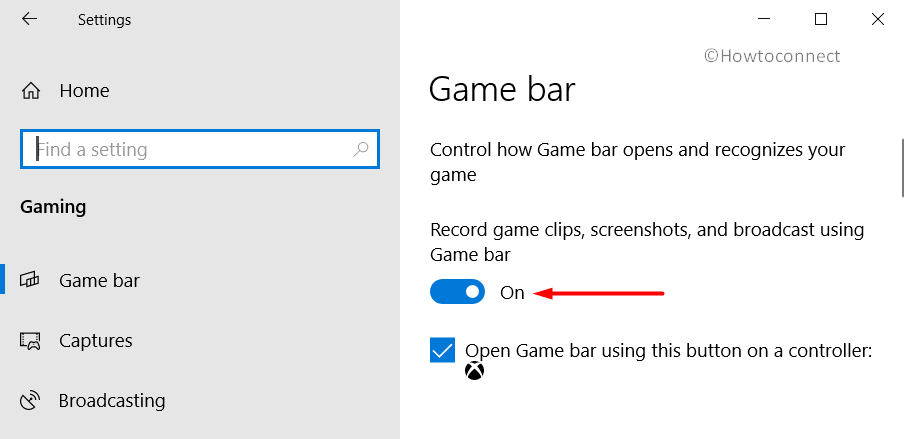
Step-2: Click on the Gaming category and on the following page, switch to the right pane.
Step-3: Here, turn ON the toggle of Record game clips, screenshots, and broadcast using Game bar located under Game bar section (see snapshot).

Step-4: Thereafter open the game you want to record. And after launching the game make a combined press of Win+G to view Game Bar option.
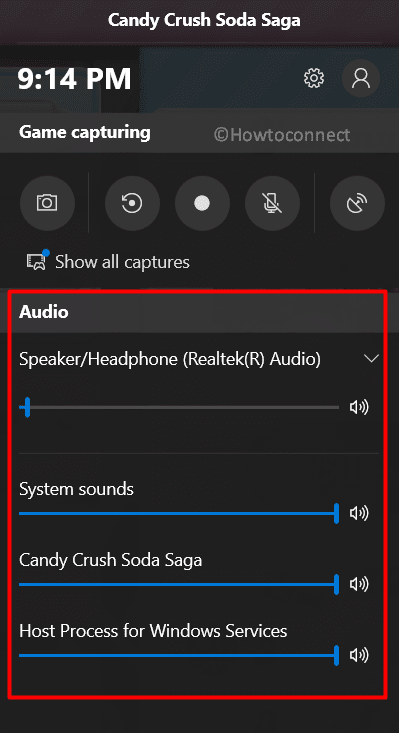
Step-5: This will launch a black panel displaying various settings. Go to the Audio section on the lower half and customize the settings accordingly.

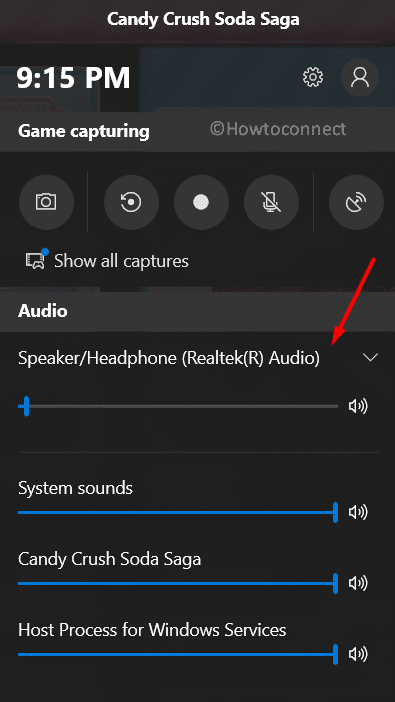
Step-6: If you are using multiple speakers then click the Speaker/Headphone drop-down and choose your desired one.

Step-7: Moving ahead, you can also control System sound, game sound by dragging their respective sliders. If you are playing online games from any browser, you can adjust those audio settings too. All application sound setting will be available under the Audio section. Once you set to manage Audio in Game Bar in Windows 10 the gaming experience will be improved substantially.
Now enjoy recording your Games with suitable audio settings.
That’s all!!!
