csrss.exe in Windows 10 might sound malicious to many but in reality, it handles Win32 console and GUI shutdown. Hackers and third-party app developers target these types of executable file to lodge an attack because they decode them easily. Most of the time, you cannot even determine the presence of the malware because it’s injected with the same name.
However, csrss.exe is pretty essential for the OS, often it leads to high CPU usage that crashes the entire system or black out the memory. Subsequently, the Windows becomes sluggish and you are unable to operate it. Usually, It occurs either for a corrupt user profile or virus infection. If you are here, you must have seen something inappropriate in Client/Server Runtime Subsystem i.e csrss.exe and needed more information.

Related – How to Disable and Fix XLICONS.exe in Windows 10
Ways to Disable and Fix csrss.exe in Windows 10
You may end the task of csrss.exe in order to resolve the issue associated with Client/Server Runtime Subsystem. But you can’t disable it as it is a crucial part of Windows operating system. Even if you force this task to end from Task Manager, you will get an error message claiming Access denied. So, you have to perform alternative workarounds to solve it. Here is How to Disable and Fix csrss.exe in Windows 10 –
Scan your Full system
When a virus is responsible to cause high CPU usage because of csrss.exe in Windows 10, Perform a Full Scan to remove them. Windows Defender which is a built-in antimalware tool will help you in this regard.
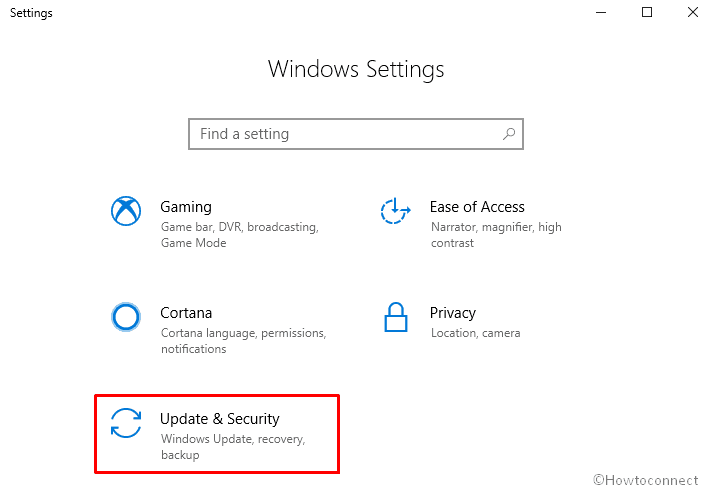
Step-1: Press Win+I hotkeys simultaneously and let the Windows Settings appear. Once it comes into the view, Press on Update & Security.
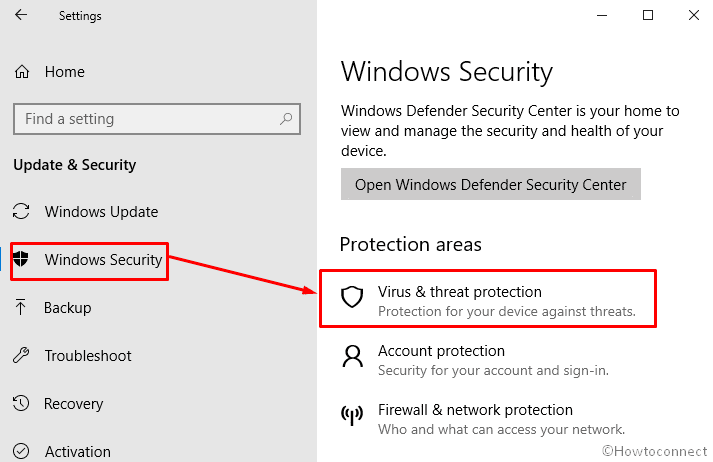
Step-2: From the left column Select Windows Security and shift to the right pane. Click on Virus & threat protection located under Protection areas (1st option).
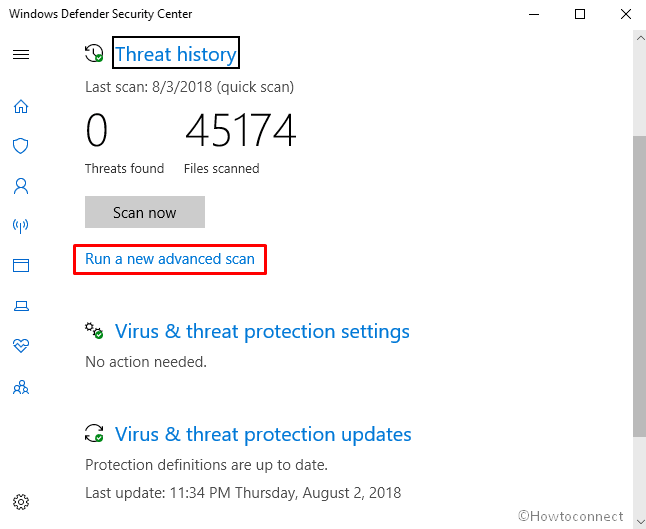
Step-3: Once Windows Defender Security Center unfolds on the screen, click on Run a new advanced scan.
Step-4: Ensure that the radio button of Full scan is selected and then click on Scan now.
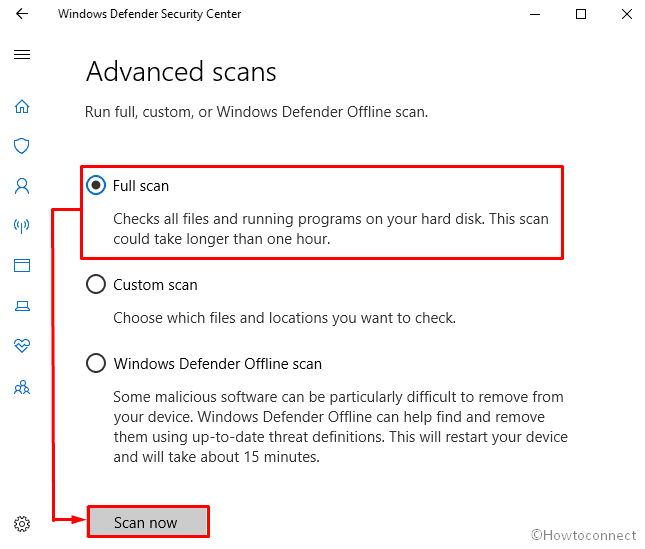
Windows Defender will now start scanning the full system and remove the virus if it gets any.
Create a new User Profile
If Full scan didn’t work for you, there is unabridged possibility that corrupted user profile is causing issues related to Client/Server Runtime Subsystem. In this situation, replacing the same with a new one will be the best solution to fix the issue. Corrupt files obstruct the procedure of configuring user profile properly which has somewhat concern with csrss.exe in Windows 10. The whole process ends up with high CPU usage.
Do a click on Cortana and type CP in the search box. When the result turns up, Press Enter on your keyboard.
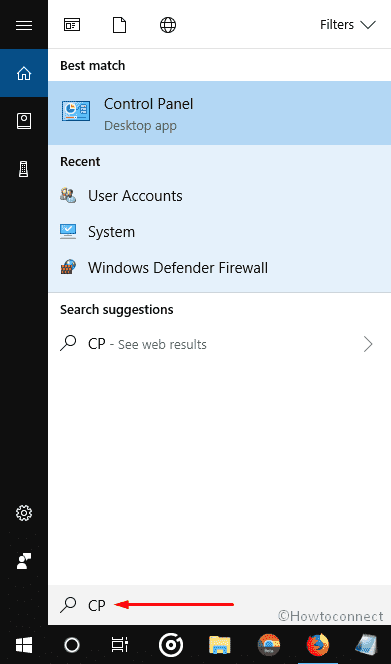
Here, Control Panel Window will be visible on the screen. Locate User Accounts and click on it.
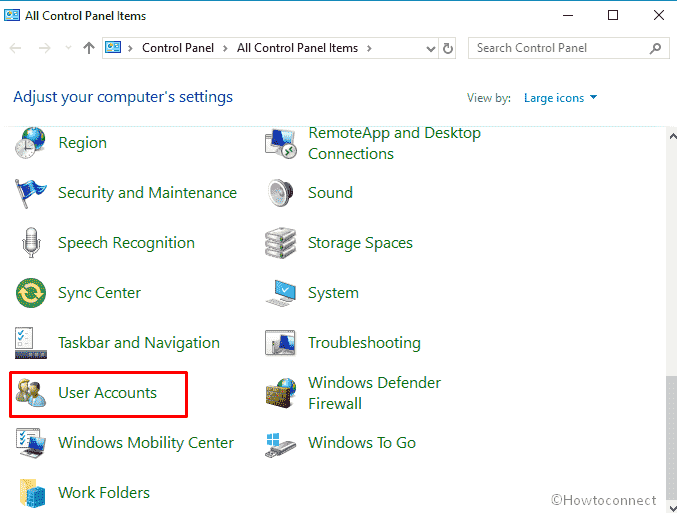
Perform a click on Manage another account link.

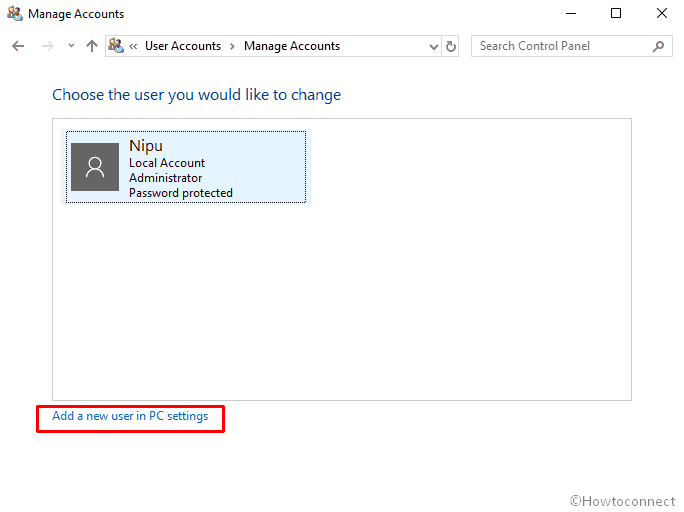
Thereafter, Select Add a new user in PC settings from Manage Account wizard.
When a Settings page enters into the picture, select “Add someone else to this PC” located under “Other people”. Provide necessary information that a pop up demands to add a new Account.

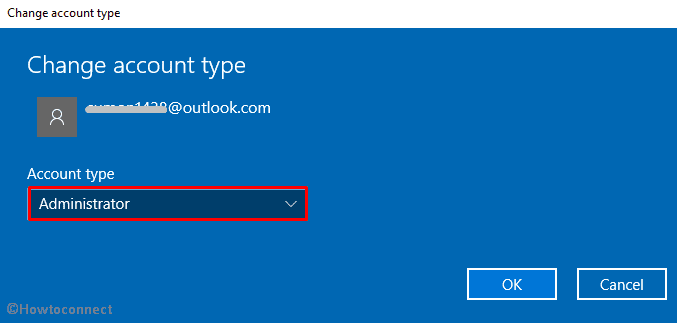
Once you have completed, click on the profile you created at this moment and Select Change account type.

A pop-up will prompt up. Select Administrator from the drop-down list of Account type and click on OK to save the changes.
Restart your computer and this time Login with the new user account over internet connection.
Lastly, It’s time to delete the old user account but before that, back up your files from Desktop and Documents.
Once done, Go back to Control Panel and reach out to Manage Accounts pop-up like earlier. Double click on the previously running account and select Delete the account from the left column.

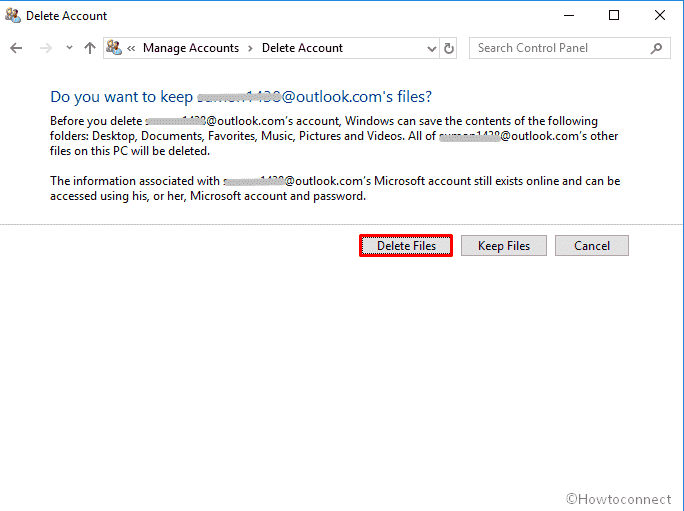
Click on Delete Files.
Hopefully, this will fix the issue of Client/Server Runtime Subsystem.
Reset the PC
If the above method doesn’t fix high CPU usage, the final thing you can do is Reset. It will completely Restore your computer with initial values and disable csrss.exe in Windows 10 surely.
Note – Before starting this workaround, backup your important files to an external memory.
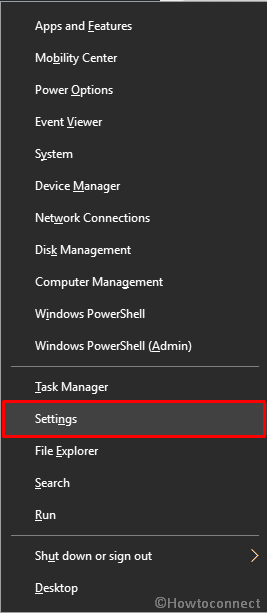
- Right-click on the Start button and Select Settings from the list of options.
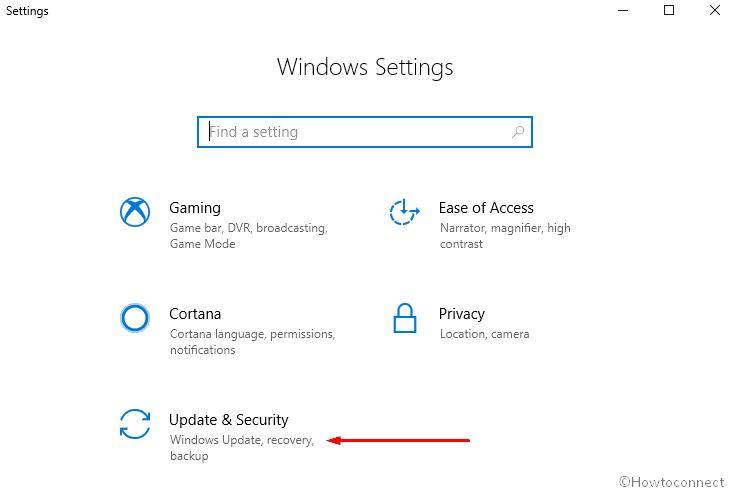
Do a click on Update & Security.
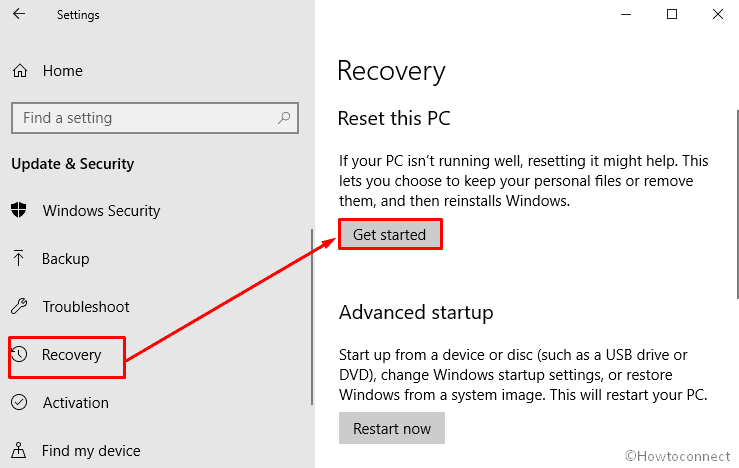
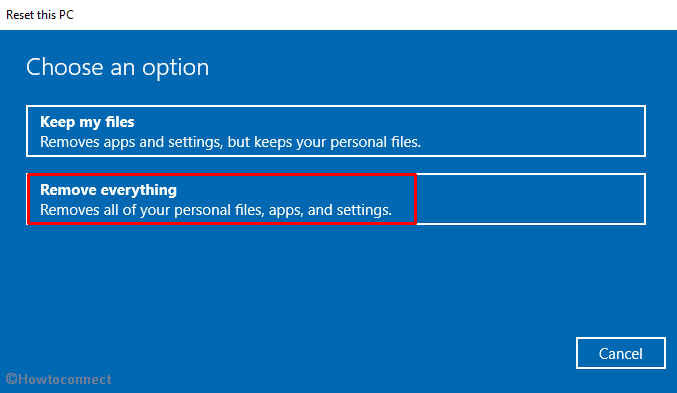
Hereafter, Select Recover from the left pane and then move to the right pane. Click on Get started underneath Reset this PC.
Then Select Remove everything to start the action.
What is csrss.exe?
Csrss.exe in Windows 10 signifies Client Server Runtime Process Sub System where .exe shows it is an executable file. Initially, it was developed by Microsoft for screen management of PC such as graphics, screen, window etc. But now the functioning area is large and becomes also responsible to control console, shut down PC, identify errors and remove threads of the system.
Csrss.exe is a subsystem of Win32 and works with kernel mode of the Operating system. Hence it is a core and important part of Windows 10. This is a useful file of your operating system which ceaselessly works in background onto your PC. Csrss.exe.mui 1.0.0.0 is the latest known version of this file. It carries a popularity rating of 1 star however its security rating is 94%.
Differentiate between virus or core file with same name and extension
.exe file can mislead you to think it as some sort of malware and may create nuisance while detecting threads or original program. Here’s how you can distinguish between genuine file and threat –
At first, hit the hotkey CTRL+ALT+DEL simultaneously. This will open the Task Manager on our PC screen.
Here look out for csrss.exe in Details Tab.
Once found, right click on its name and choose the option Open file location.
If the path displayed is C:\Windows\System32 folder, then there is nothing to worry about. This is indubitably normal core file of windows. If the path displayed is anywhere different then it must be a malware and you need to scan your PC with a good antivirus.
How does the Csrss.exe malware behave?
Once it is clear that csrss.exe residing on your PC is a malware, it is like a worm which makes a copy of itself. Once you click on this file it installs an executable program by default and keeps on making a duplicate of itself in every folder that ends with causing high CPU usage.
That’s all.