Steps to Free Up Space On Windows 10 PC Automatically After 30 Days interval. – If you are cautious about Windows 10 PC performance then emptying temp, recycle bin’s file should be a regular exercise. Many users are in practice to clean their PC in this way. So Windows 10 includes a Setting in the System storage section that itself erases temp files and content in the recycle bin at the interval of 30 days. Using this Setting you wouldn’t need deleting these files manually.
If you don’t use a temporary file in the past 30 days then this storage setting will wipe out it from your computer permanently. Right in this way if you don’t restore a file from the recycle bin it will be automatically deleted after every 30 days. This Storage sense Setting is by default disabled but you can enable pretty easily in 2 steps.
This Storage setting is not new and has been existing for the previous few builds. You can see a guide How to Remove Temporary Files on Windows 10 – [Latest Tips] regarding this. But now the tool enhanced its feature to automatically delete at 30 days of interval.
Free Up Space On Windows 10 PC Automatically
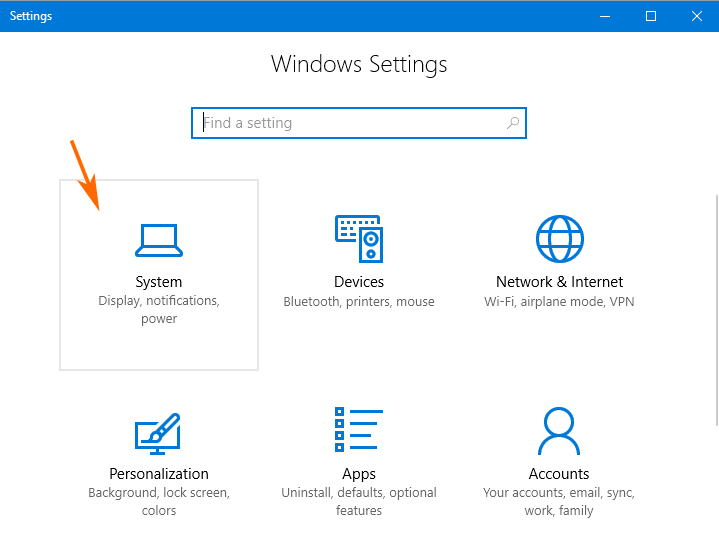
Step 1 – First of all, press Win+I to open Settings program. After the Settings app appears, select System located as the first category.
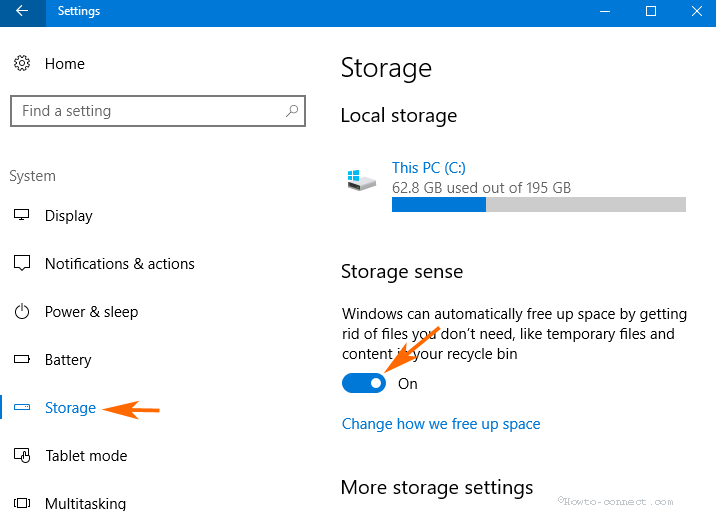
Step 2 – Click on Storage on the left pane of the System Settings.
Step 3 – Move ahead to the right pane and find Storage sense. You can see a toggle under this setting. Click on turn on Side of the toggle. Once you enable, this will Free Up Space On Windows 10 PC Automatically After 30 Days cycle.
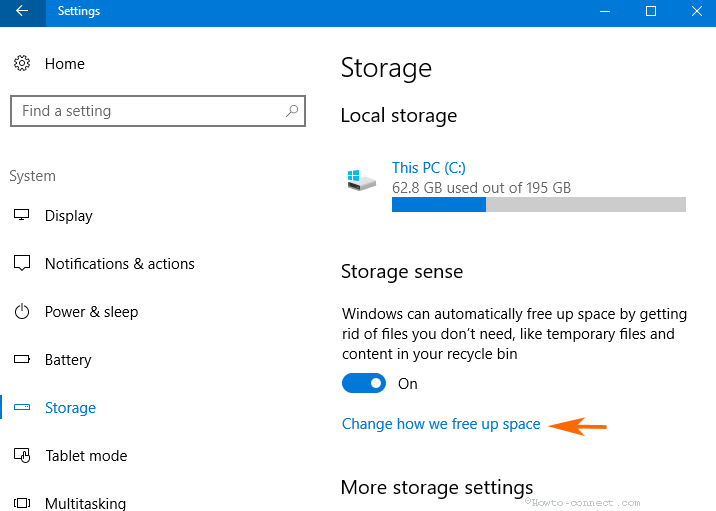
Step 4 – Click on How we free up space from just below the Storage sense toggle.
Delete the files from Temp and Recycle bin individually
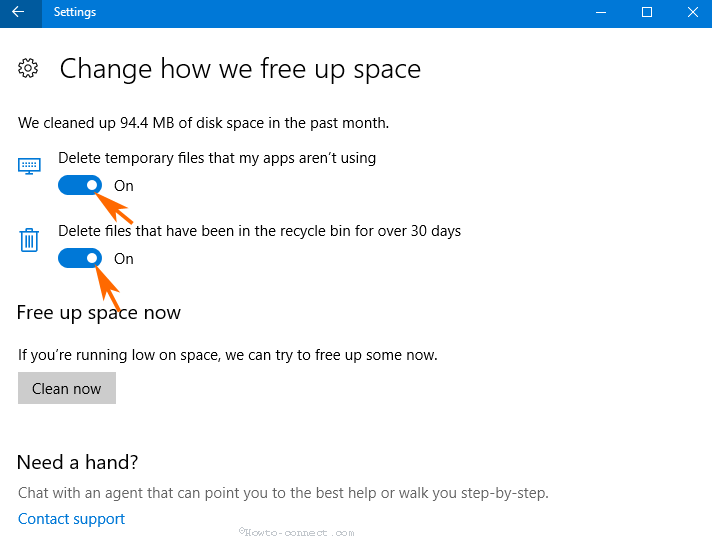
In the How we free up space, you see 2 Settings and you can enable or disable deleting temporary files and the content in the recycle bin individually.
Step 5 – The first one is Delete temporary files that my app aren’t using. Pull the slider toward On to turn this on.
Step 6 – In the 2nd setting Delete files that have been in the recycle been for over 30 days, also toggle On to enable the same.
Clean your Windows PC Right Now
Step 7 – If you want to clean your Windows 10 PC at this time simply click Clean Now.
You will quickly see revolving points meant you PC is being wiped out. It will take almost 4-5 minutes to clear up the PC and show the amount of data cleaned up.
When you want a constantly clean PC, walkthrough – How to Delete Temp Files at Every Startup in Windows 10.
In addition, if you need to perfectly declutter your computer then see the guide How to Wipe Out Data to Free Hard Drive Windows 10.
Conclusion
So these are the settings that let you Free Up Space On Windows 10 PC Automatically After Every 30 Days. Once you enable this setting you don’t need to bother about manually detecting and deleting the garbages.