Voice Recorder, serving as one of the go-to-go apps for recording audios, comes bundled with the varied features of Windows 10. Coupled not just with desktops and laptops, the app is also available for smartphones. The interface is quite simple and with the steps mentioned below; you can easily Setup and Use Voice Recorder in Windows 10.
Previously named as sound recorder, its easy and simple user interface makes it a vividly conventional tool for voice recordings, whose clarity ensures good results without the need for any professional device.
How to Setup and Use Voice Recorder in Windows 10
For your convenience, we split the tutorial into few sections. See ahead –
How to Open Voice Recorder App in Windows 10
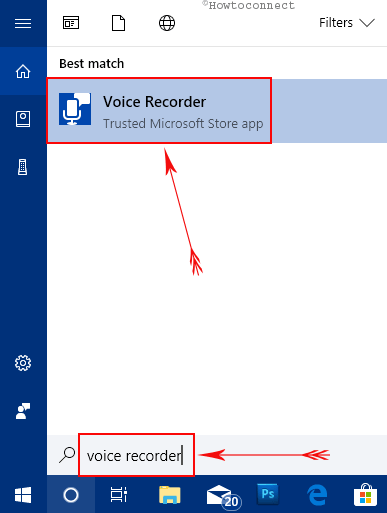
Step:1- Navigate to Cortana search bar and type voice recorder. The Best match will immediately display the app, click on it.
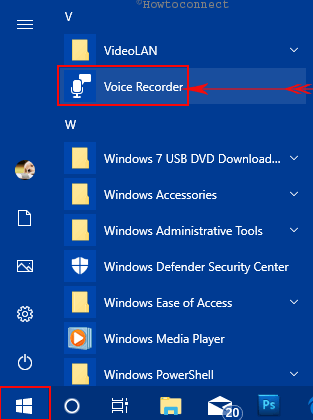
Step:2- Moreover, you can also access the same by going to the V section of Start Menu.
Step:3- The app wants to access your documents library and microphone. So click Yes on the pop-ups to proceed.
How to Set up the Microphone Settings
In certain cases, the app opens but the recorder icon is grayed out with a message stating “You need to set up a microphone in Settings”.
So, the only possible way to proceed is that you need to manually set it up as “microphone” settings may have been disabled somehow.
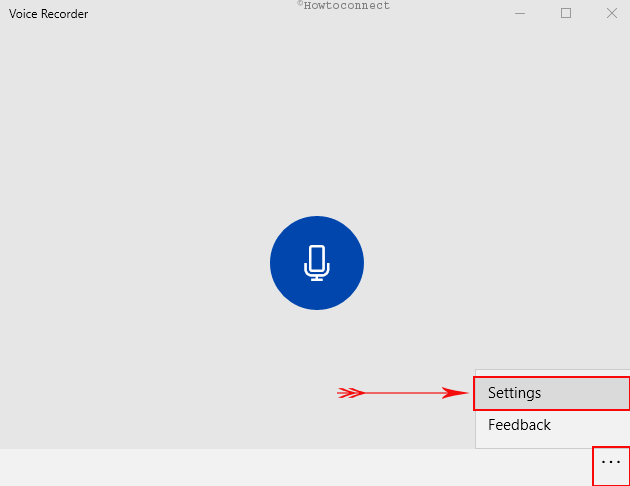
I. Open the Voice Recorder app, hit the See more icon (three dots) at the bottom right corner. Click Settings.
II. Next, click Microphone Settings as depicted in the given-below screenshot.
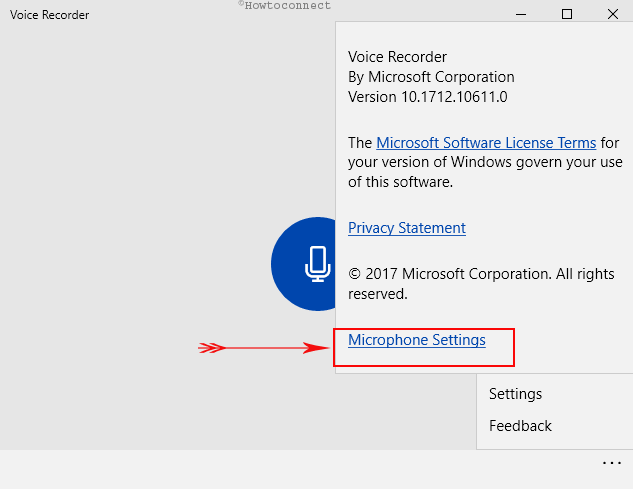
Note – If a pop-up appears seeking your permission to switch apps, click Yes.
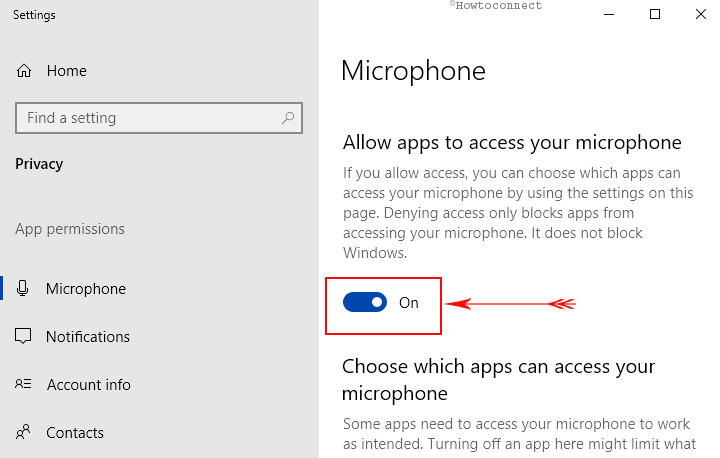
III. The above action will open Microphone Settings page on the screen. Here, ensure to toggle ON the option Allow apps to access your microphone (See screenshot).
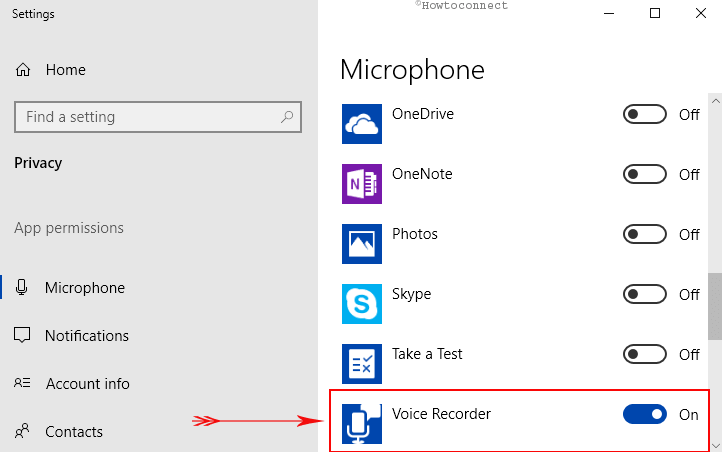
IV. Next, go to the section Choose which apps can access your microphone and ensure the Voice Recorder is turned ON.
You can also go through our article on How to Disable and Enable Microphone in Windows 10.
How to Use Voice Recorder in Windows 10
i) When the app opens, the record button in the center of the screen enables you to start the recording session. So, click the Record button (See snapshot).

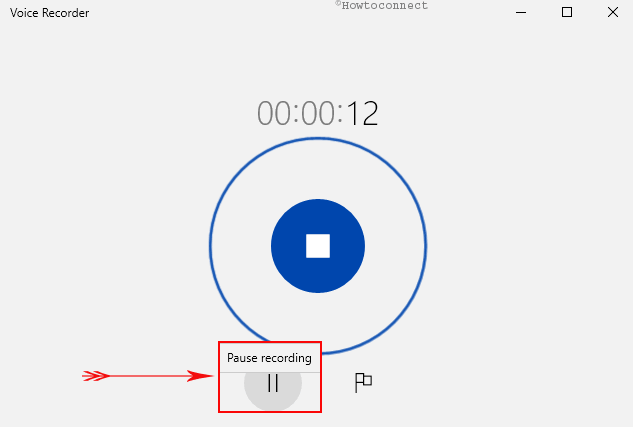
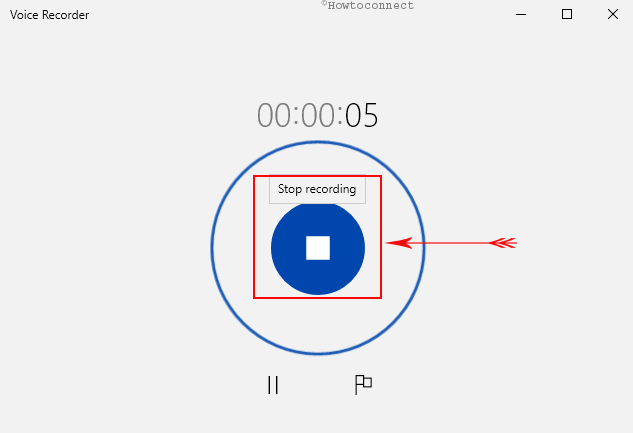
ii) Next, you see the pause button below. It enables to pause the recording, which upon pressing again, resumes the recording function.
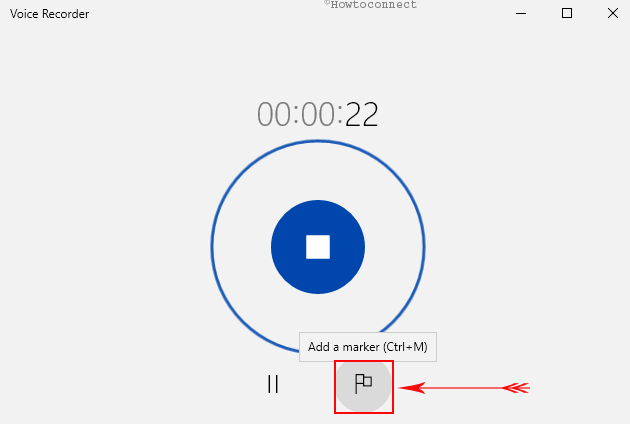
iii) The Flag icon next to the pause button allows for marking specific portions of the recording. With the function of placing any number of flags, you can underline different key parts of the recording, especially in the case of long ones, where it can be accessible or easily identifiable for editing purposes.
iv) Finally, to finish your recording, perform a click on the Stop button which shows up at the center of the screen. The app will automatically save the session.
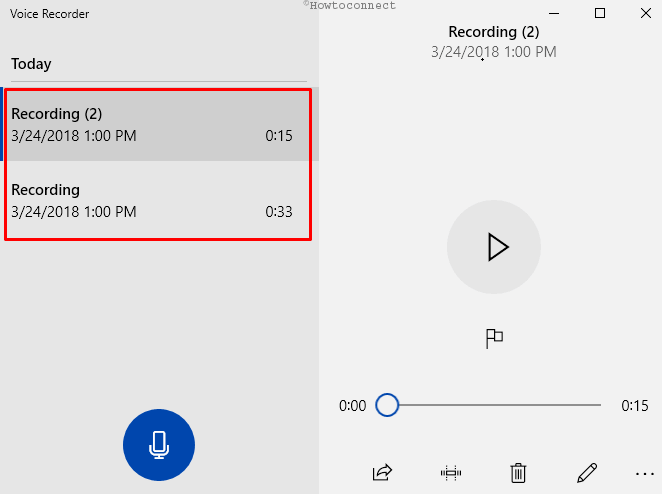
v) Your recordings will appear on the top left side of Desktop Voice Recorder with the other recordings mentioned with their respective date and the hour.
Moreover, you can also view all the saved recordings in Sound recordings folder in the Documents Library.
Playing and other actions
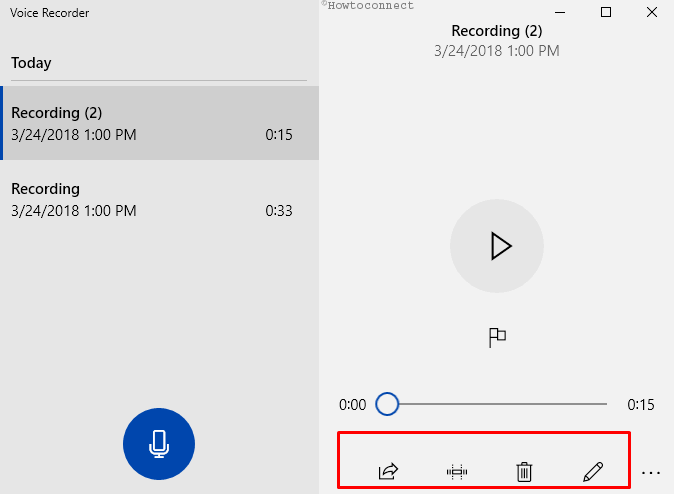
You can play the recording from the list mentioned by simply clicking on it, in the desktop audio recorder app. Other than that, you can also perform other actions by pressing the various icons displayed below the play button. Let us see them in brief.
Share – This is the first icon from the left. The built-in sharing apps let you share your recording with your contacts. It also offers you some apps from Store for sharing.
Trim – The way you Trim Videos Using Built-in Photos App, you can do the same here also.
Delete – Select the recording from the left pane and click the bin icon to do away with it.
Rename – To avoid confusion of having the same name, use this option to give a personal touch.
So, that’s all about How to Setup and Use Voice Recorder in Windows 10, isn’t it pretty cool to use!