Procedures to Open Elevated PowerShell on Windows 10 After Creators Update with steps. – PowerShell is very useful when you need numerous administrative tasks to complete. In addition, this command-line shell also acts as a rescuer when your Windows 10 faces trouble. For example – PowerShell can detect and kill the problematic programs on your system. So, you might want to know different ways to launch this tool with administrative authorities. You might also want to How to Change PowerShell Look in Windows 10.
So, in this guide, we will present you with the guidelines to Open Elevated PowerShell on Windows 10 After Creators Update.
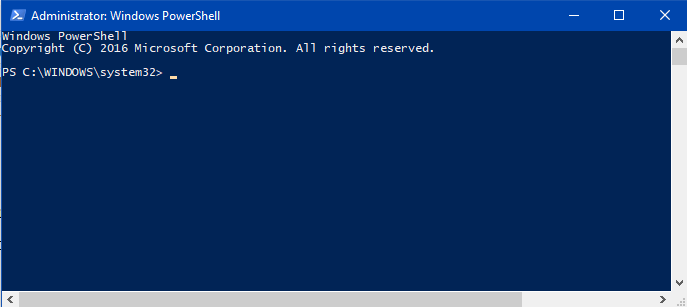
How to Open Elevated PowerShell on Windows 10 After Creators Update
Method 1 – Through Power User Menu
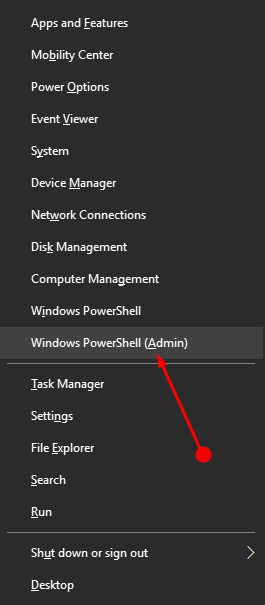
Step 1 – Right-click Windows logo icon on the taskbar and let power user menu with various options pop up on the screen. As an alternative, pressing the combination of Win+X keys will also open the same list of options.
Step 2 – Moving ahead, locate, and click Windows PowerShell (Admin).
Method 2 – Using Cortana Search
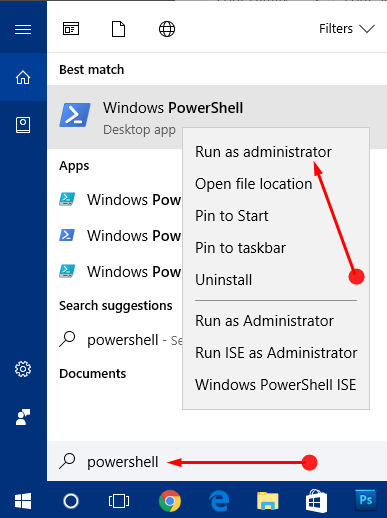
Step 1 – Open Start Menu, type the command powershell.
Step 2 – Taskbar search will show Windows PowerShell as the Best match, make a right-click on it. This will launch a few options, click Run as administrator.
Method 3 – From Start Menu
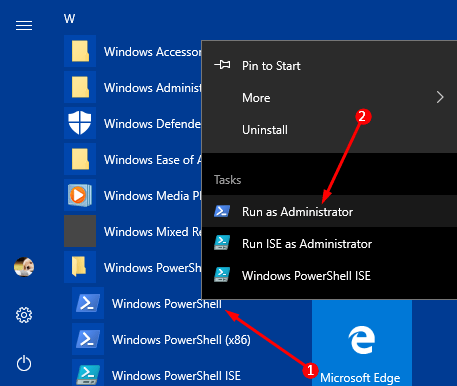
Step 1 – Open Start Menu by pressing Windows logo icon, existing at the far left of the taskbar.
Step 2 – Once Start Menu appears on the PC screen, browse to the W section, and locate Windows PowerShell. Click on it and you will again notice Windows PowerShell, do a right-click on it. From the few options that you see, select Run as administrator.
Method 4 – Via File Explorer
Step 1 – Press Win+E keys altogether and let File Explorer appear on the screen. Well, you can also click its icon that is visible on the taskbar.
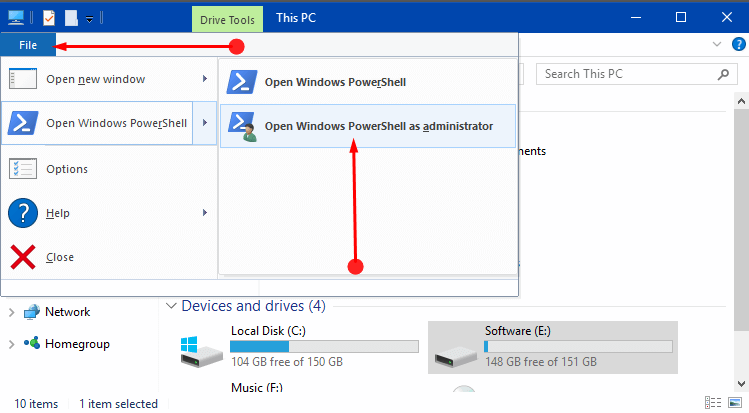
Step 2 – Navigate to the folder or file that you wish to launch elevated PowerShell at that location. After selecting the item, click File and hover cursor on Open Windows PowerShell. A submenu will display two more options, click Open Windows PowerShell as administrator.
Method 5 – With the help of Task Manager
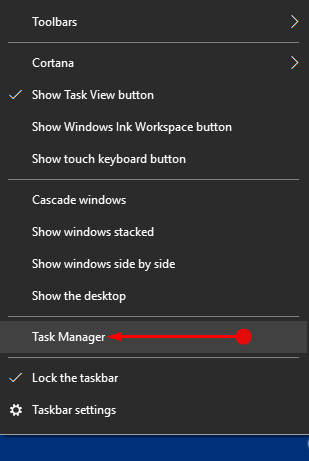
Step 1 – Right-click on an empty slot on the taskbar. Various options will come up on the PC screen, select Task Manager.
You can find more ways to Open Task Manager in Windows 10.
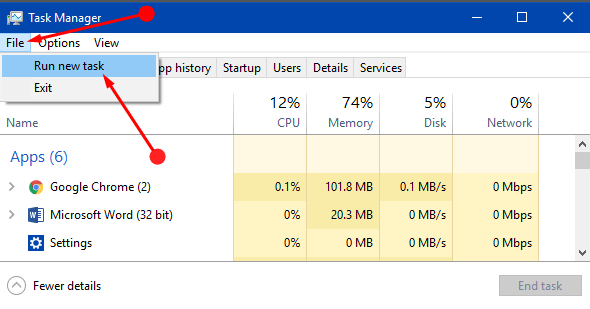
Step 2 – On its menu bar, three options will be visible, click the first one File followed by a click on Run new task.
Step 3 – This will immediately launch a small window of Create new task. So, type powershell on its text area and furthermore select the box Create this task with administrative privileges.
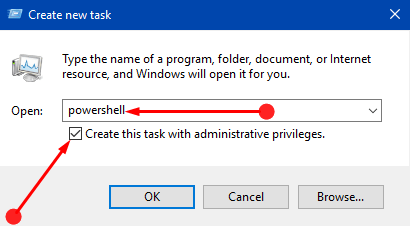
Step 4 – Lastly click OK and it will instantly Open Elevated PowerShell on Windows 10 After Creators Update.
For reference, pursue a similar guide on How to Run a New Task in Task Manager on Windows 10.
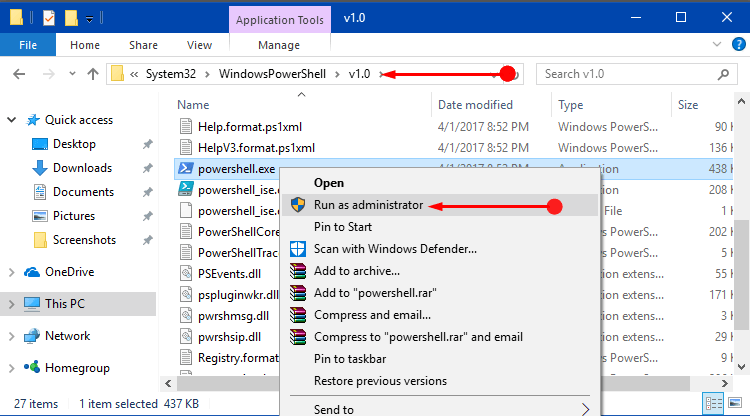
Method 6 – From PowerShell location
Step 1 – Launch File Explorer by using any of your preferred methods. Well, the common method is to press Win+E keys altogether.
Step 2 – Now, copy-paste the below path on the File Explorer’s address bar.
C:\Windows\System32\WindowsPowerShell\v1.0
Step 3 – Now, search and right-click on powershell.exe. Run as administrator will be noticeable in the context menu that pops up, click on it.
You might also want to read How to Copy Path of a File or Folder in Windows 10.
Conclusion
So, using any of the above-mentioned procedures you can easily Open Elevated PowerShell on Windows 10 After Creators Update. Lots of changes took place in the Creators Update, including the interface of many locations. Hence, we decided to update our readers with the recent screenshots and methods. If you have any other way for launching an elevated PowerShell after Creators Update, please write down to us.