How to Access and Use Personalization of Windows 10 Settings – The older PC Settings has been renovated with the elimination of “PC” from it. And thus, we have Settings with a new makeover in Windows 10. The changes you wish to carry out can be sneaked in the Settings which represents different categories. One amongst them is the Personalization of Windows 10 Settings, which says, it offers you an opportunity to do modifications on lock screen, background, colors, and sound. When explored, we came to know there is more to come as all the settings are not yet listed there for the time being.
When you open the Personalization category, you will find the settings are more concerned with the lock screen only. To change settings of sound and color you have to get back to the desktop and get into the Personalization of Windows 10 Settings by right-clicking on the desktop. We believe the users have to wait till all the Personalization settings come up.
In this article, How to Access and Use Personalization of Windows 10 Settings application where you meet and pastime with whichever of Lock screen, color, start, theme.
How to Access Personalization of Windows 10 Settings
Step 1
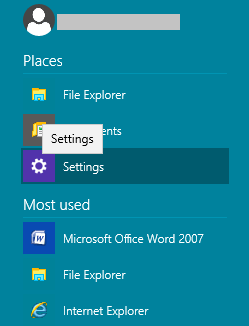
Unfold the Start Menu and select Settings to arrive on the screen.
Step 2
Click on the Personalization category.
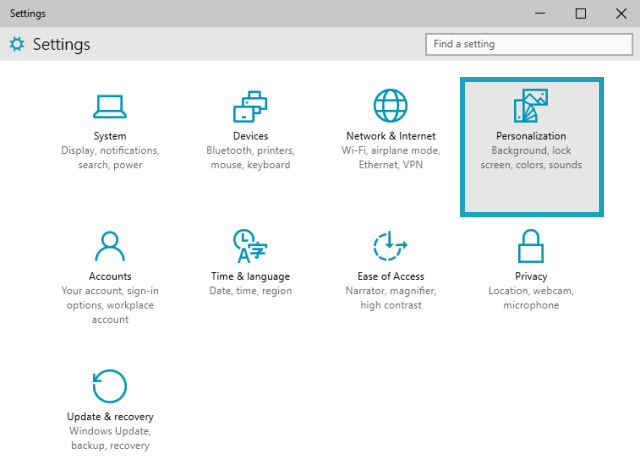
Now, as we are into the Personalization of Windows 10 Settings you will see the related settings. Well, as said earlier it is more about the lock screen settings. The next segment of the article tells you what settings are available.
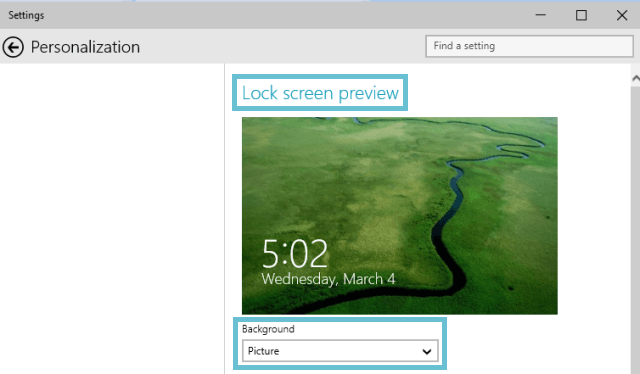
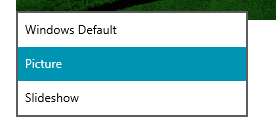
The first thing to be marked here is the Lock screen preview in highlighted text and the preview of the lock screen image that you are currently using. Just below the image an option can be seen: Background. The drop down menu of the background provides you three options: Windows Default, Picture, and Slideshow.
Windows Default
Choose this option and the lock image will cling to the Windows default image on your computer. And also you will not get any extra options here.
Picture
The Picture option exhibits the five latest images of the lock screen. It also has a Browse button that allows you to pick up any desired picture from your computer.

Slideshow
If you select this, you are allowed to choose albums for slideshow from Pictures folder (by default). You can pick up another folder of your choice by clicking on the Add a folder button.
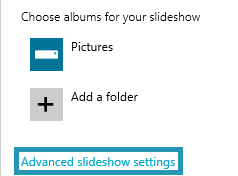
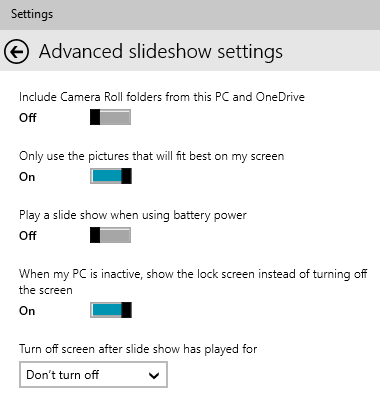
One Advanced slideshow settings link can also be seen here. This link will bring a few more advanced options for the slideshow. They are:
Include Camera Roll folders from this PC and OneDrive
You can use the images that are stored in the Camera Roll folders of your computer and in OneDrive. If you put the slider to off, you will not be taken to the Camera Roll folder of either of the location.
Only use the pictures that will fit best on my screen
There are pictures that do not hold a good resolution. So when you turn this option on, it will put those pictures in the slideshow which has a good resolution to fit the screen in the best way.
When my PC is inactive, show the lock screen instead of turning off the screen
If you love to display your favorite images, it is recommended to turn on this option. Rather than turning off your display screen when you are not working on your PC, the lock screen will keep the display of slideshow.
Turn off screen after slideshow has played for
You can choose to turn off the screen after the completion of the slideshow. Choose your preferred time or you can also go with Don’t turn off.
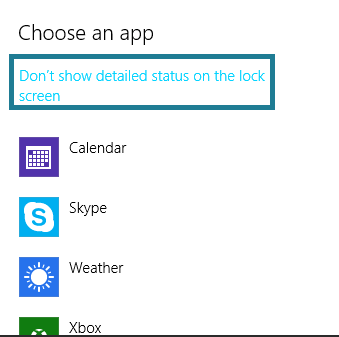
Moving down, the next setting is to Choose an app to display detailed status. It is also concerned with the lock screen but related to an app.

Here, you can choose any one app whose detailed status can be displayed on the lock screen. For instance, Weather has been selected in the below screenshot. Click on it and few more options will appear. You can choose any one as per requirement or you can go with Don’t show detailed status on the lock screen if you don’t like to display it on the lock screen.
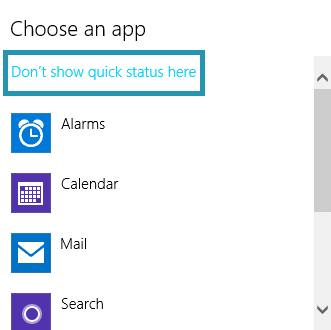
Apart from this, you can Choose apps to show quick status. It works just like the notification icon that you see on your cell phones. You have almost seven apps to work with.

If you don’t wish to get the quick status of Skype, click on it and choose Don’t show quick status here. This will remove the Skype icon from the list. You can do this for all the individual apps if needed.
The last section of the Personalization has the links: First is Screen timeout settings and the second is Screen saver settings. Let us see now.

Screen timeout settings: When you click on Screen timeout settings, it fetches you to the Power options of the System settings. There you can set a certain amount of time after which your display will screen turn off or go to sleep when it runs on battery and when plugged in.
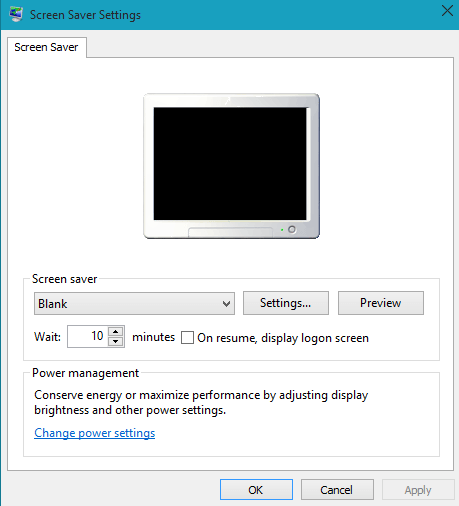
Screen saver settings: The Screen Saver settings window of the Control Panel will pop up after a click on this option. Put screen saver of your choice and set the time after which the screen saver will be active.
Conclusion
The information about the Personalization that is depicted in the Settings window says that it is of background, lock screen, colors, and sounds. But apart from the lock screen, the other settings are yet to arrive in the Personalization category. We hope Windows 10 to soon come with the rest of settings as the Personalization category is a kind of setback. Drop down your opinions in the comments and if you know anything more about the Personalization settings, please share with us.

I was wondering about the time a photo stays on the screen before you see the next photo. It seems to me that there is too much time before the photo changes to the next one. I just think it would be nice if we could change the time between pictures from your personal preference, something like maybe 3 seconds up to about 45 seconds or a min kinda like they do the sleep or hibernation cycle only with much less time in between.
Screen saver images are still to LARGE! I DO NOT find a way to change?
The change occurred when Windows did an UPDATE, I DO NOT like the images blown up!@#$
hey that was a really good guide but how would you change them off the internet?
that was the part that confused me because I’ve seen plenty of videos on how to change your cursor and they weren’t really helpful.
I.m not very well versed in computer lingo, I’m too old I guess, having a hard time installing this