Time & Language Category in Settings Windows 10 – The present situation in the technology world says Windows 10 is now the most welcomed operating system among the users. And, of course, Windows 10 has all the capability to attract new users and surprise the old ones. We all know Windows has always been able to satisfy its users when it comes to the customization of the User Interface. And especially when it comes to the demographic feature and time & date configuration, the Settings of Windows 10 hold one category uniquely for this purpose.
The Time & Language Category in Settings Windows 10 Settings is the place which lets you carry out the configurations of the date and time. It also allows you to choose your region and depending on the selected region you can pick up the apps. Here, in this post, we will provide you the needful information about this category. We will take you through the settings that are available here. To know more about Time & Language Category in Settings Windows 10 read the below details.
How to Access Time & Language Category in Settings Windows 10
Step 1
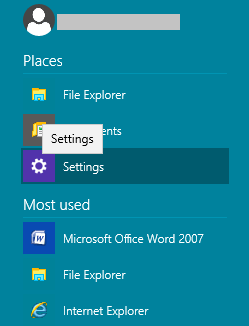
Open up the Start Menu and pick Settings from the Places sections.
Step 2
Choose Time & language category.
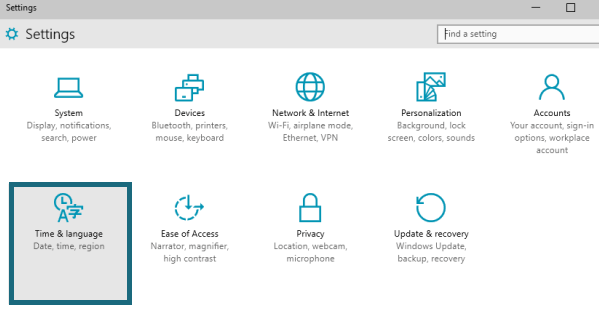
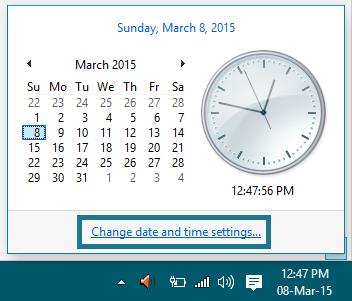
With the above two easy steps, you are into the Time & language category of the Settings. Well, to change the Date & time settings, you can also make a click on the date and time seen on the Taskbar followed by a click on the link Change date and time settings….
Here, you will see two settings listed in the left column of the Time & language category. They are Date & time and Region & language. We will see both of them one by one.
Date & Time
The top part of this section exhibits you the present date and time of your system. Now, to change the date & time click on the Change button.
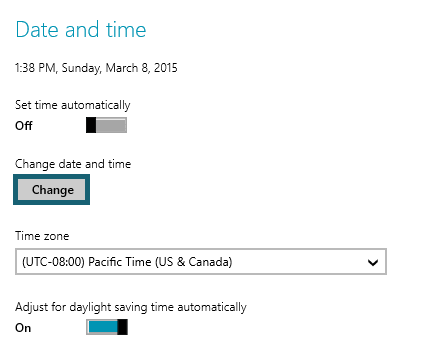
This will bring up a small wizard sort of thing on your screen where using the drop down menu you need to set the date and time. Set the required date and time and click on the Change button to confirm your changes.
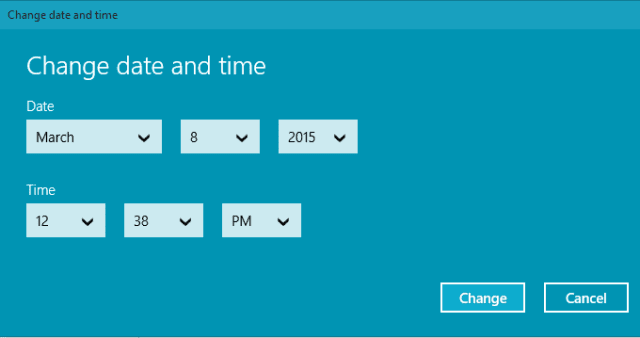
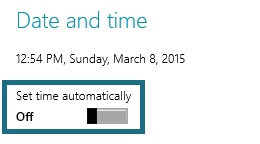
Coming back to the main section, you can also Set time automatically by toggling the slider to On mode. This will switch on the sync of the Internet time (in short your computer’s time will be synced with the Internet’s).
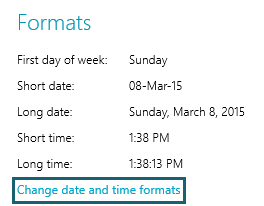
The lower half of the segment displays you the Formats of the date & time. To change the format of the date & time, go to the link Change date and time formats.
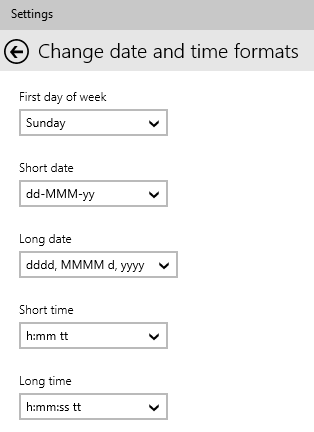
Use the drop down menus and select formats as you want them to be displayed.
Region & language
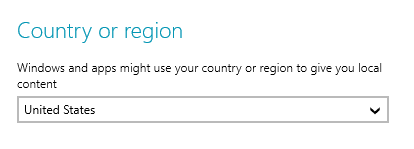
The first part you see here is the Country or region. Use the drop-down menu and choose your region to get the local content. Depending on your selected region, you will be able to use certain apps. All apps are not available for all the regions.
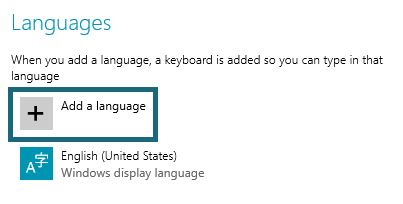
The next thing you will see is the Languages. Your current keyboard language will be displayed here. Click on the Add a language and choose your required keyboard language.
Now, to change your computer’s display language, click the language (if you have more than one language) and select the Options button.

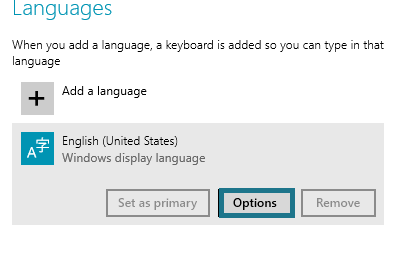
In the following screen, below the Language options, you will see a Download button which when clicked will download the language pack (not available for all languages). After downloading the pack get back to the Region & language and click Set as primary button.
The End
Time & language category really represents you the minutest modifications for you. Well, there is a slight difference in carrying out the changes from here and from clicking the date and time of the Taskbar. In the date & time settings window, you need to select the date from the calendar and set the time manually whereas in the Settings of Date & Time the drop-down menu is used to set the date and time.
