How to Use Snipping Tool in Windows 10 to Capture Screenshot – We had already covered few topics on Windows 10 on our website. Today we bring you an interesting description of one of the tools of Windows 10 that most of us would surely learn and apply. Snipping Tool is amongst the other famous tools of the Windows operating system that allows you to Capture a copy of anything that happens on your screen.
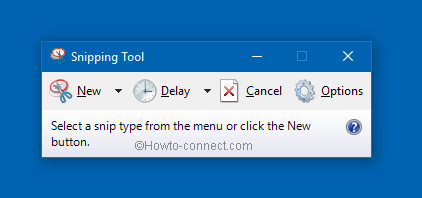
Windows 10 has also a Snipping Tool option with which you can Capture a snapshot of any happening on your screen. The snapshots are saved as PNG formats, but it also gives the option to save it as GIF, HTML or JPEG format. One of the best features of the Snipping Tool is that it allows you to Capture a snapshot of the whole screen and also of the particular part of the screen that you need. You can even make a note of the snip you have taken. Moreover, it also allows you to email it to others directly from the Snipping Tool Window.
You may like to Read:
- Windows 10 – How to Take Screenshots Using Default Tools
- How to View Remote Desktop on Network and Capture Screenshots
How to Use Snipping Tool in Windows 10
So by now, you have understood that today our topic of explanation is Snipping Tool of Windows 10. Lets’ go to the details of open and use Snipping Tool in Windows 10.
How to Open Snipping Tool in Windows 10
- Take yourself to the Start Menu of Windows 10.
- Look for the Snipping Tool in the Cortana search bar.
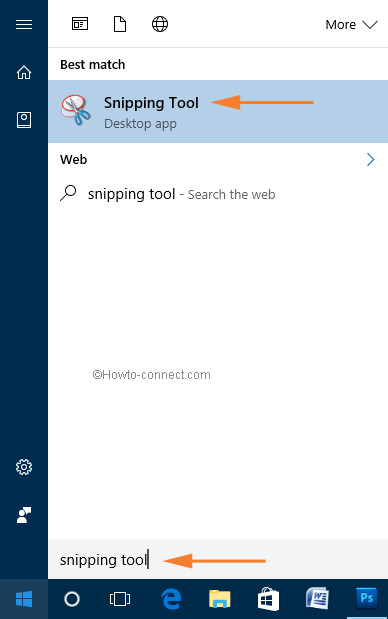
- Click on the Snipping Tool option to open it.
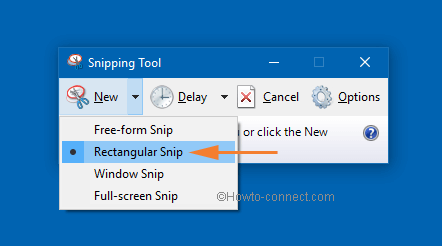
- Now here at this point, you should know that there are four types of snips provided by the tool.
- Free Form Snip – As the name sounds, you can draw a line or anything as per your need around the area that you want to capture.
- Rectangular Snip – Here you have to hold and drag the cursor around the area to form a rectangular snip.
- Window Snip – This option will allow you to capture a dialog box or a browser window. So open the window that you want to capture and then choose this option and go ahead.
- Full – Screen Snip – You can understand by the name itself. It will capture the full screen.

How to take Snip in Windows 10
- Open the Snipping Tool as explained above.
- Click the small arrow near the New option.
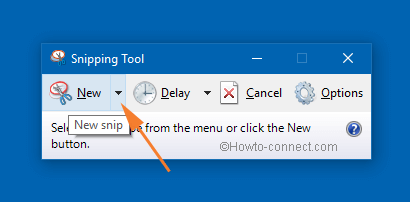
- Select the type of snip that you want to use.
- After selecting the type of snip, crop the area that you want to capture.
- Now save the snapshot in your desired format.
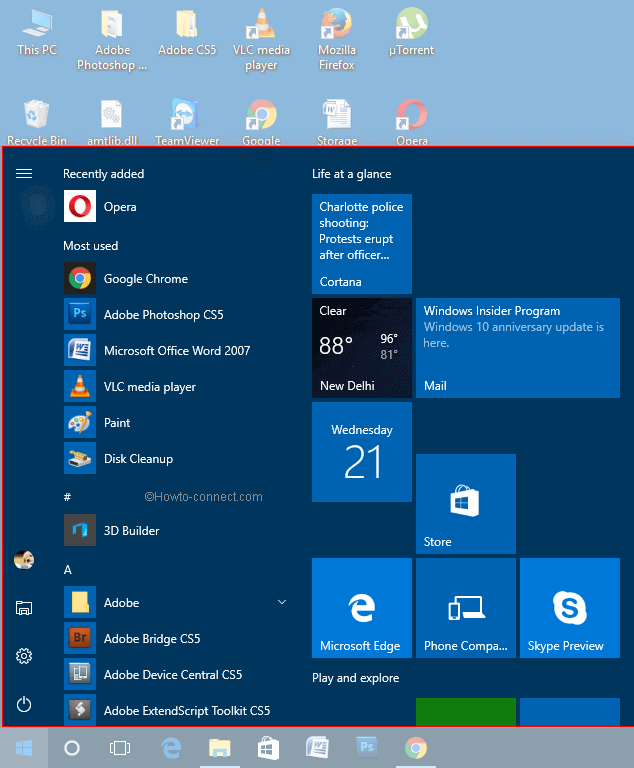
How to Capture Snip of Start Menu in Windows 10
- Open the Snipping Tool on your Windows 10 operating system.
- Now open the menu (for example – Start Menu) whose snapshot you want.
- Now press Ctrl and PrtSc keys on your keyboard.
- This will pop up the Snipping Tool on your screen.
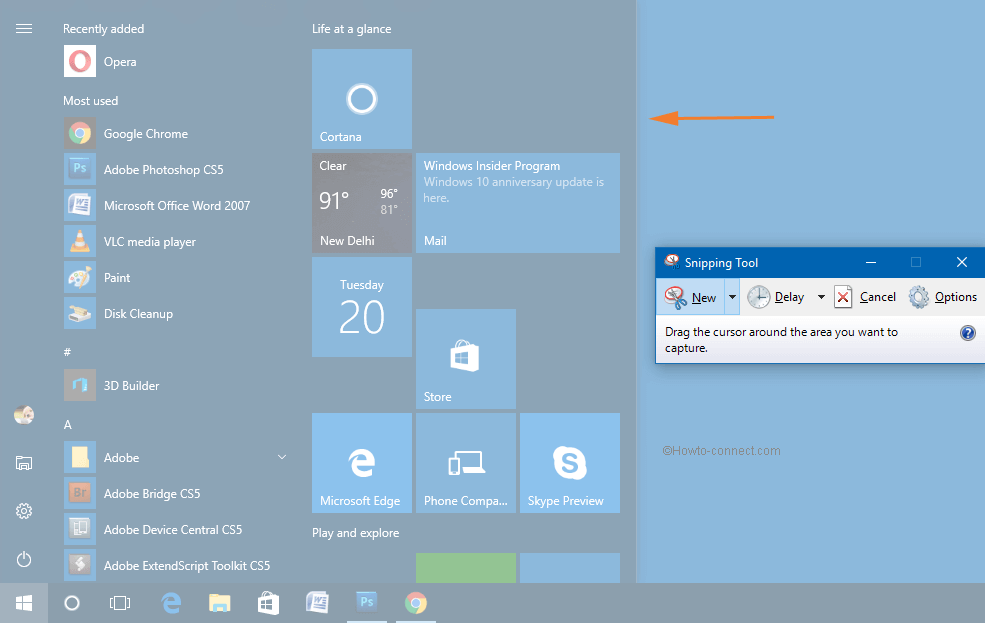
- Now easily capture the Start Menu.
How to Save a Snip in Windows 10
- You know that after taking a snapshot, you need to save it.
- To do so click on the File option and choose the option Save as on the Snipping Tool window.
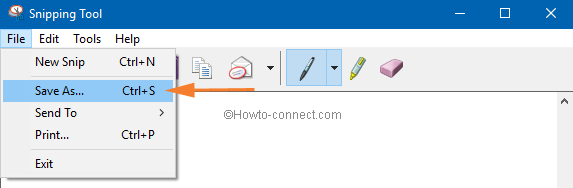
- Or click the Save As button on the Snipping Tool window.
![]()
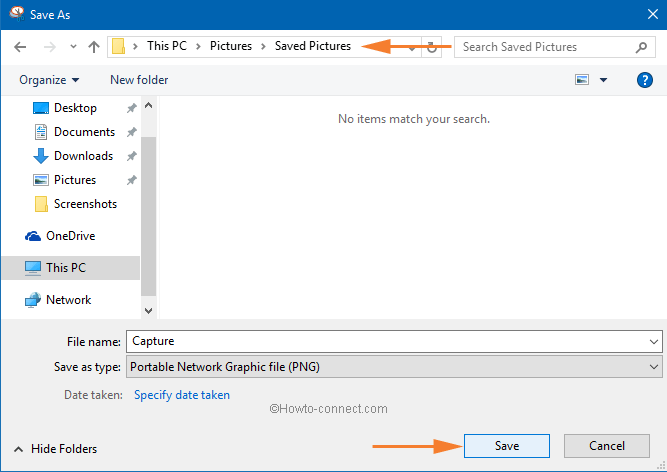
- Provide a name and choose the file type and save it to your desired location.
How to Share Snip in Windows 10
- In order to use the Snipping tool to share, take the snip of the desired area.
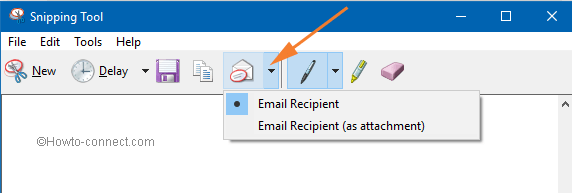
- Click on the arrow which is beside Send Snip option.
- Now you have two options.
- Either send the snip as an email recipient or as an attachment.
How to Change Ink Color of Snipping Tool in Windows 10
- Click on the Options choice when you want to Use Snipping Tool to change ink color.
![]()
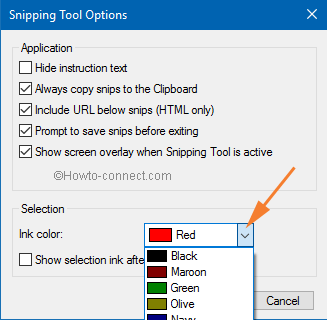
- Snipping Tool Options window is popped up on the screen.
- On the lower part of the window, you will find the Ink Color Selection.
- Use the drop-down menu and select the color of your choice.
- Then select the checkbox which says to Show selection ink after snips are captured.
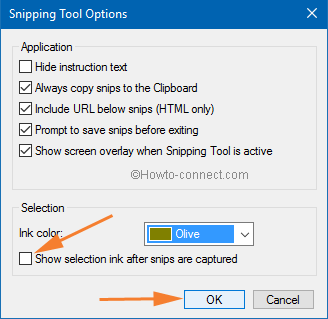
- Click Ok to save the changes.
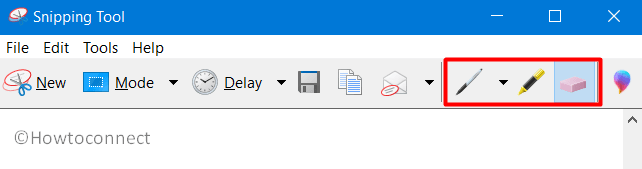
How to Annotate a Snip
- Once you capture a snip, you can draw or write anything around it. You can either choose the Pen or Highlighter button.
- To remove the editing, click the Eraser button.
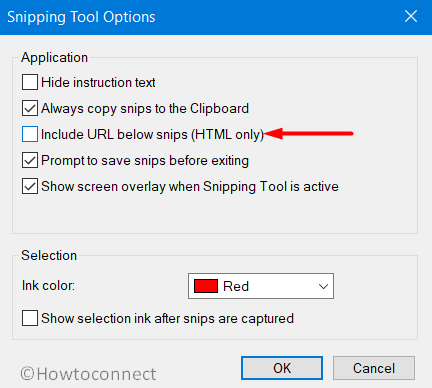
How to Remove the URL
When you take a snapshot from a browser window and save it as an “HTML” file, the URL shows up below the snip. But if you don’t prefer the URL to appear, do the following.
- Click the Options button in the interface of the Snipping Tool.
- Snipping Tool Options box will appear. Here, uncheck the option namely Include URL below snips (HTML only).
- Click OK to save the changes.
How to Crop or Enlarge the Snip
- When your capture is already open in the Snipping Tool, click Edit on the menu bar.
- Select the option Edit with Paint 3D. Now, you can use features color, text, sizing, and more other enhancements.

Keyboard Shortcuts
| Shortcut Keys | Functions |
| Alt + M | To select a snipping mode. |
| Alt + N | Generates a new snip in the same mode as you did in the previous one. |
| Shift + arrow keys | Move the cursor around to choose a rectangular snip portion. |
| Alt + D | It will delay the capture by 1-5 seconds. |
| Ctrl + C | Doing so will copy the snip to the clipboard. |
| Ctrl + S | Save the snip on your preferred location. |
Any tips for how to use the free form tool in this case — I have pictures of ancestors which are oval shaped. When I try to guide the scissors around the oval, it is very hard to get a true oval shape.
This tip works on all version of Windows from Win7 onwards:
The Snipping Tool can be accessed by pressing the Windows Key, then typing the word “Snip” in the search box. The Snipping Tool will appear as the 1st option, double click it to start it.
Hello Cathie, kindly elaborate the question. Which kind of chat box is it?
hi i just want to be able to take a screenshot and put it in my friends chat box or send it to my group page for some reason i can not do this ,, i can take the shot and save as is but can not get it in a chat box,,i use firefox on mozilla dont kow if this is stopping me,,thanks
How do i get the snipping to use the Mail app as default instead of Outlook to send a capture?
You need to add exception for the site to run JavaScript.
This happens If I try to capture a page of bank transactions etc. I find that sensitive sites will not allow me to copy them – probably because I have Rapport protection. Do you think it could be something like this with you?
When I use snipping tool and select what I want to copy, the window is black? It was working fine before I update to Windows 10?
Thank you
Hello, Mr. Allen. Click on All apps at the bottom of the start menu. Scroll down to W letter (You might have seen all the apps are arranged alphabetically after you go to All app view). Click Windows Accessories. You can see Snipping Tool placed on 7 the position.
http://howto-connect.com/wp-content/uploads/snippin-tool-in-start-menu-in-all-apps-view.png
Just bought a Lenovo Yoga, shop downloaded Windows 10 before I took delivery.
I really need to have the ‘Snipping Tool’ but I’ve just discovered that I must access it through the ‘Cortana Search Bar’.
I tried this but then discovered that I cannot access the ‘Cortana Search Bar’ in my area, it’s turned off in my area.
I tried to find access to turn it on but it seems to be locked in the off position.
I live in Thailand, South East Asia.
Please help, the Snipping Tool is very valuable to me to develop lecture materials and more.
Thank you.