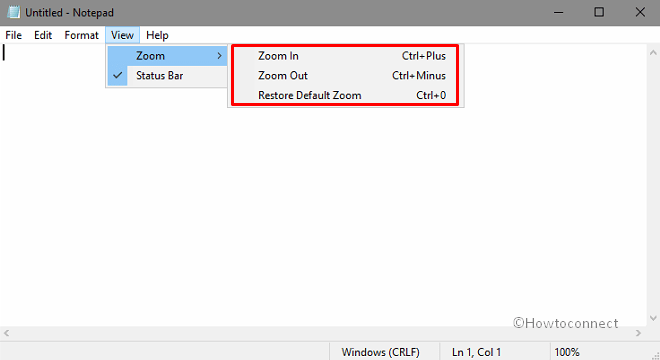
Notepad is the oldest text editor of Windows which was included in all the versions since 1985. As it has not been updated for very long, Windows 10 build 17713 adds some significant features to it. One of the interesting changes is to Zoom in and Out Text in Notepad on Windows 10 and 11.
The menu bar of Notepad provides you an option to manage the zoom level. When you change the text layout, you can notice the zoom percentage on its status bar. In addition to this, Notepad also includes a feature to wrap-around find/replace. Another development is that the text editor will have the ability to display line and column numbers once you enable word-wrap. However, in this article, we will show you the ways to Zoom in and Out Text.
Zoom in and Out Text in Notepad on Windows 11 or 10
Way-1: Using Notepad Menu Bar
Step-1: Type notepad in search (Win+S) and hit Enter. You can also Create Keyboard Shortcut to Notepad on Windows 10.
Step-2: Click View on the menu bar when Notepad appears on the screen. Hover the cursor over Zoom and select Zoom in or Zoom out until you get the preferred zoom level.

Way-2: Through Scroll Wheel
First of all, get access to Notepad.
Keep a hold on “Ctrl” key and roll the scroll wheel of the mouse towards up (zoom in) and down (zoom out) the text until you see the desired level.
Way-3: Keyboard Shortcuts
While Notepad is open, use the below hotkeys combination to change the zoom level.
| Keyboard Shortcuts | Description |
| Ctrl + Plus | To zoom in the text |
| Ctrl + Minus | To zoom out the text |
| Ctrl + 0 | This will restore the zoom level to default which is 100%. |
As you see it is very straightforward to zoom in and out text in Notepad in Windows 11 or 10. Although there are 3 different ways for you to change to zoom level, most programmers and users recommend you should use the second one for a faster change.
